
I started using magnetic lashes about one year ago! Clumpy lashes in pictures are the worst, so I’ve always tried to stick to strip lashes or magnetic lashes for all photos and events. Unfortunately, eye lash extensions just aren’t in the mix for me. (I started having an allergic reaction to them a few years ago, no matter what type of glue we tried!) If you’ve ever looked into magnetic lashes before, chances are you have come across a negative magnetic lash review quite a few times.
Well today I’m sharing my personal magnetic lash review along with tips, application tricks, and the brands I have used because I say they’re a major game changer!

Magnetic Lash Review, a Complete Guide
I actually love them so much that I started wearing them every day for a while until I ruined my first pair. (Don’t put them in your pocket when a wind storm hits when you’re at the park like I did. Ugh. I’m still mad at myself about that.) In their defense, they lasted me 6 months up until that point. After the pocket situation, they shriveled and I was sad to say goodbye.
Magnetic Lash Review: TIPS
- When you first order your lashes, set aside about 20 minutes to experiment with them. If you order them and then wait until you’re in a time crunch for a special event, you will automatically hate them. It definitely takes some getting used to. Have some patience, because even after using them consistently I always adjust them a few times to make them perfect.
- Always apply mascara first. The instructions will most likely say not to, but it makes the biggest difference. It gives the magnets something to grasp onto. No mascara = sliding magnets. I don’t want to walk around wondering what my eye lashes look like!
- Wear them around your house before you go out. I think the application got easier over time because the magnetic lashes started to bend to the natural shape of my eye lid after a few wears.
- If you’re wondering what brand to get, definitely buy a set that comes in a case! We’ll chat more about brands down below.
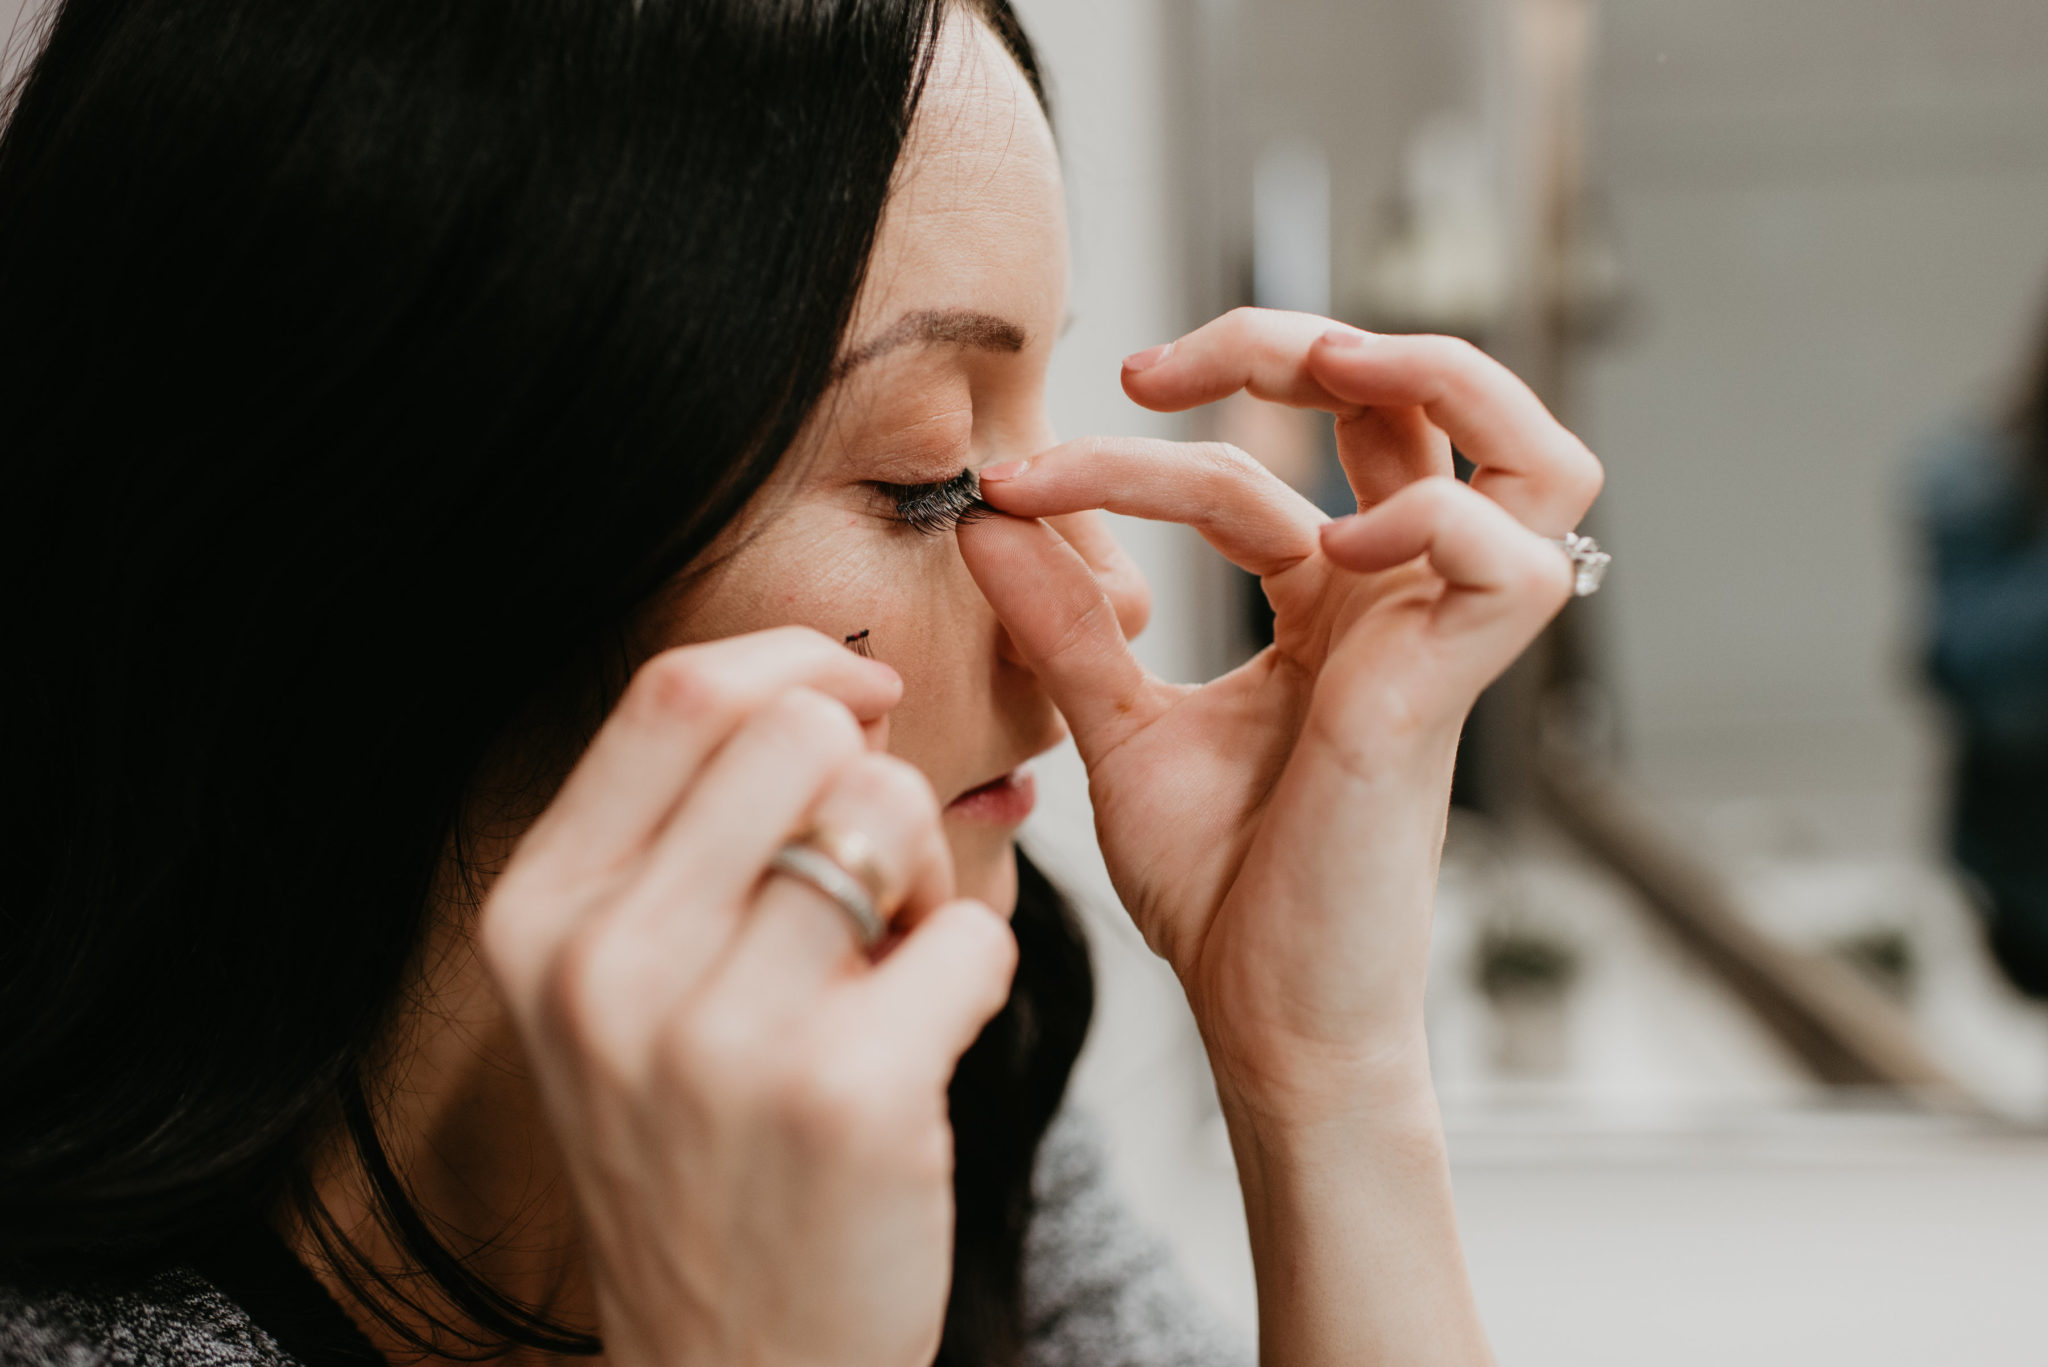
- Many magnetic lashes come with an applicator, but I actually prefer using my hands. Don’t be afraid to try out both and see what works for you.
- Don’t be afraid to readjust until they are just right. This is one of my favorite things about magnetic lashes in comparison to glue on strip lashes: Glue on strip lashes can sometimes be messy, and it’s nearly impossible to readjust without making a mess. There is no mess involved in magnetic lashes!

Magnetic Lash Review: HOW TO APPLY THEM
- Apply Mascara
- Once mascara is dry, apply top lash to your lash line.
- Now it’s time to apply the bottom magnets. Apply outer end magnet first, getting as close to the lash line as possible.
- Next, apply the inner bottom magnet, and do your best to pull it tight leaving no slack in the lashes. (If they are not tight across the lash line they will flap In the wind and not look as natural.
- After both sides are applied, you will notice things you want to adjust. Go back and fourth adjusting each end until it looks just right! I usually adjust 2-3 times after the initial try.

Here’s a look at how they look! I realized I didn’t have a photo looking directly at the camera, so here’s a shot below from the same day wearing the lashes.

You would never know I was wearing magnetic lashes! Trust me I’ve seen some pretty bad magnetic lashes, so let’s talk about the brands I use, and what to look for!
Magnetic Lash Review: BRANDS
One Two Cosmetics Magnetic Lash
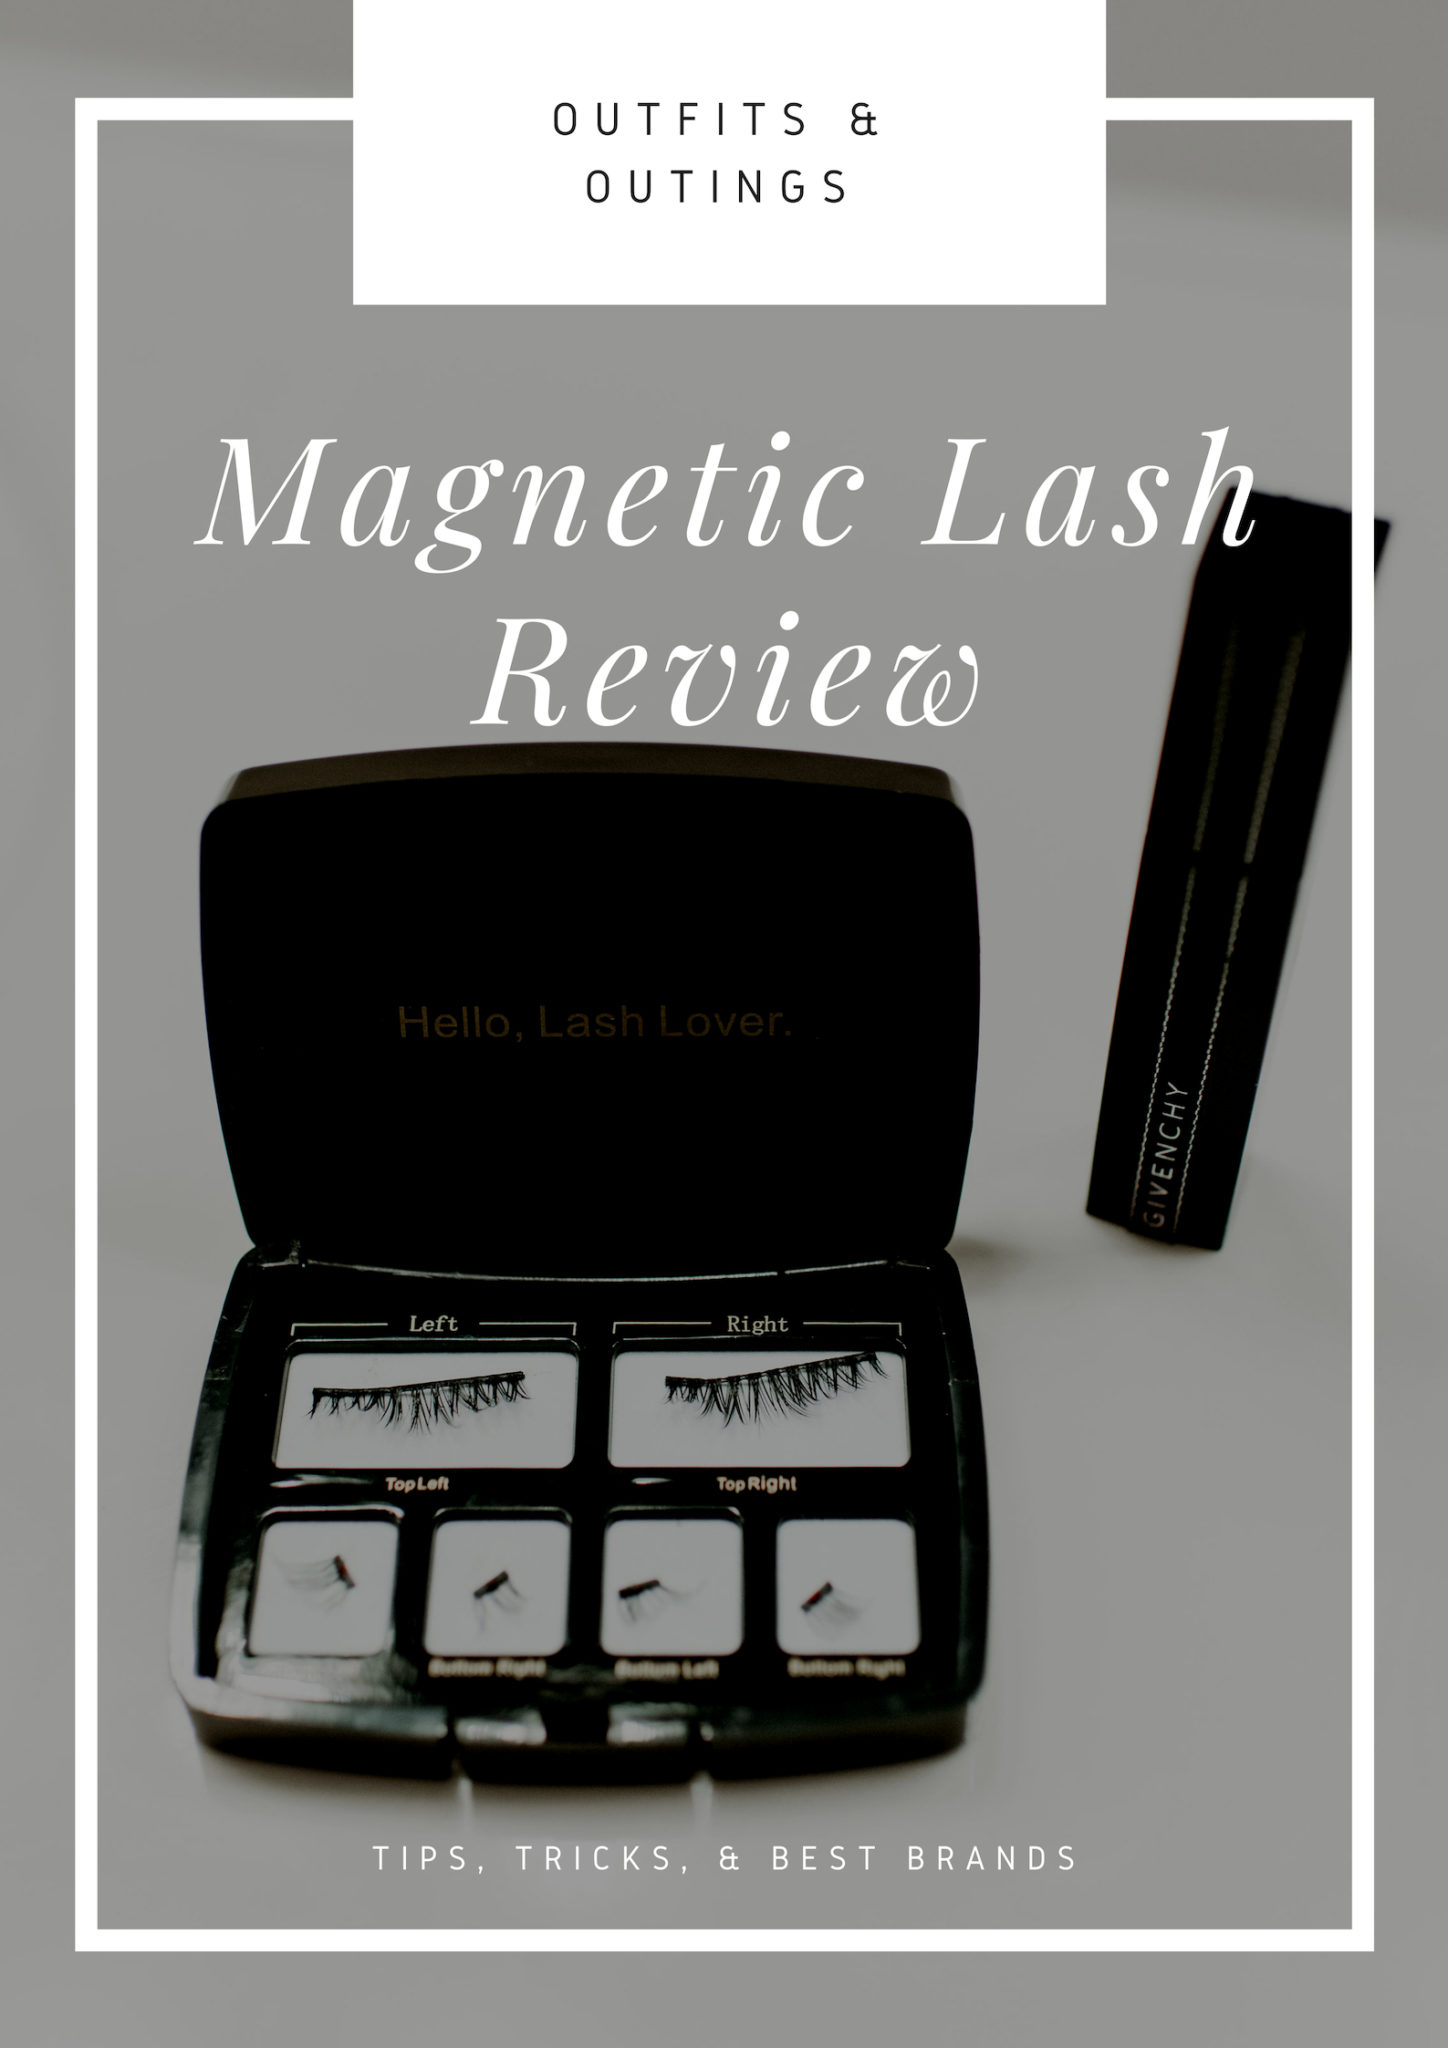
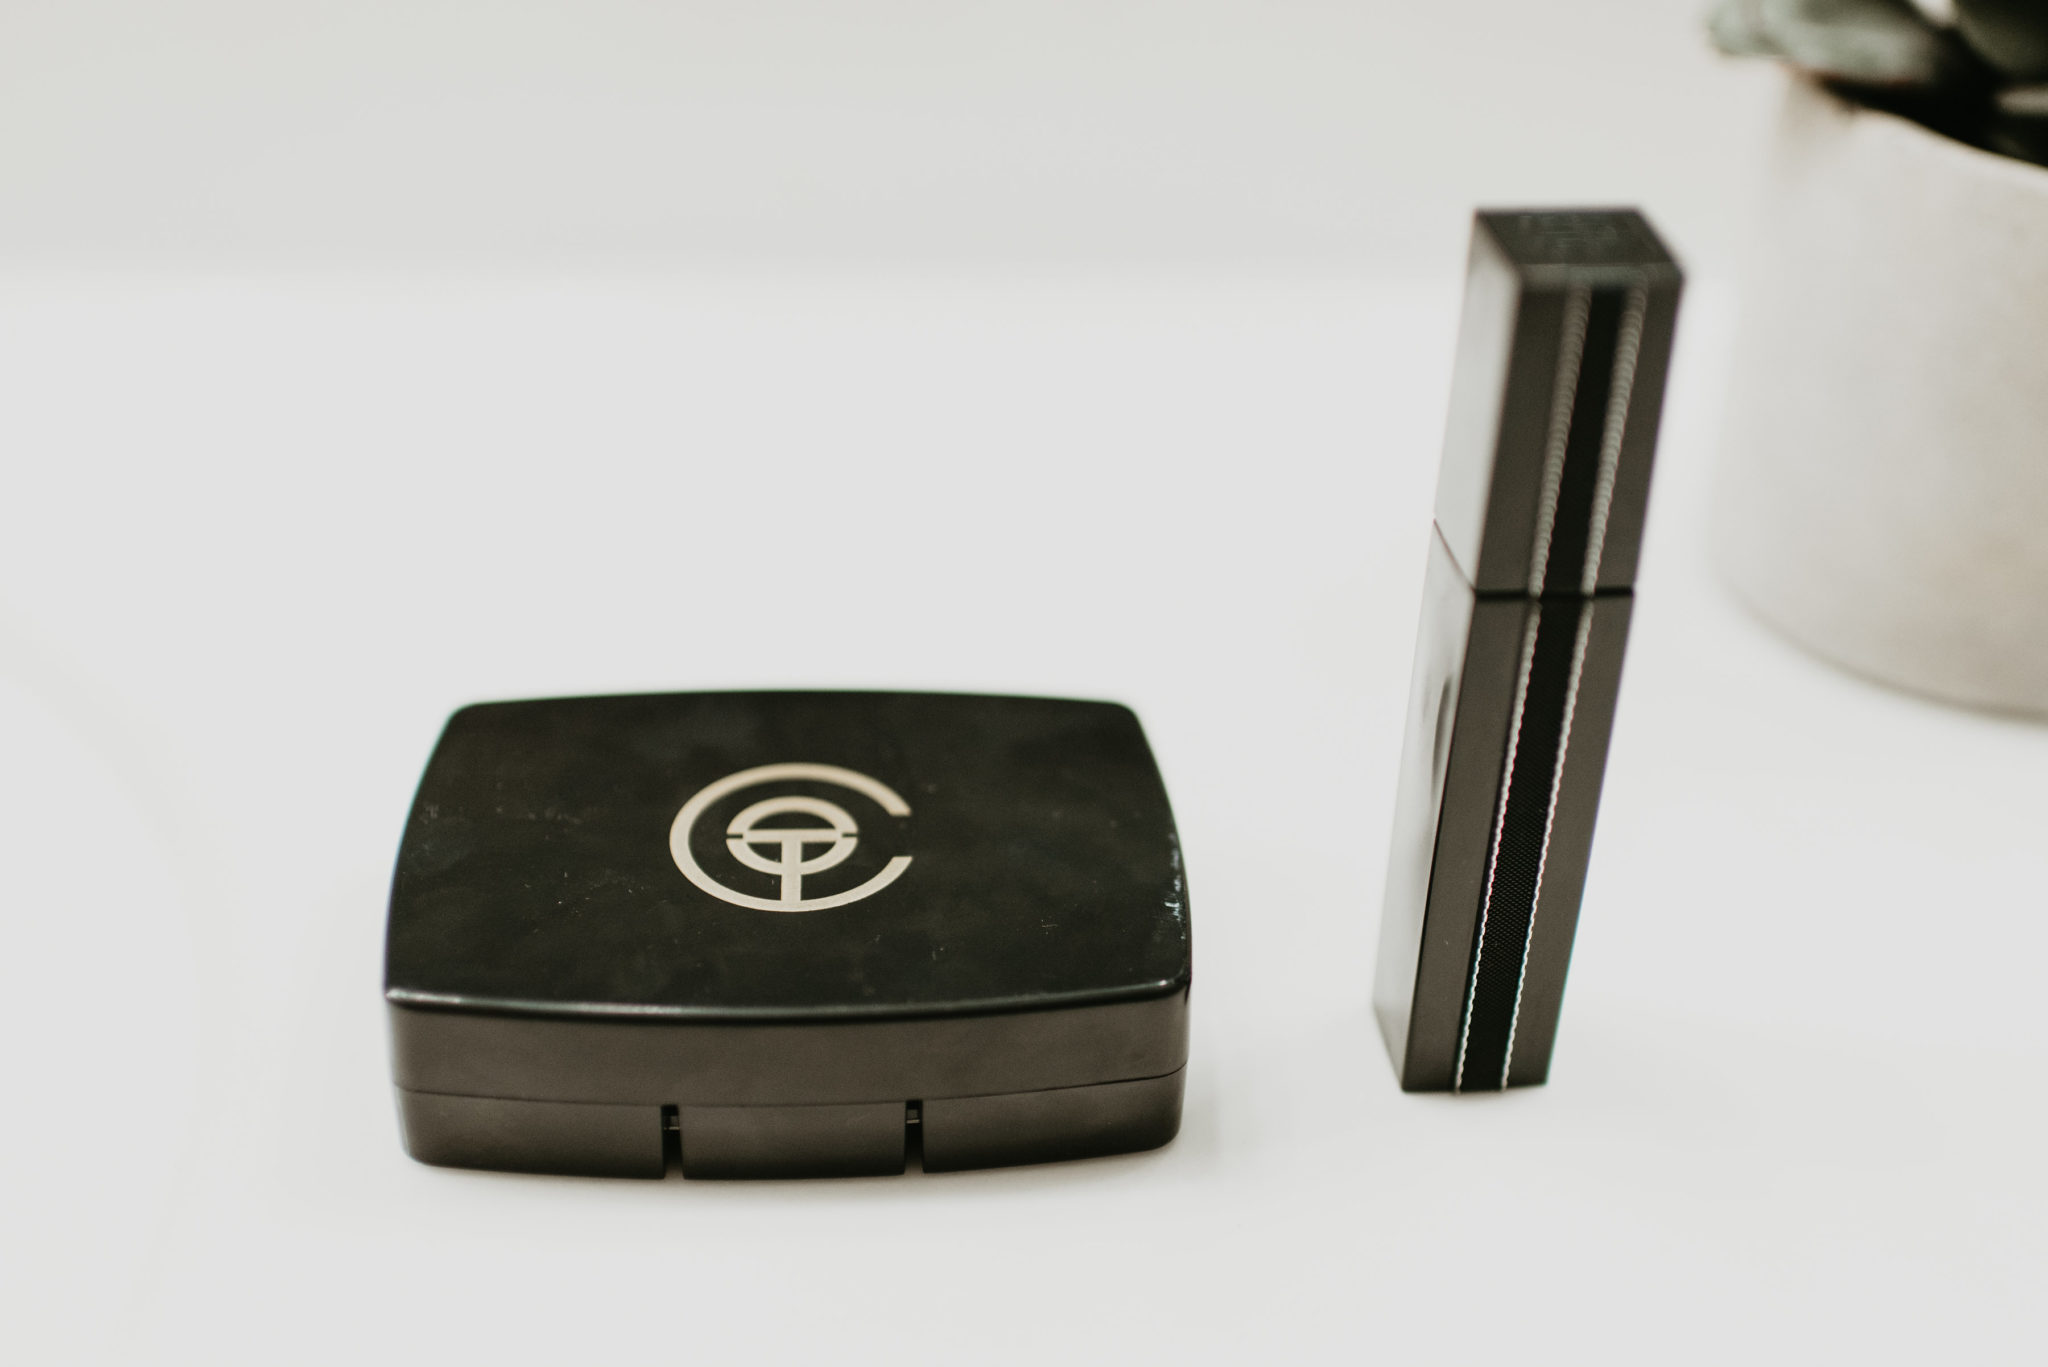
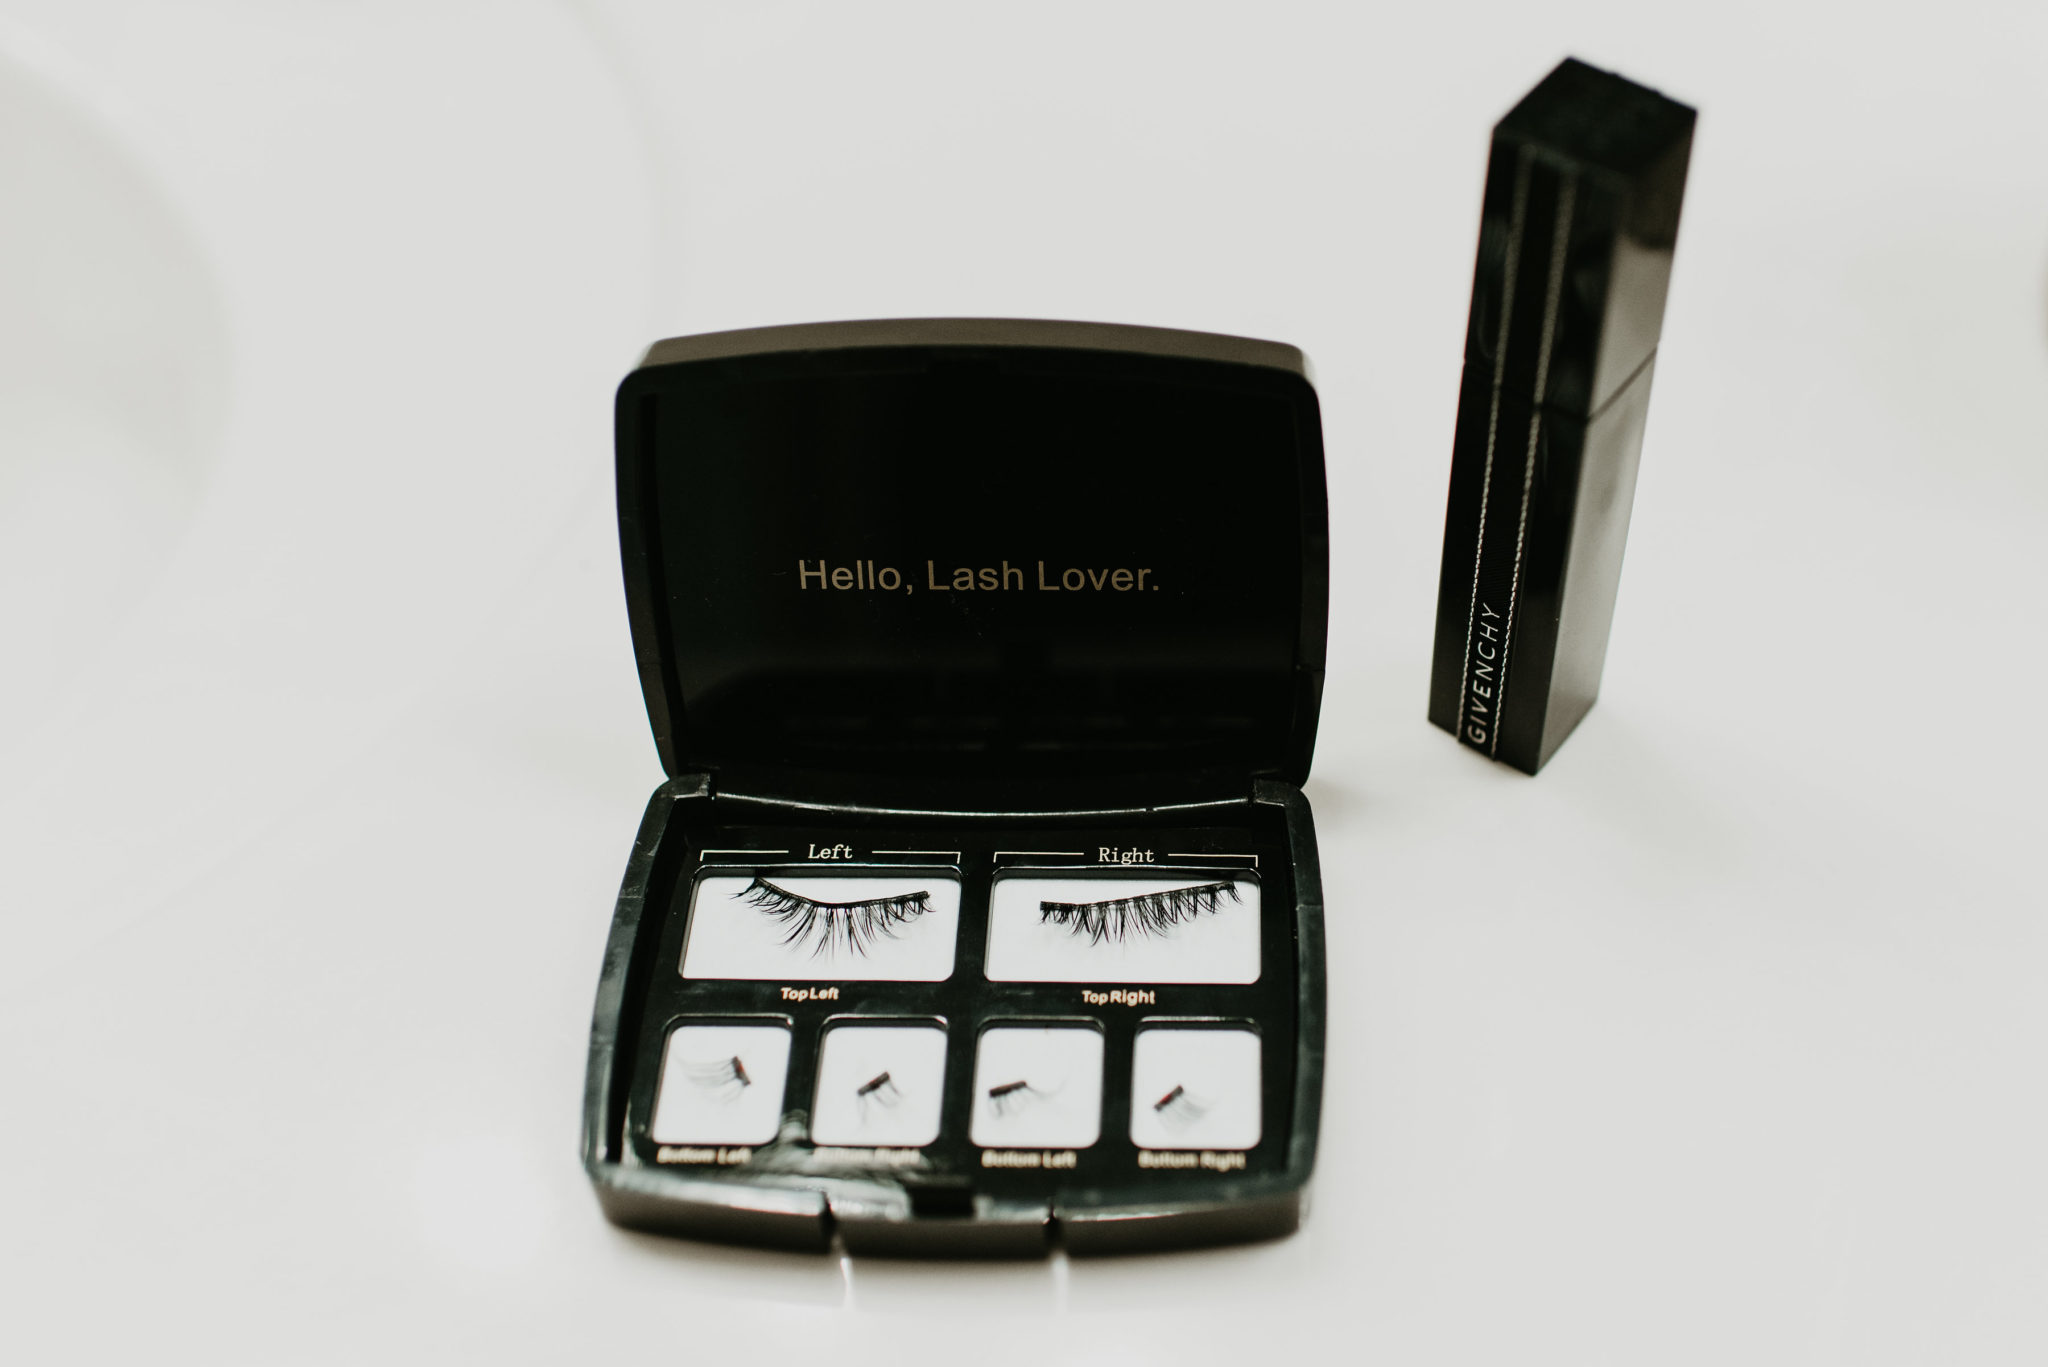
This is the brand featured in this image. They last around 6 months, and have two magnets, one on each end. They also just released one of their styles in Sephora, but I have never tried the half lash length. Most of the time I feel like the half lash length looks very fake, but the how to video on sephoras website makes them look pretty natural looking. You can find their full lashes here along with a 10% off coupon!
Suzie Bumble Magnetic Lash
These lashes are slightly different, but very similar. The price is 1/3 the cost of One Two Cosmetics, but I haven’t been using them long enough to vouch for how long they are going to last. Major bonus that they’re available on amazon! They are slightly shorter than the one two cosmetics brand, which is the only downside. Just a tiny bit longer would make them perfect, but unfortunately I have to add extra mascara to try my best to blend the corner. These have 3 magnets rather than two which makes them a little easier to apply, and the flapping in the wind that happens when they aren’t stretched tight enough isn’t as prevalent with these. (If you follow me on Instagram, this is the brand I shared on Instagram stories a few days ago!) You can check them out here.
Ardell Magnetic Lash
This one was a surprise to me. I thought I was going to love Ardell magnetic lashes because I absolutely love their glue on strip lashes, but they seemed very fake and plastic looking. Do yourself a favor and save your time and money here.
I hope you loved this magnetic lash review. I would love to see you rocking your new magnetic lashes, so tag me on Instagram stories once you have mastered the application!
Loving this magnetic lash feature? Click here now for more beauty essentials!!
XOXO


