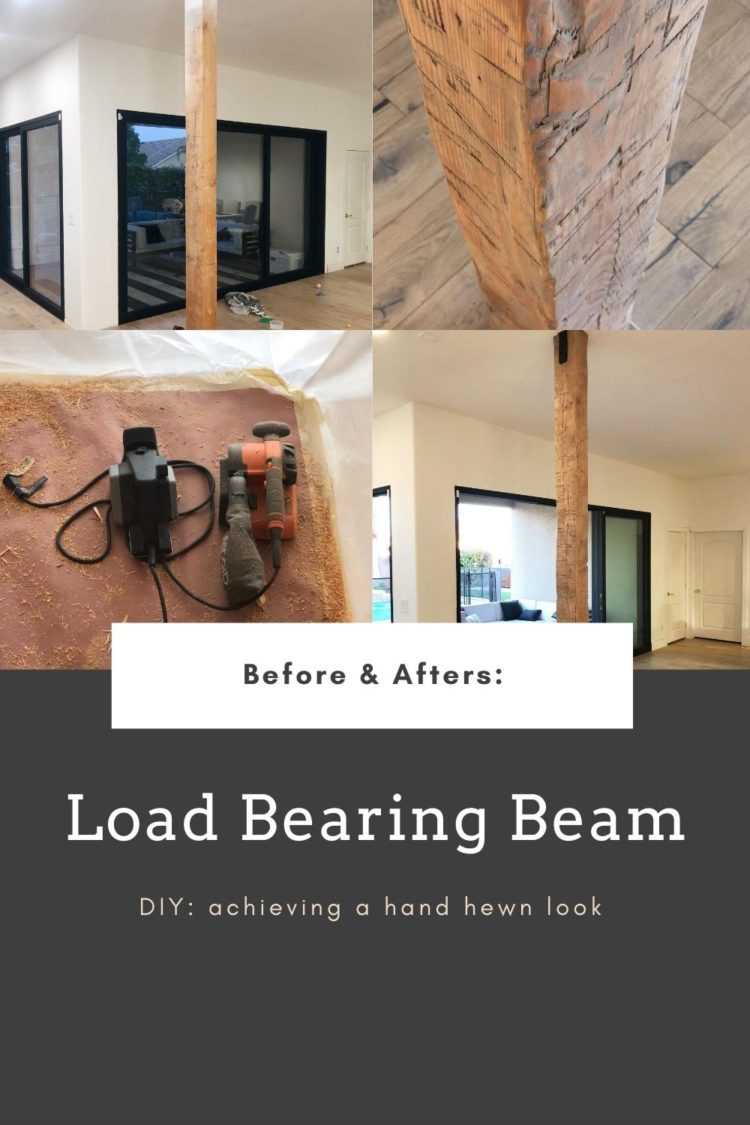
When we were buying this house, we knew there was a lot that we wanted to change about it. That included removing an old fireplace and entertainment wall that was in the middle of the room. However, what was behind that wall was a huge 5×7 support beam that is load bearing. We went through a lot of different load bearing beam ideas. The original plan was to wrap it with 1 inch pine board, but we scrapped that idea and decided to distress the beam itself and give it a hand hewn look. Scroll down to read more about this project!
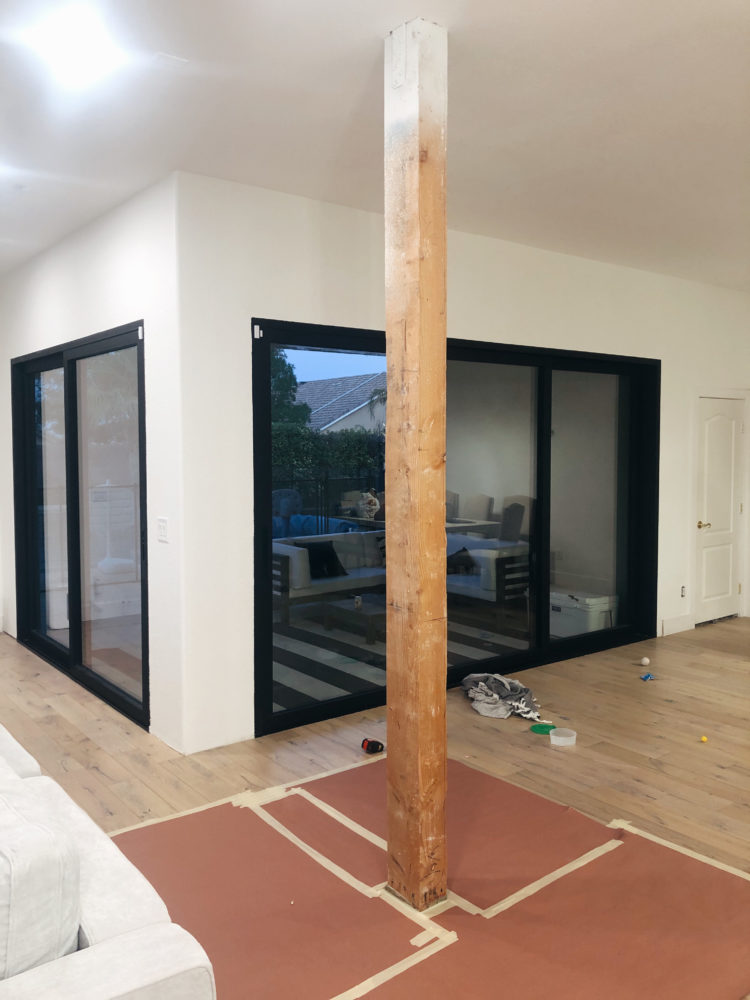
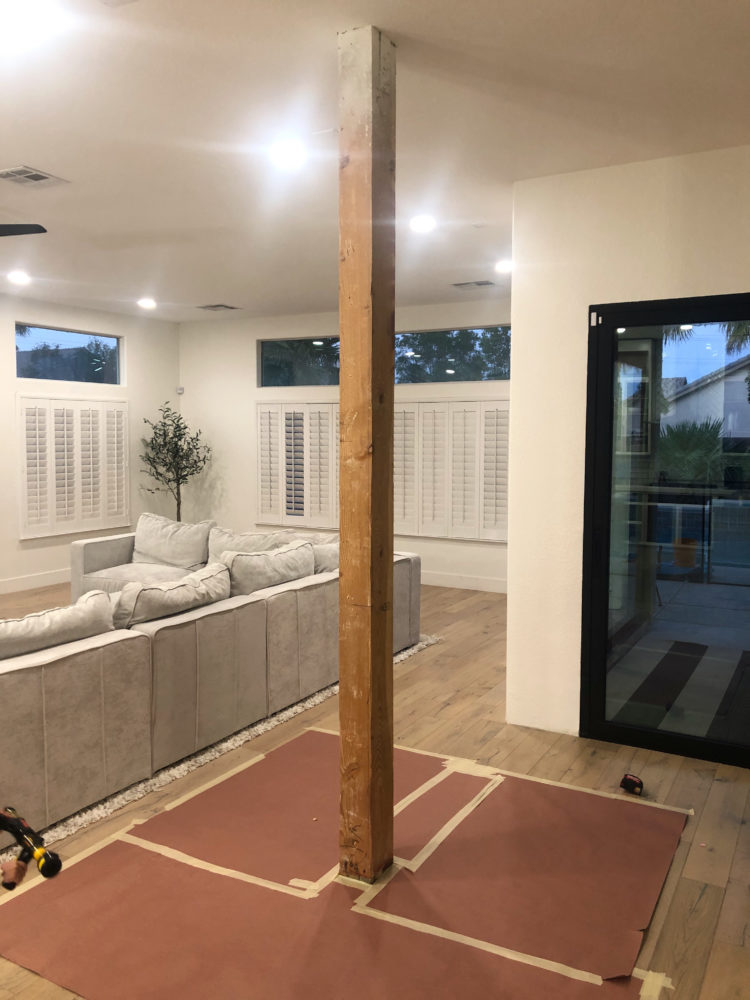
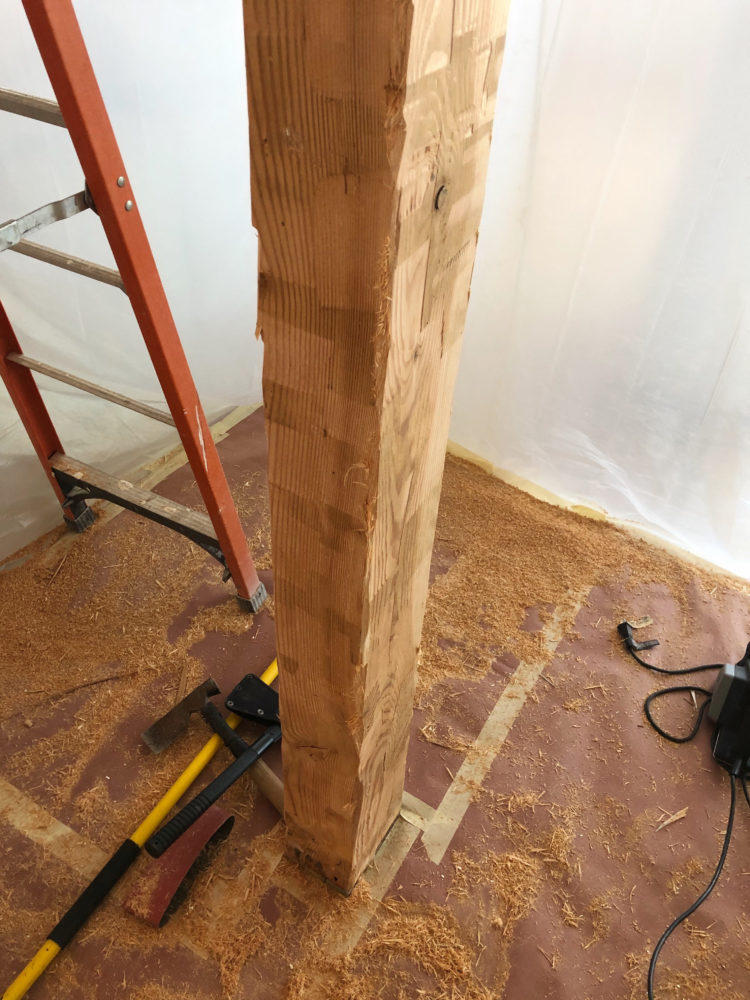
LOAD BEARING BEAM BEFORE:
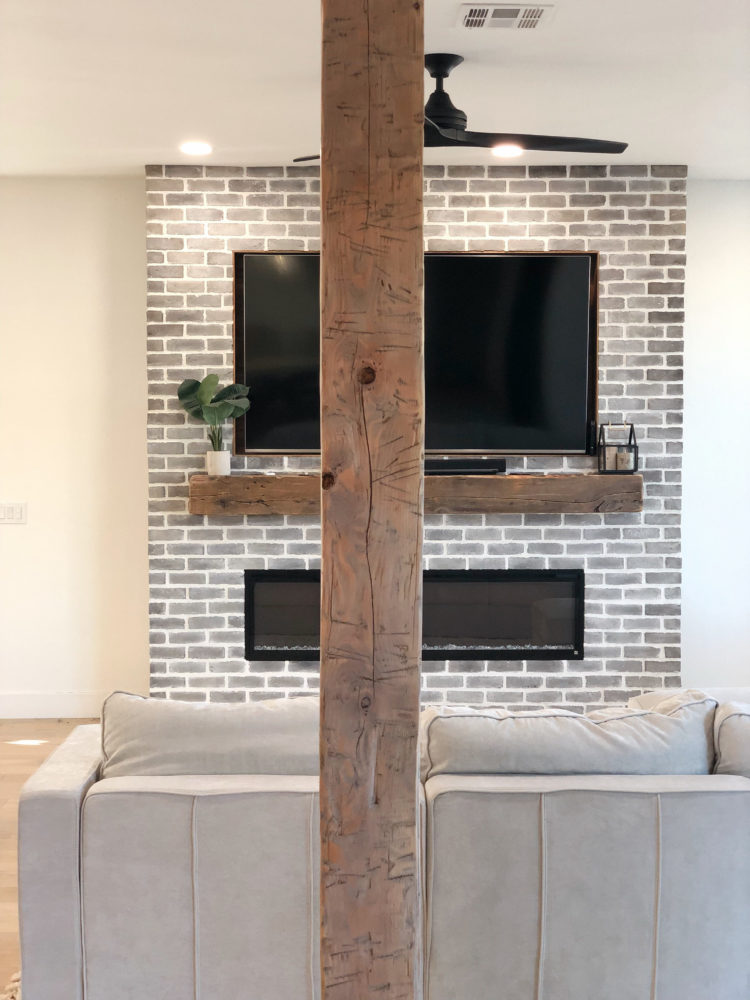
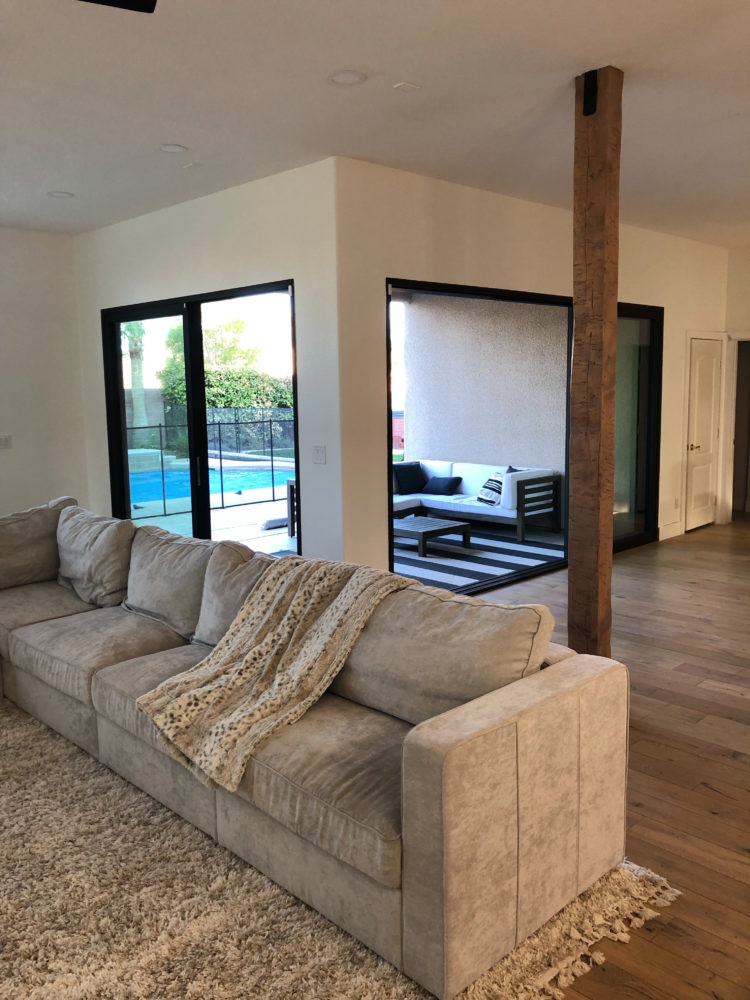
LOAD BEARING BEAM AFTER:
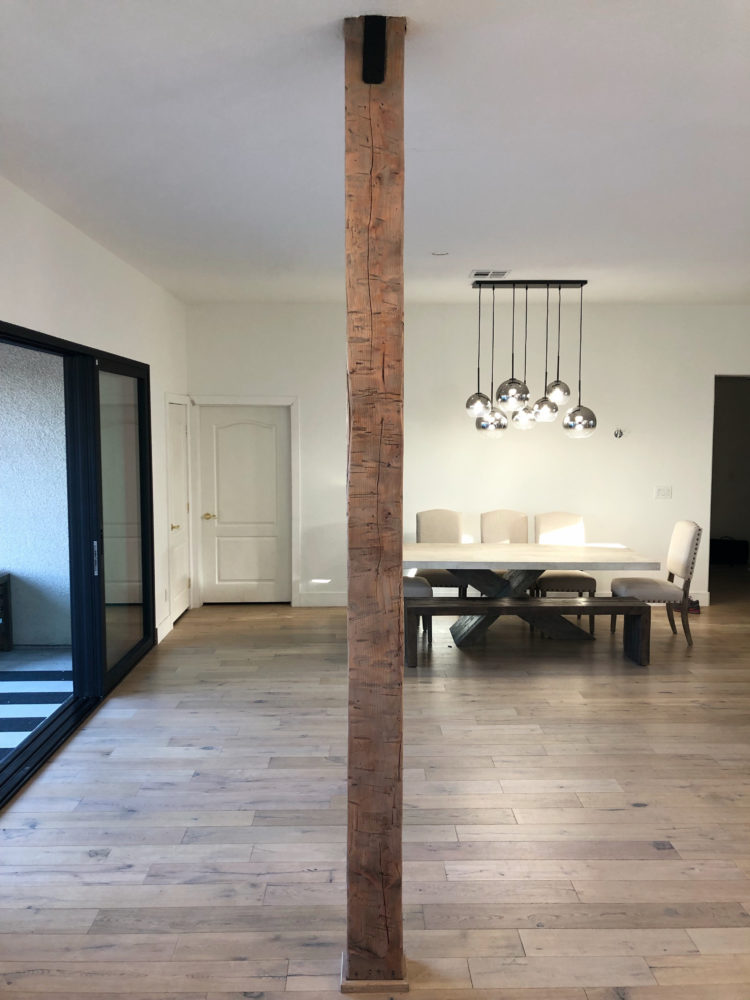
Bretts notes on how he achieved the hand hewn beam look:
Load Bearing Beam Ideas Step 1: Clean it up
First step was to clean it up, which meant removing spray paint, texture, and any remaining nails.
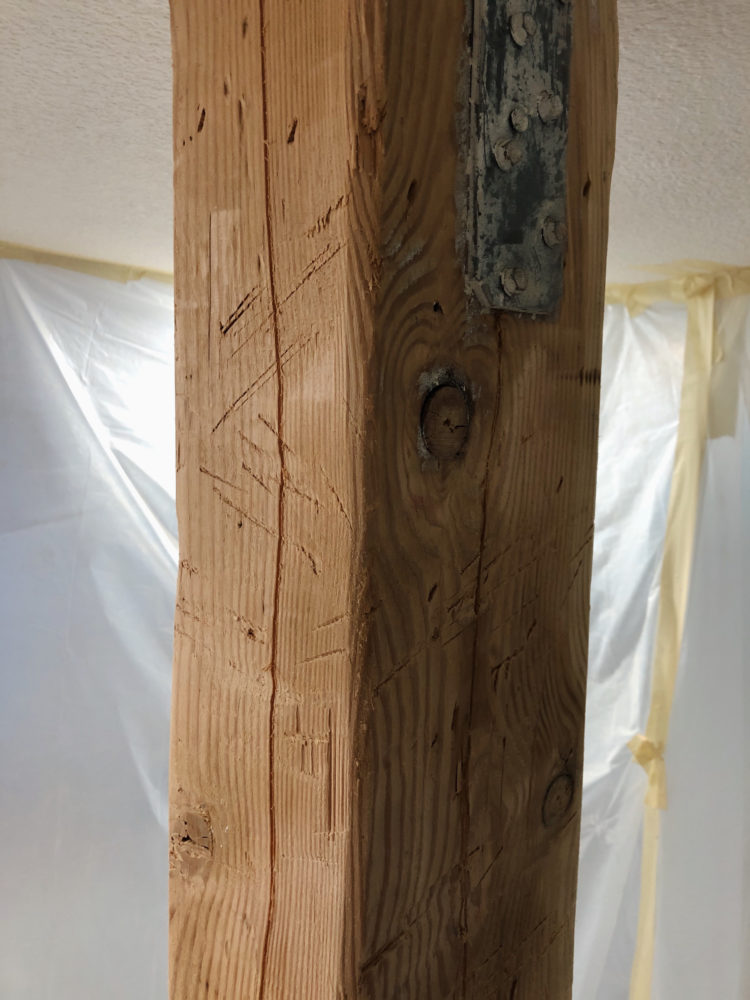
Load Bearing Beam Ideas Step 2: Distressing
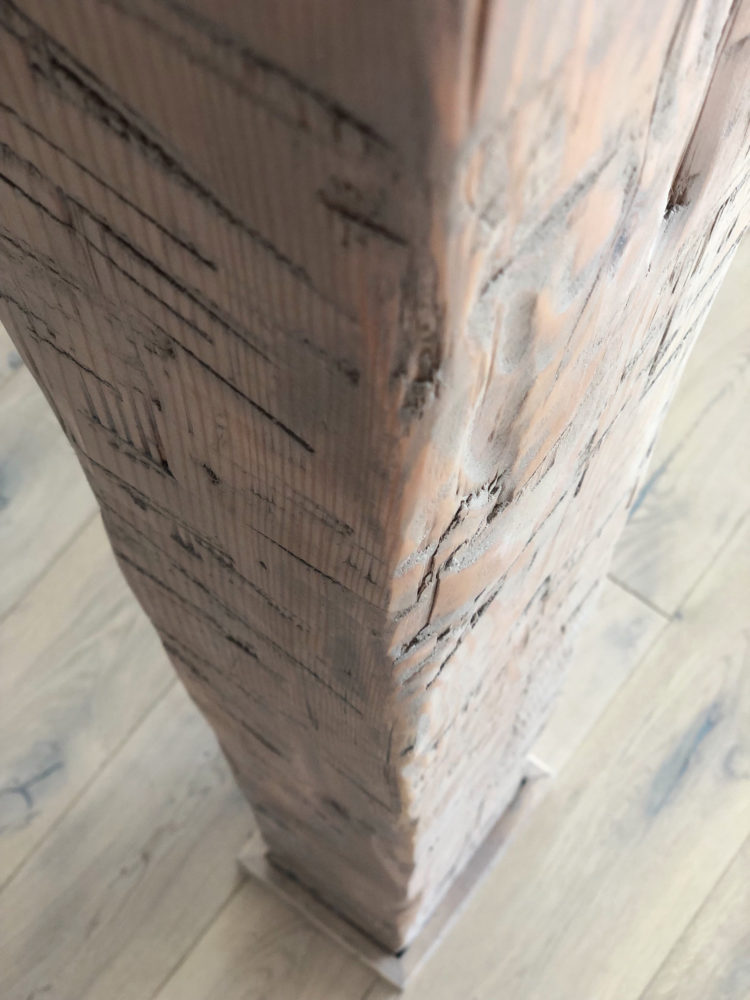
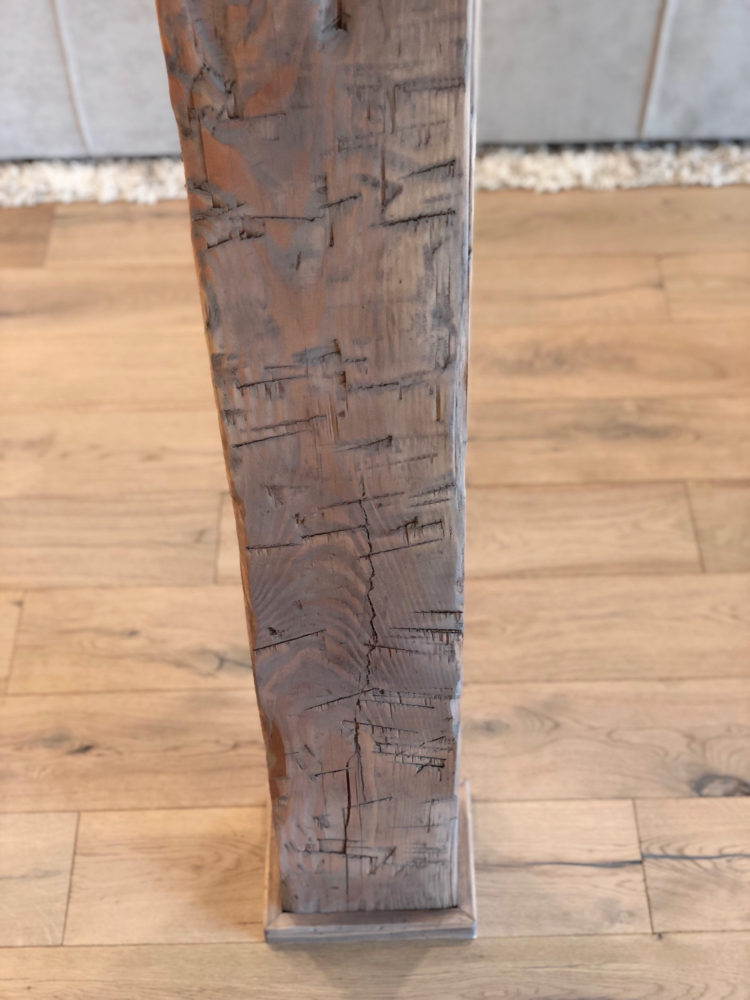
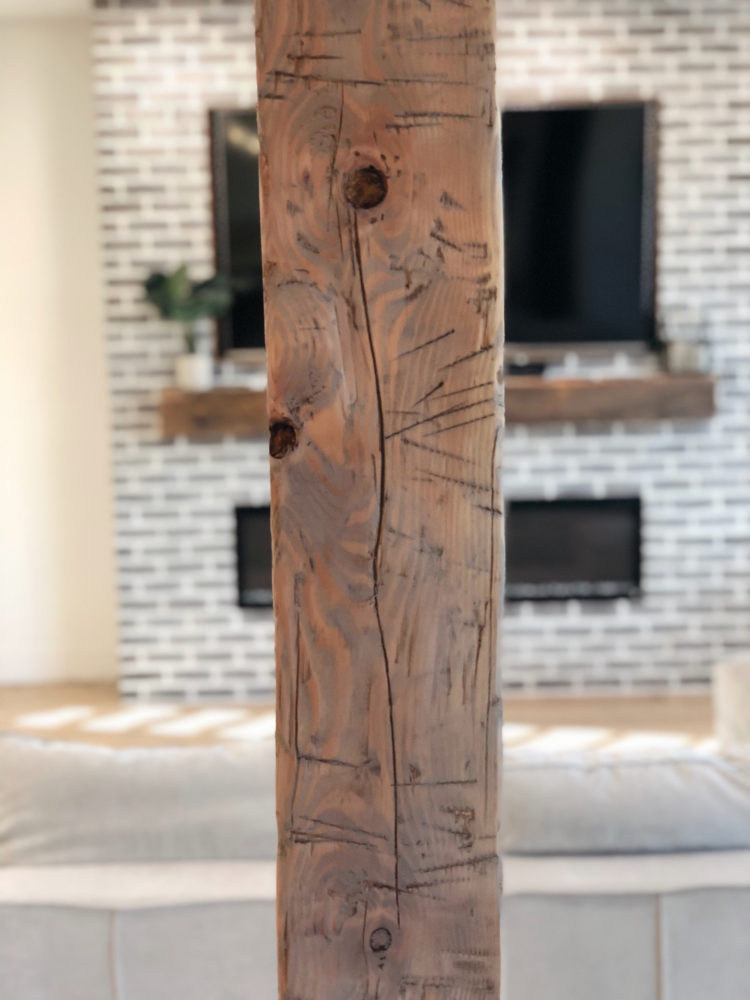
Once it was all cleaned up, it was time to start distressing and giving it that hand hewn look. There are many ways to achieve the hand hewn look, I used an electric planer and a hatchet. While using the planer in a rocking motion go up the beam making 3-4 inch marks, leaving plenty of room in-between. Next is hatchet time! strike the beam at a downward angle where you used the planer. This roughed up the beam quite a bit so I used a belt sander to smooth it your before I continue. The next portion is creating your fine details. I beat the beam with a chain, used my set of chisels to take out chunks in the wood as well as round the edges, and created “cracks” in the wood too give it a splitting look. In my opinion the artificial “cracks” are what gives the beam its worn and aged look. Once you are done with your fine details it time to give it a final sand using #220 grit and prep it for staining.


Load Bearing Beam Ideas Step 3: Spray Paint Brackets
After cleaning up the beam from the dust as well as my working area, I spray painted that top two brackets black to help match the rest of the house as well give it a clean look.

Load Bearing Beam Ideas Step 4: The Staining Process
I first applied Varathane pre-stain which allows the stain to penetrate the wood better as well as avoids blotchiness. My first coat was Varathane’s Special Walnut which gave it a nice brown undertone. Once that was completely dry, I applied Varathane’s Sunbleached stain on top and then lightly wiped it off. This is how I achieved the gray weathered look. There are definitely many ways to achieve that weathered look, however this technique has worked well for me in the past.