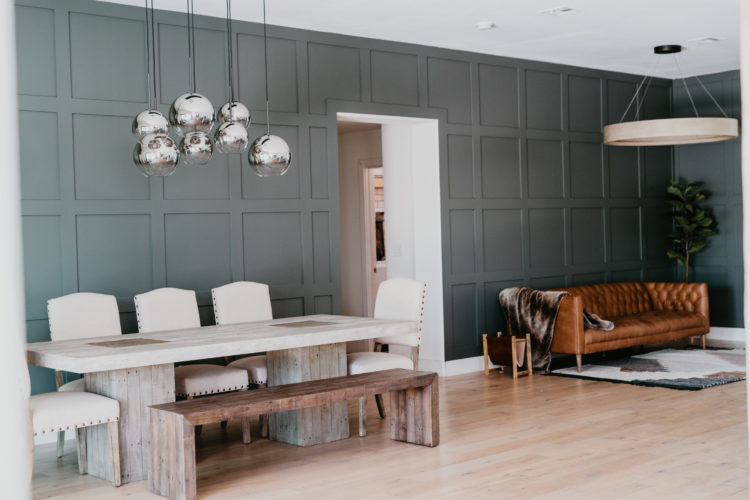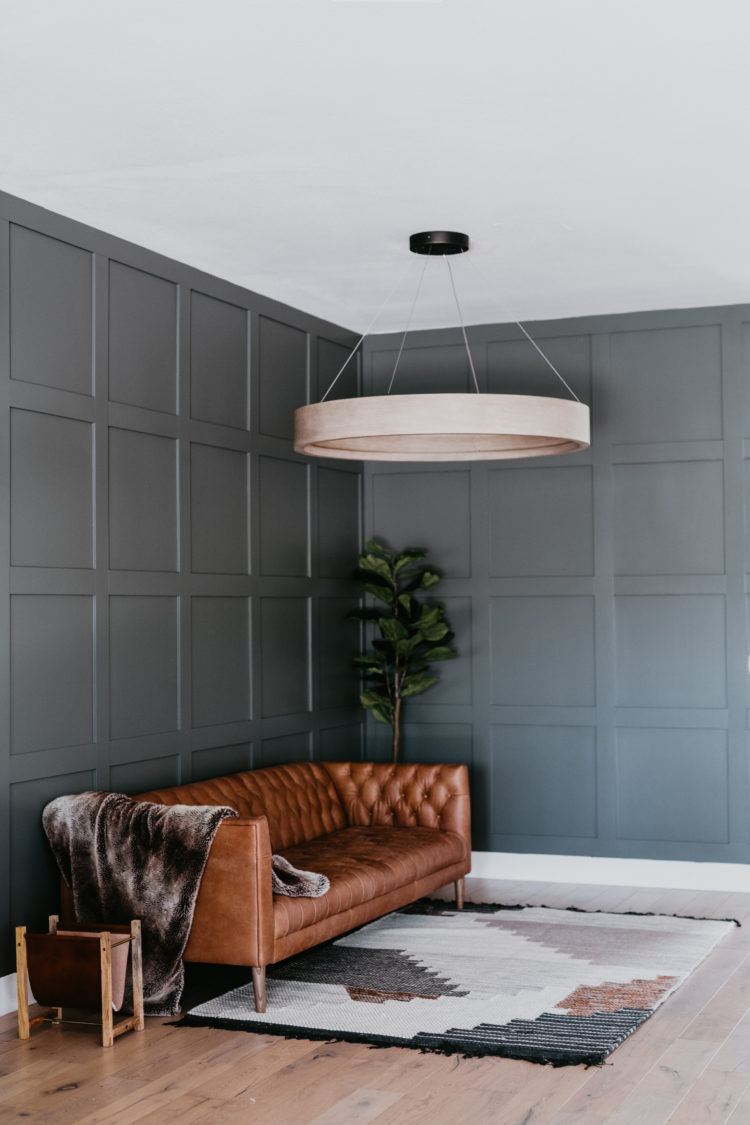
We knew from the moment we bought our house that it would be fun to create a grey DIY statement wall. Although I love white walls, I really wanted to elevate this particular space. Well, we finally finished enough projects and it was time to begin our board and batten wall. There are a lot of stunning options for DIY statement walls right now, but I wanted to be sure we chose a style that was a little more classic and a little less trendy. Keep reading for the number one thing we did wrong! I hope you find these 5 tips to design your own DIY accent wall to be helpful!
5 Tips to Design your Own DIY Accent Wall
The Before
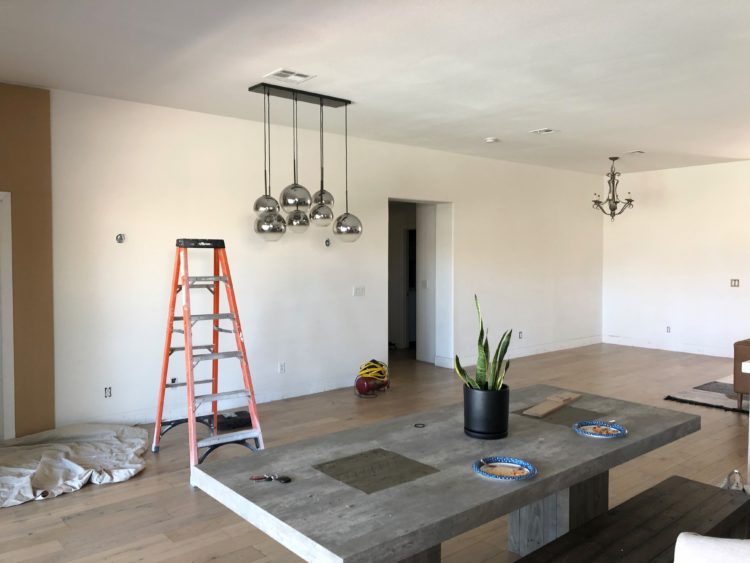
This is what the wall looked like prior to the project! We spent a lot of time going over our options on how to space out the squares, and which side to start from. I knew I wanted it to be 4 squares high, so obviously that measurement was easy to figure out. The fact that we had two walls, a corner, and the door cutouts made the decision of where to start a little bit tricky. We ended up starting on the far left side, leaving a more narrow section on the far right end.
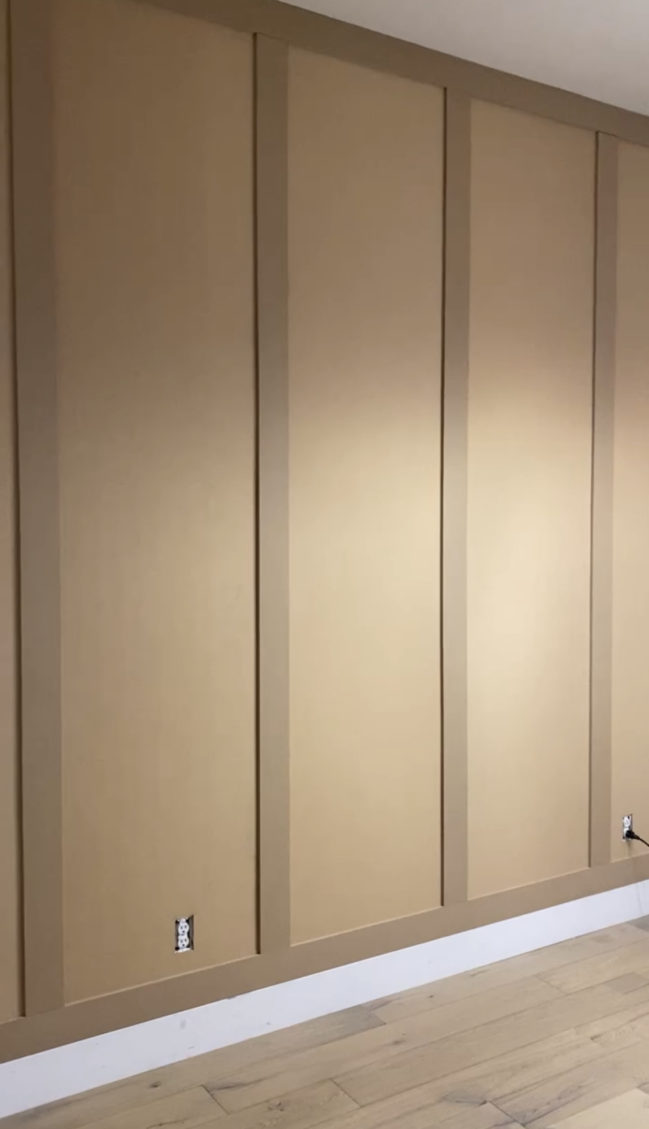
As you can see, we started with the back panels and moved onto the vertical lines. Using the MDF board on the back panels smooths out the surface and looks much nicer than textured walls inside of each square.
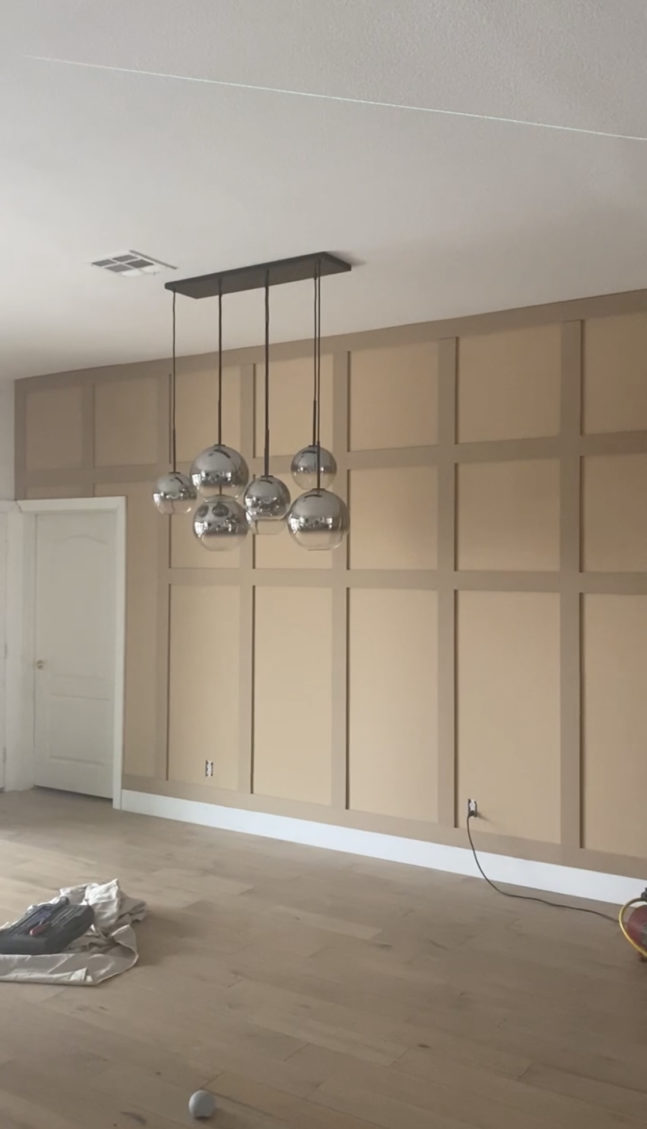
Once all vertical lines were finished, it was time for the horizontal pieces.
5 Tips to Design your Own DIY Accent Wall:
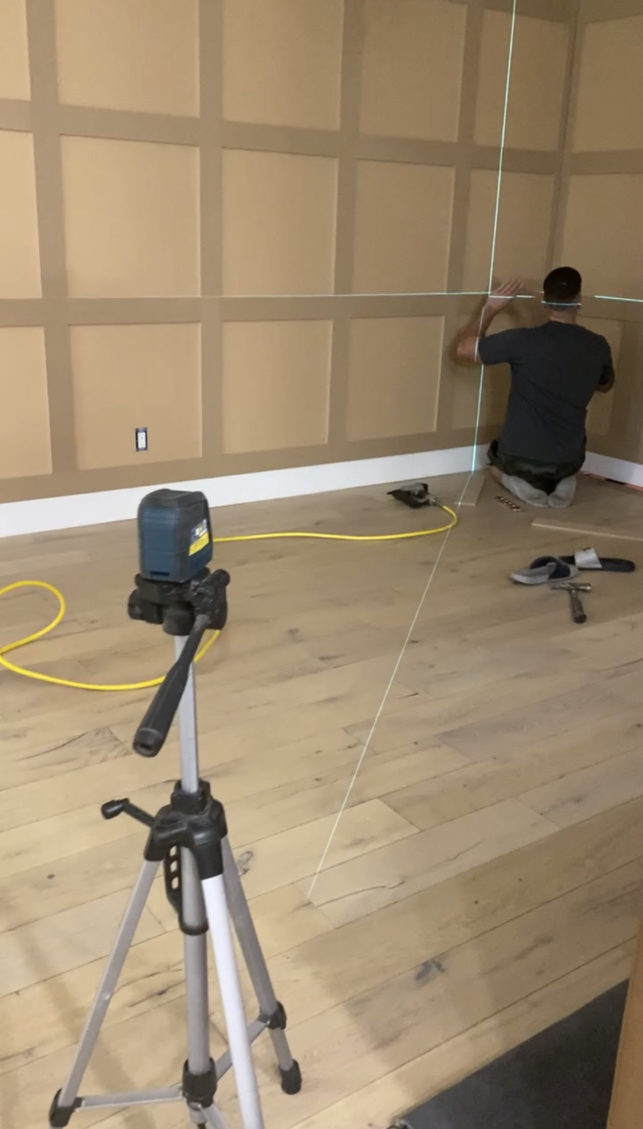
This laser made the project fly by! You can find it on Amazon here, and I highly recommend it for this type of project.
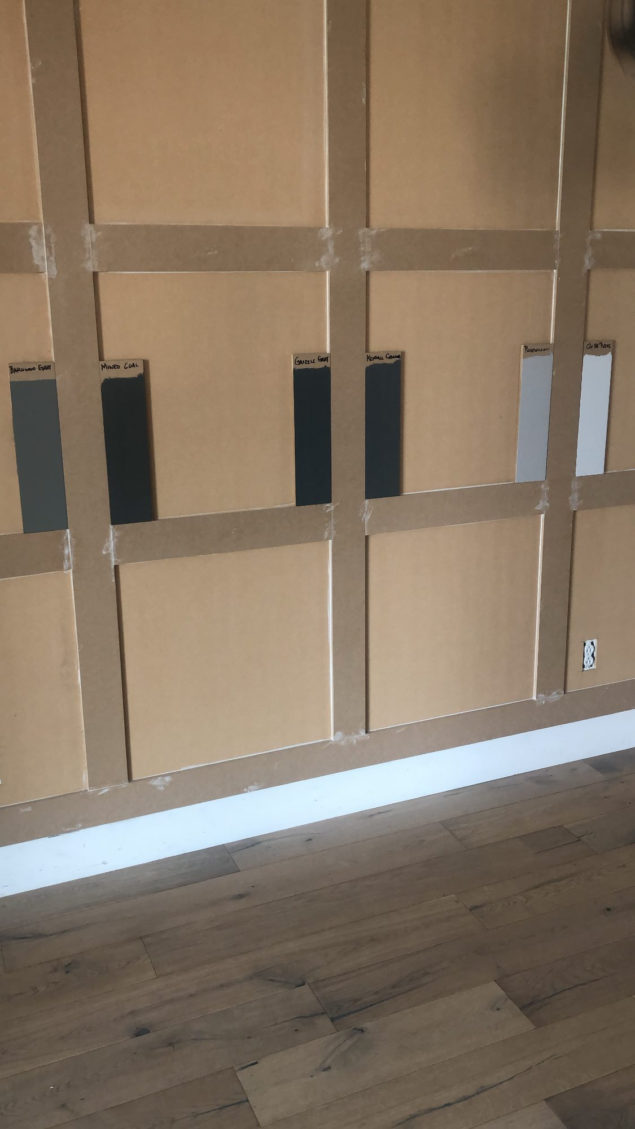
After all lines were finished, it was time to caulk and choose a color.
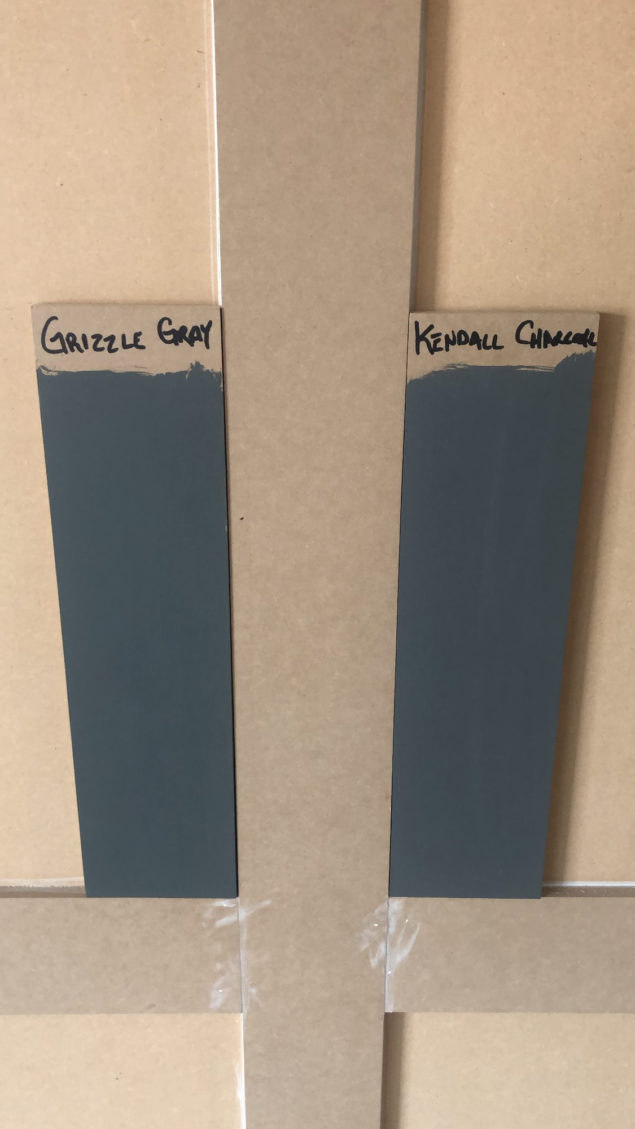
And then there were two. . .
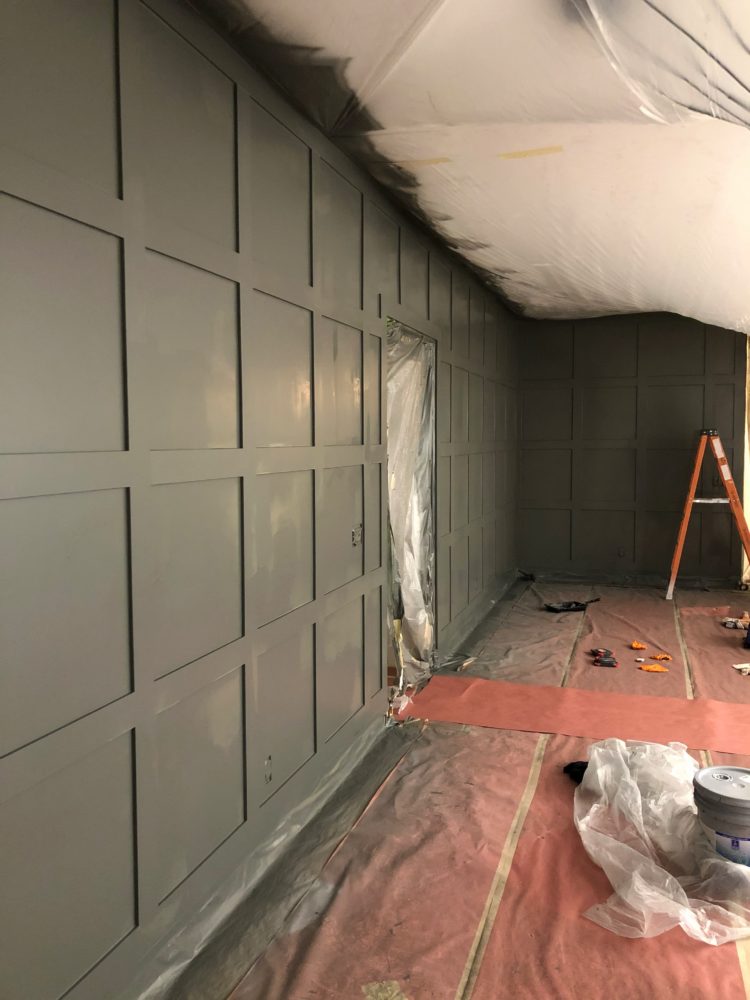
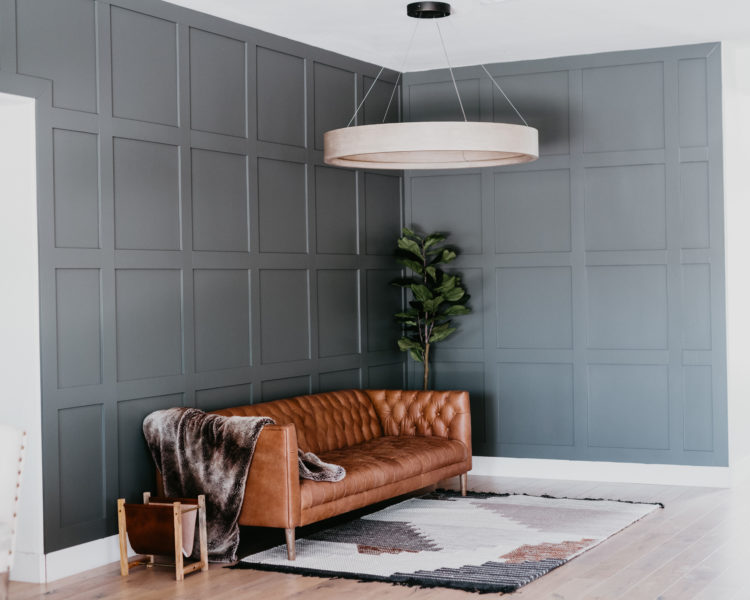
We ended up going with Sherwin Williams Grizzle Gray. One of the most common questions we receive is if it has a green tint to it. To be honest, this color does not look green in person, but it always seems to photograph slightly green.
5 Tips to Design your Own DIY Accent Wall:
- Plan ahead. Don’t start nailing anything until you have measured everything and either tape or mark the wall.
- Use a laser. We used this self leveling laser to ensure our lines we’re perfect, and honestly I wish we had bought it sooner for previous projects.
- Use MDF for back paneling as well as lines for a smooth texture.
- Caulk before you paint. For a more flawless look use BONDO or Wood Fill because caulking shrinks. (This is tedious, but worth it).
- Painting tip: This is the number one tip I wish we knew sooner! Make sure you have the appropriate spray tip for the job. If your spray tip is too large then you will have a lot of over spray which will end up creating a mess and or runny paint. We also used an oil based primer which was extremely strong so be prepared!
Tools needed for our DIY Accent Wall:
- Nail Gun
- Paint Sprayer with FFLP tip
- MDF board: We bought 4’x10′ 1/2″ boards and cut them.
- Caulking, BONDO, or Wood Fill
- Self Leveling Laser
- Level
- Paint (We used an oil based primer, then Sherwin Williams Grizzle Grey.)
Click here for furniture details!
Click here for more home projects!
Have you ever done a DIY accent wall before? Let me know in a comment below!

