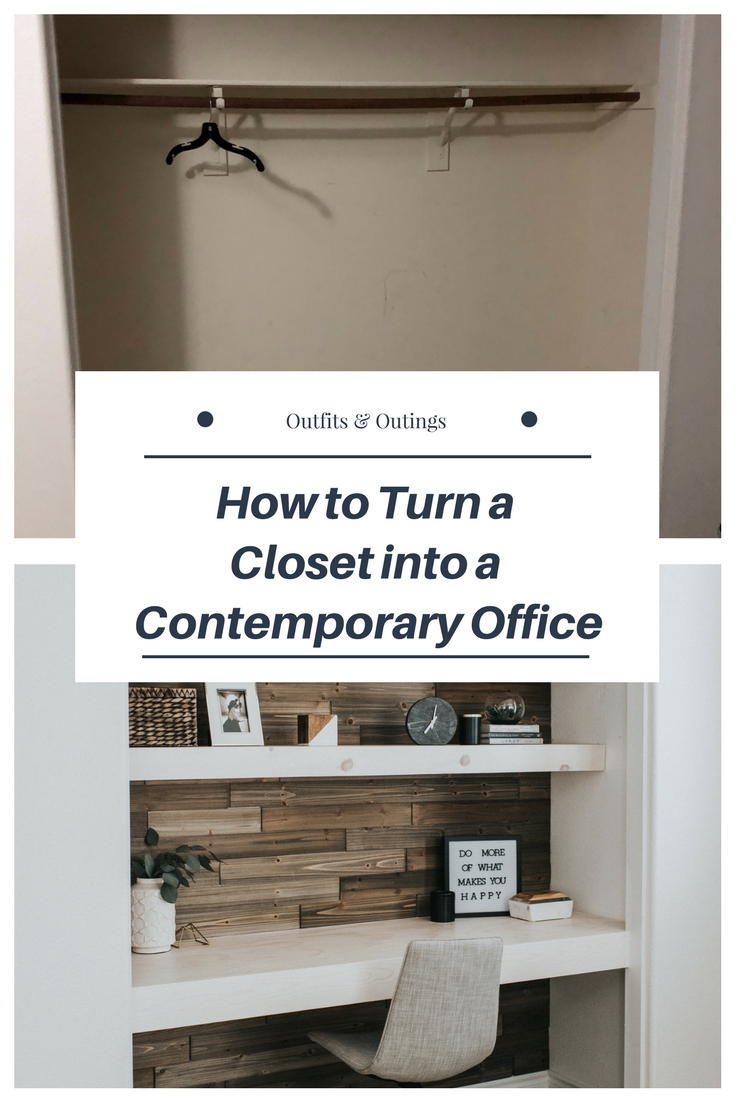
Since our guest room/office is turning into Michael’s new room, we knew we needed to get creative with contemporary office ideas. When Brett first told me he could turn the junk closet in our game room into an office space, I didn’t quite understand how much I would love the finished product. I’m all for making every space in our home functional and useful, so we started researching the best contemporary office ideas that would fit the style of our game room. We came up with a game plan, and I couldn’t believe how easy Brett made the whole process look! (If you’re new around here, you must see my closet makeover that Brett did two years ago!) We took progress photos of this project along the way in order to show you exactly how he did it!
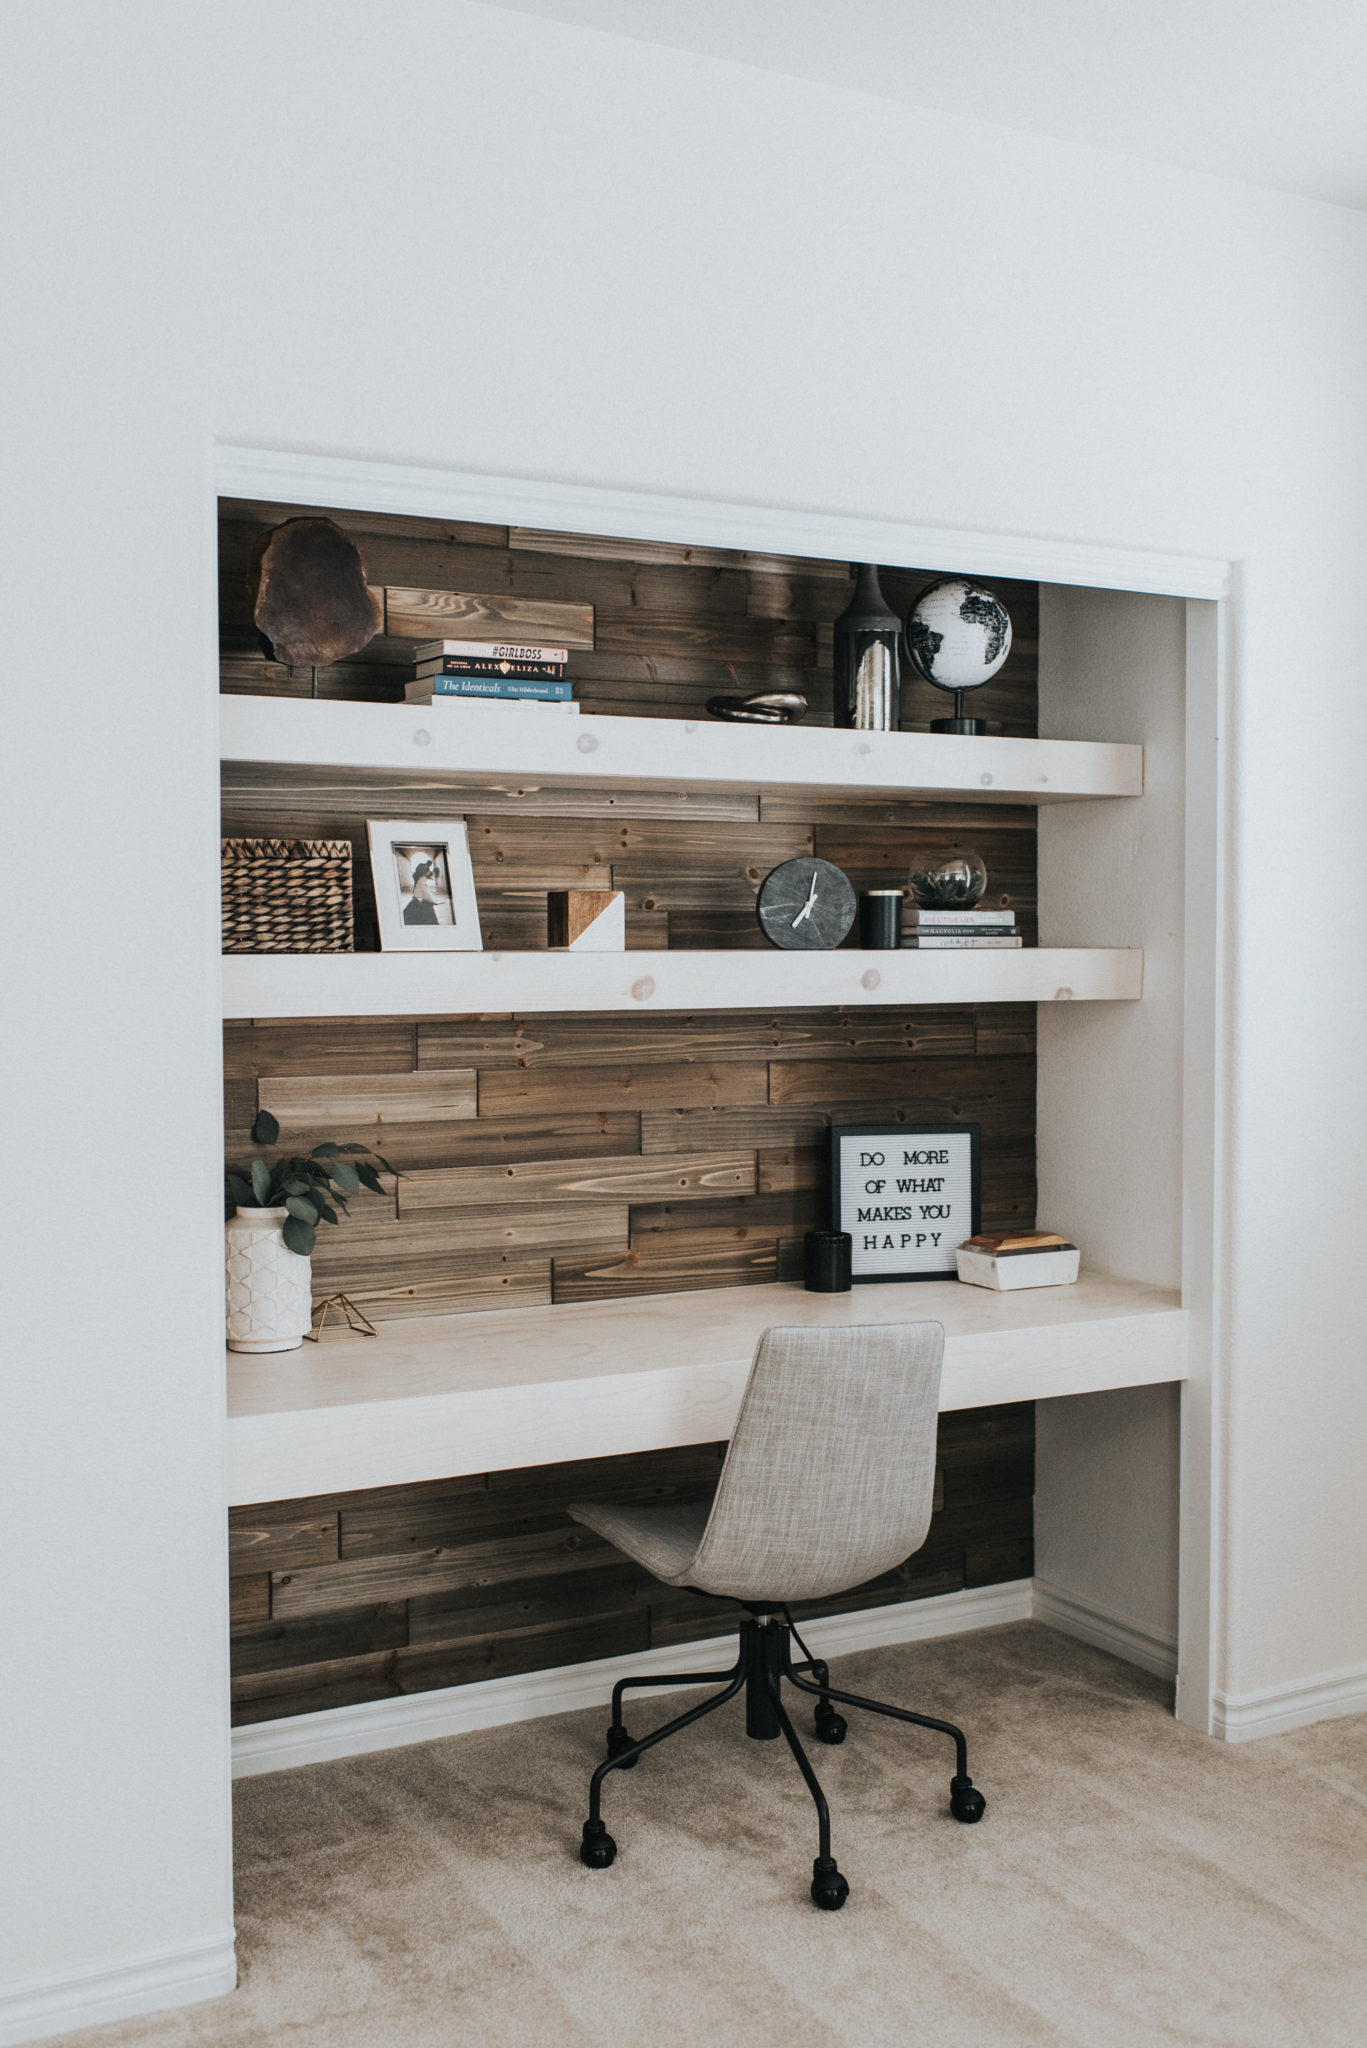
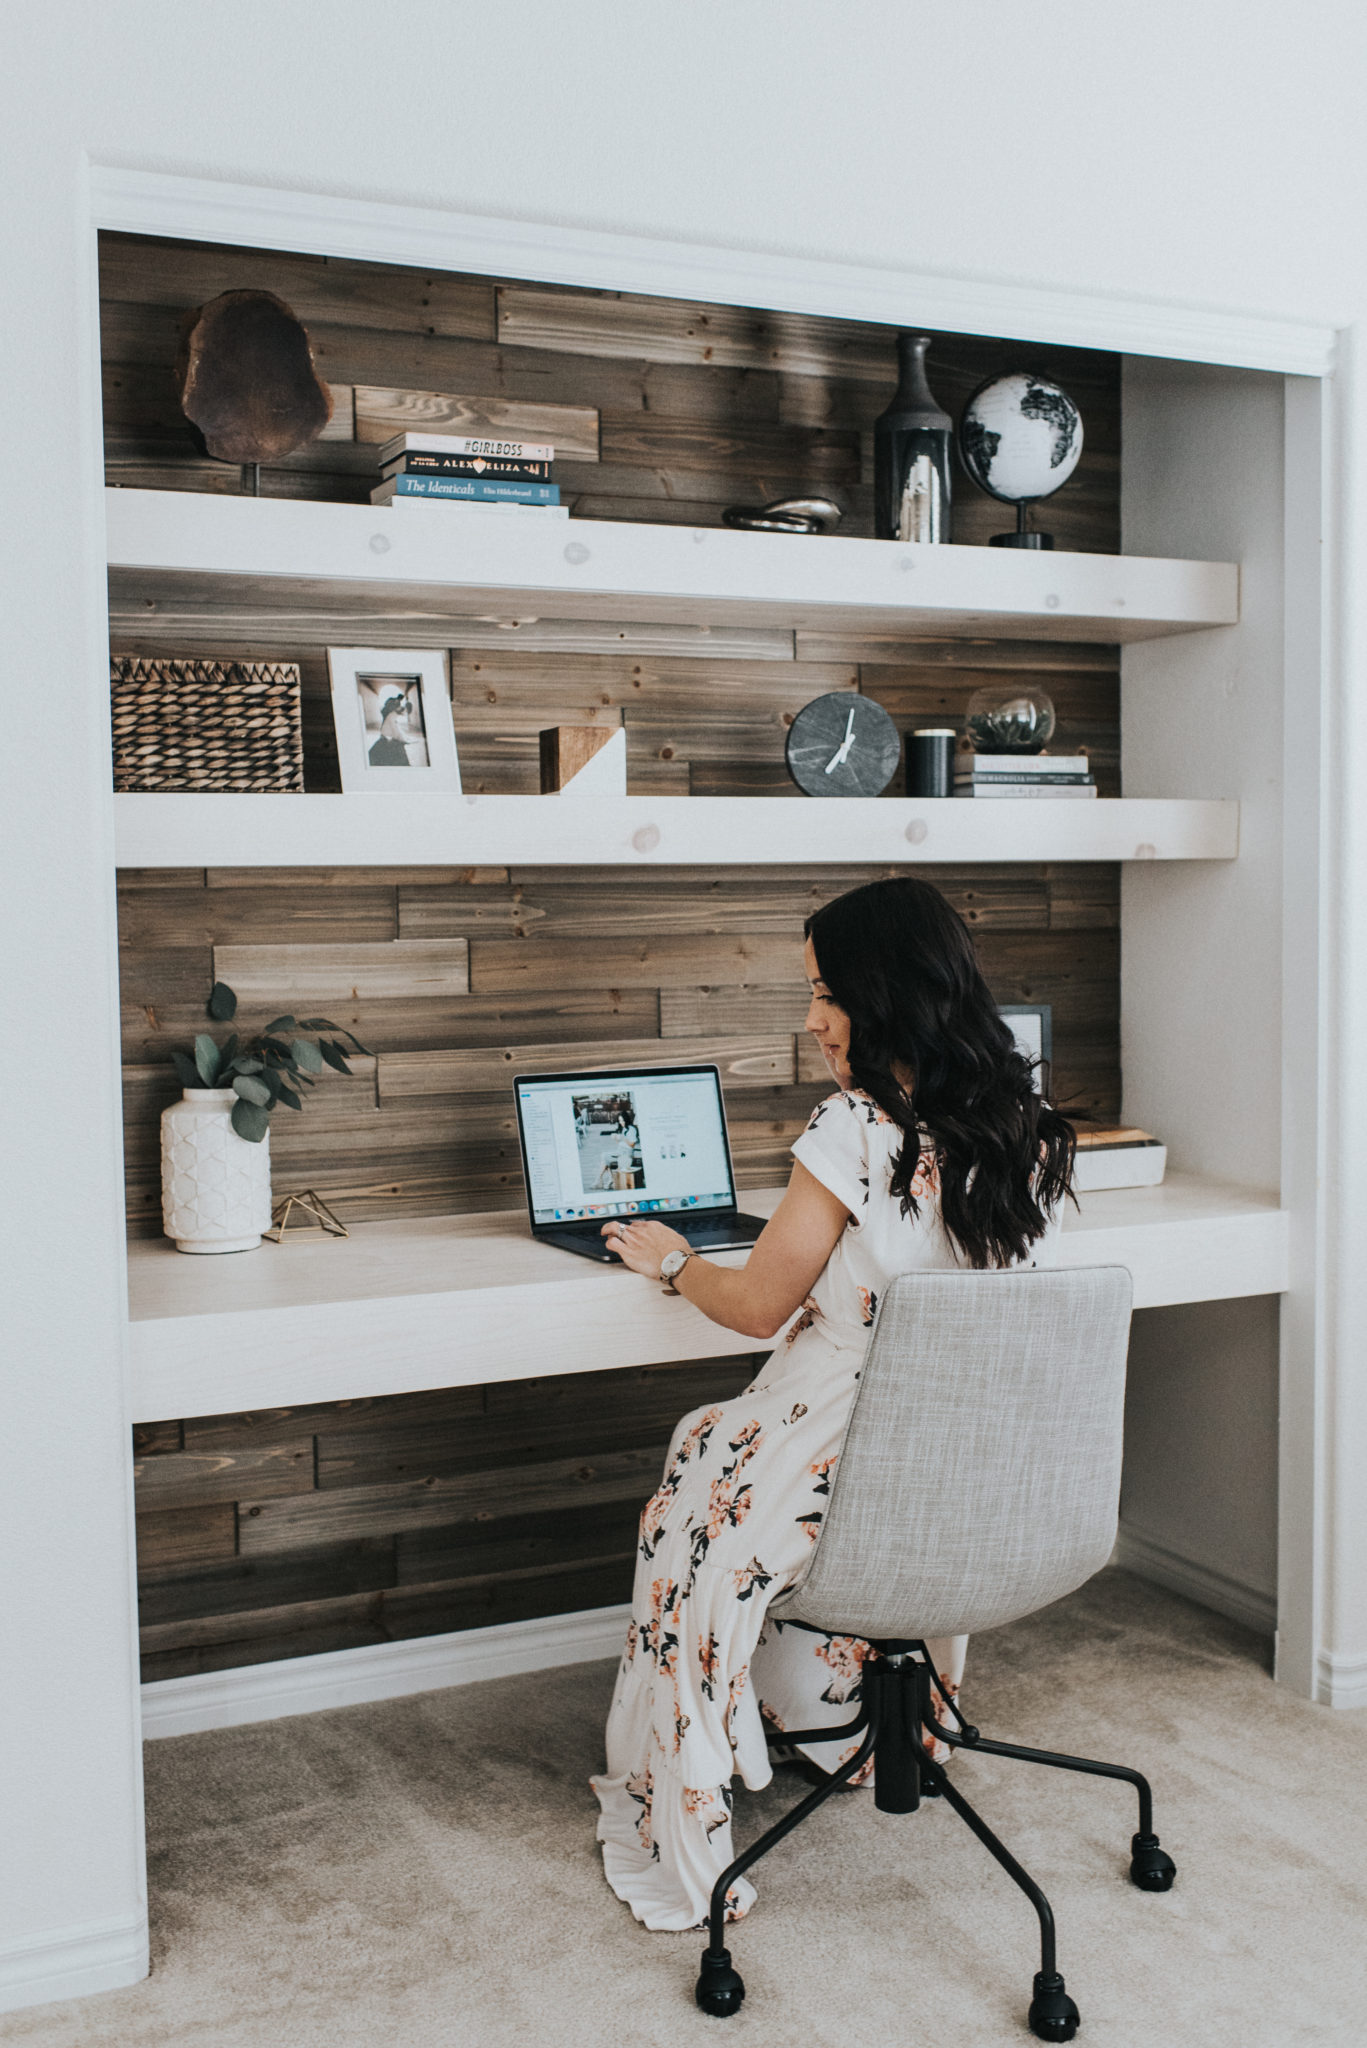
Isn’t it stunning!? I’m still in awe that this was just a closet full of junk. We have already used this more than the big desk that was in the guest room.
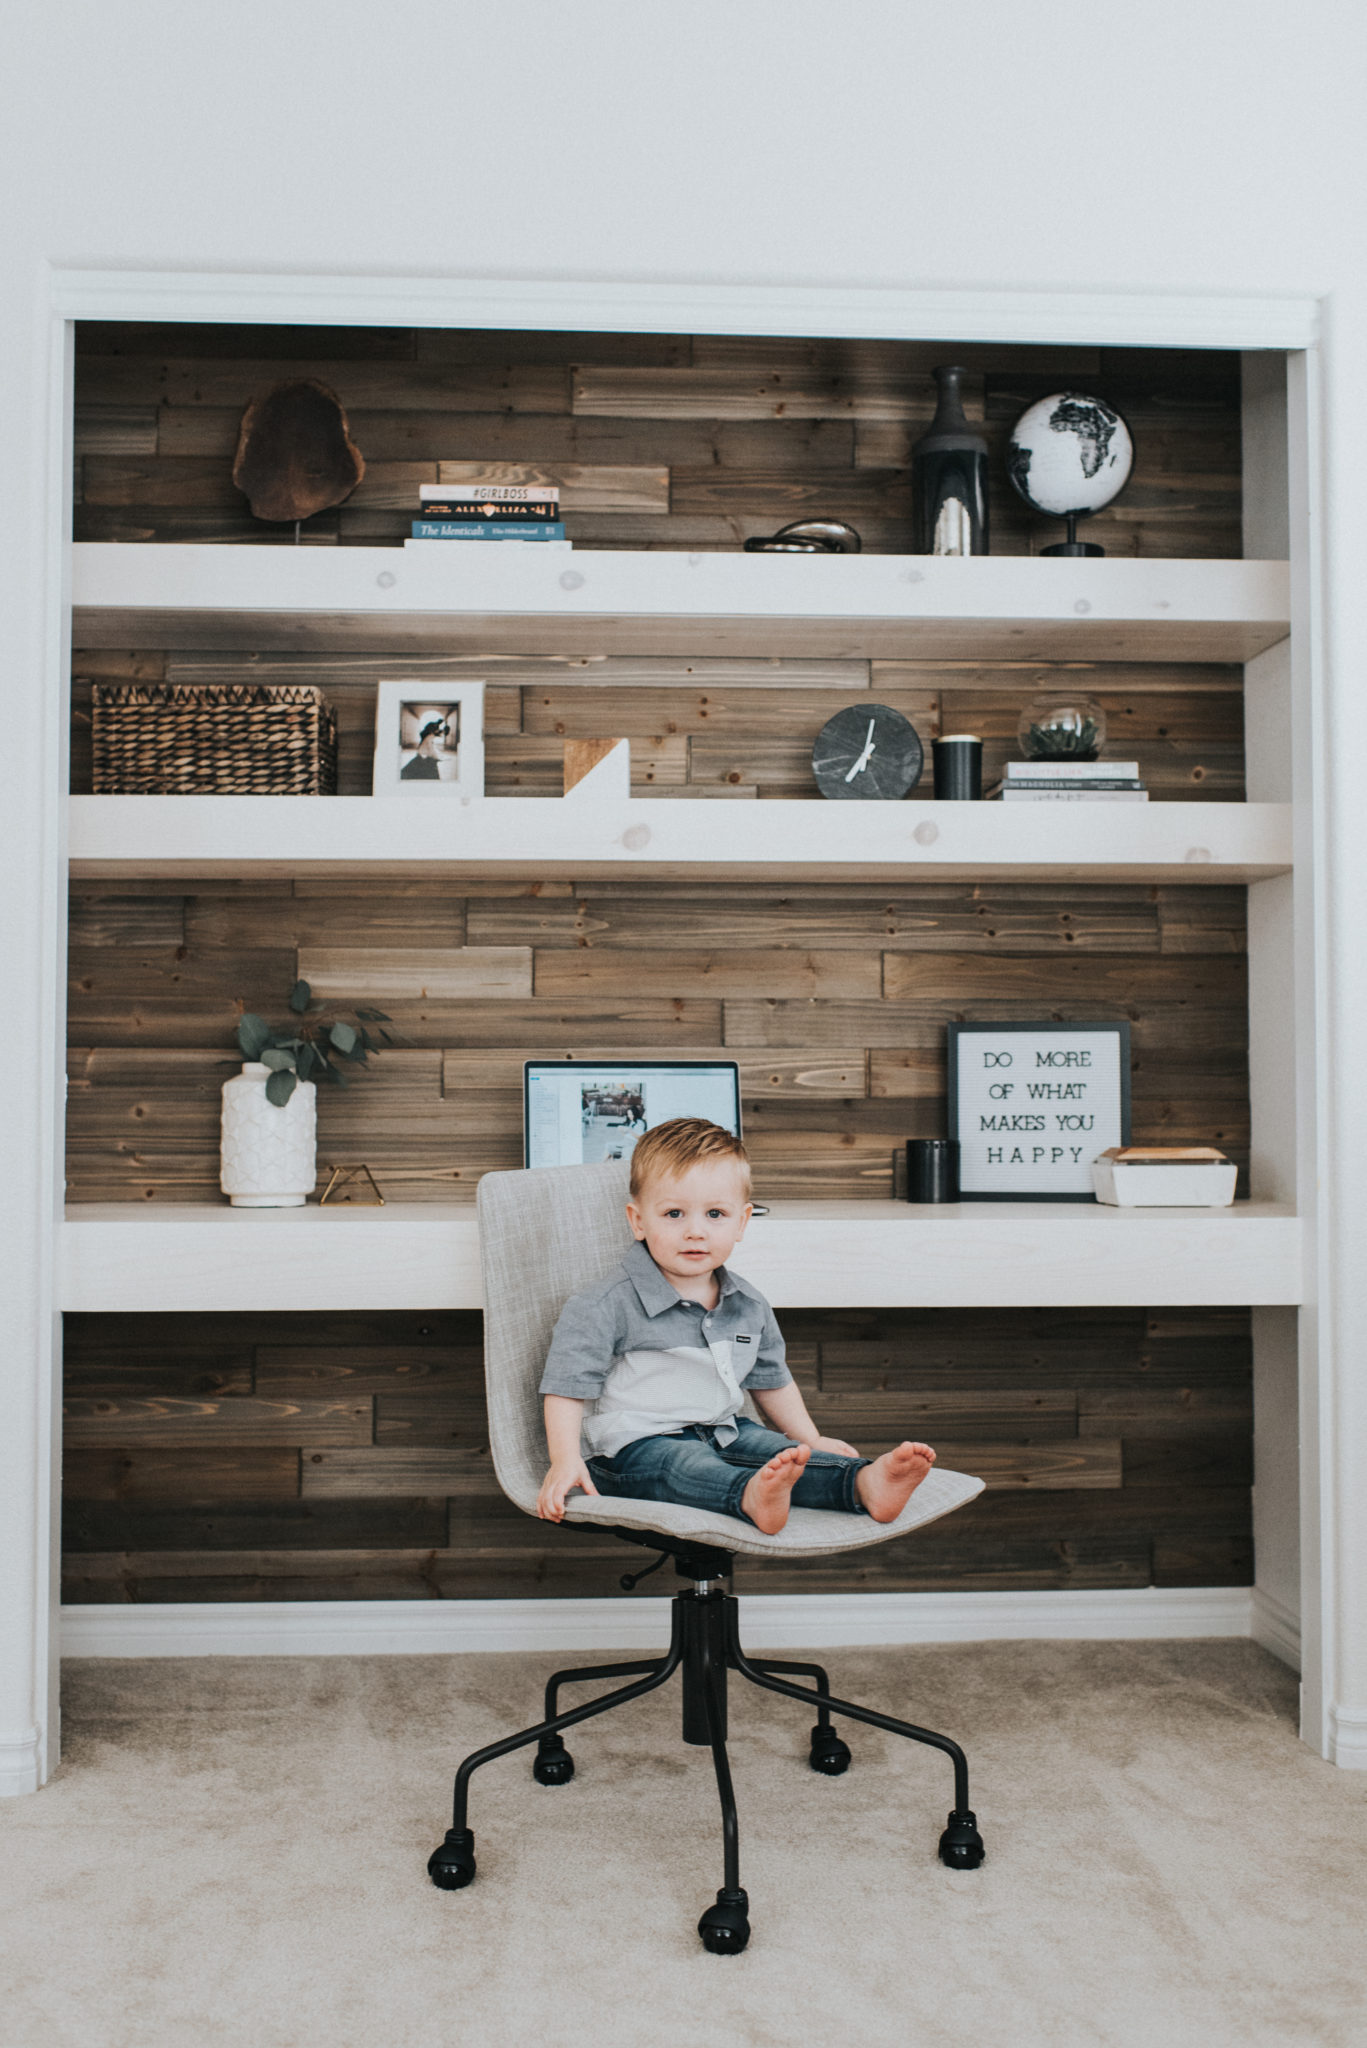
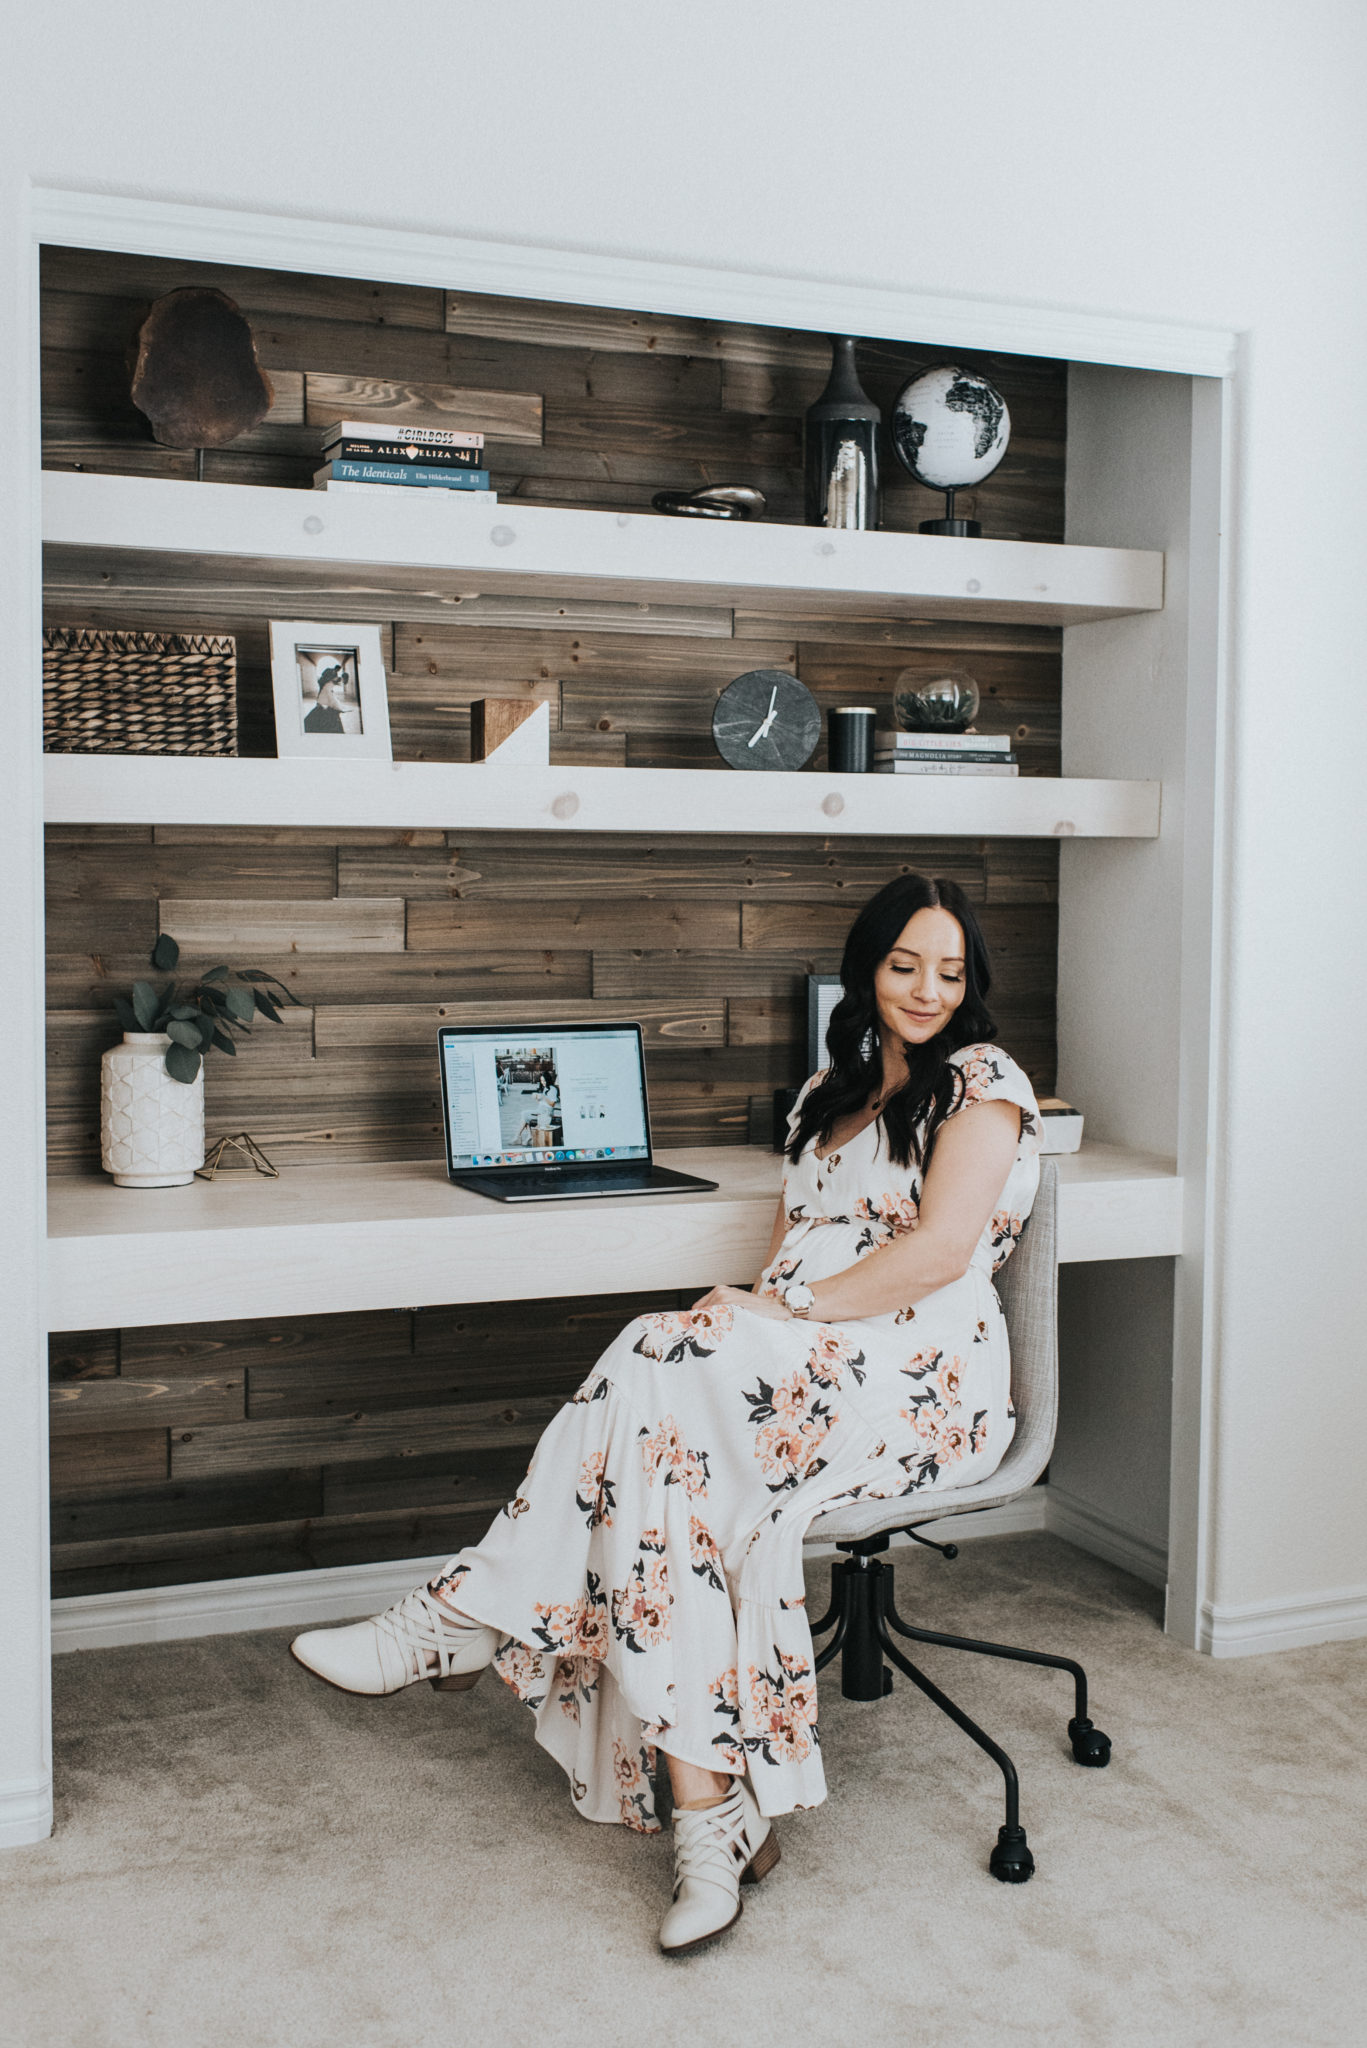
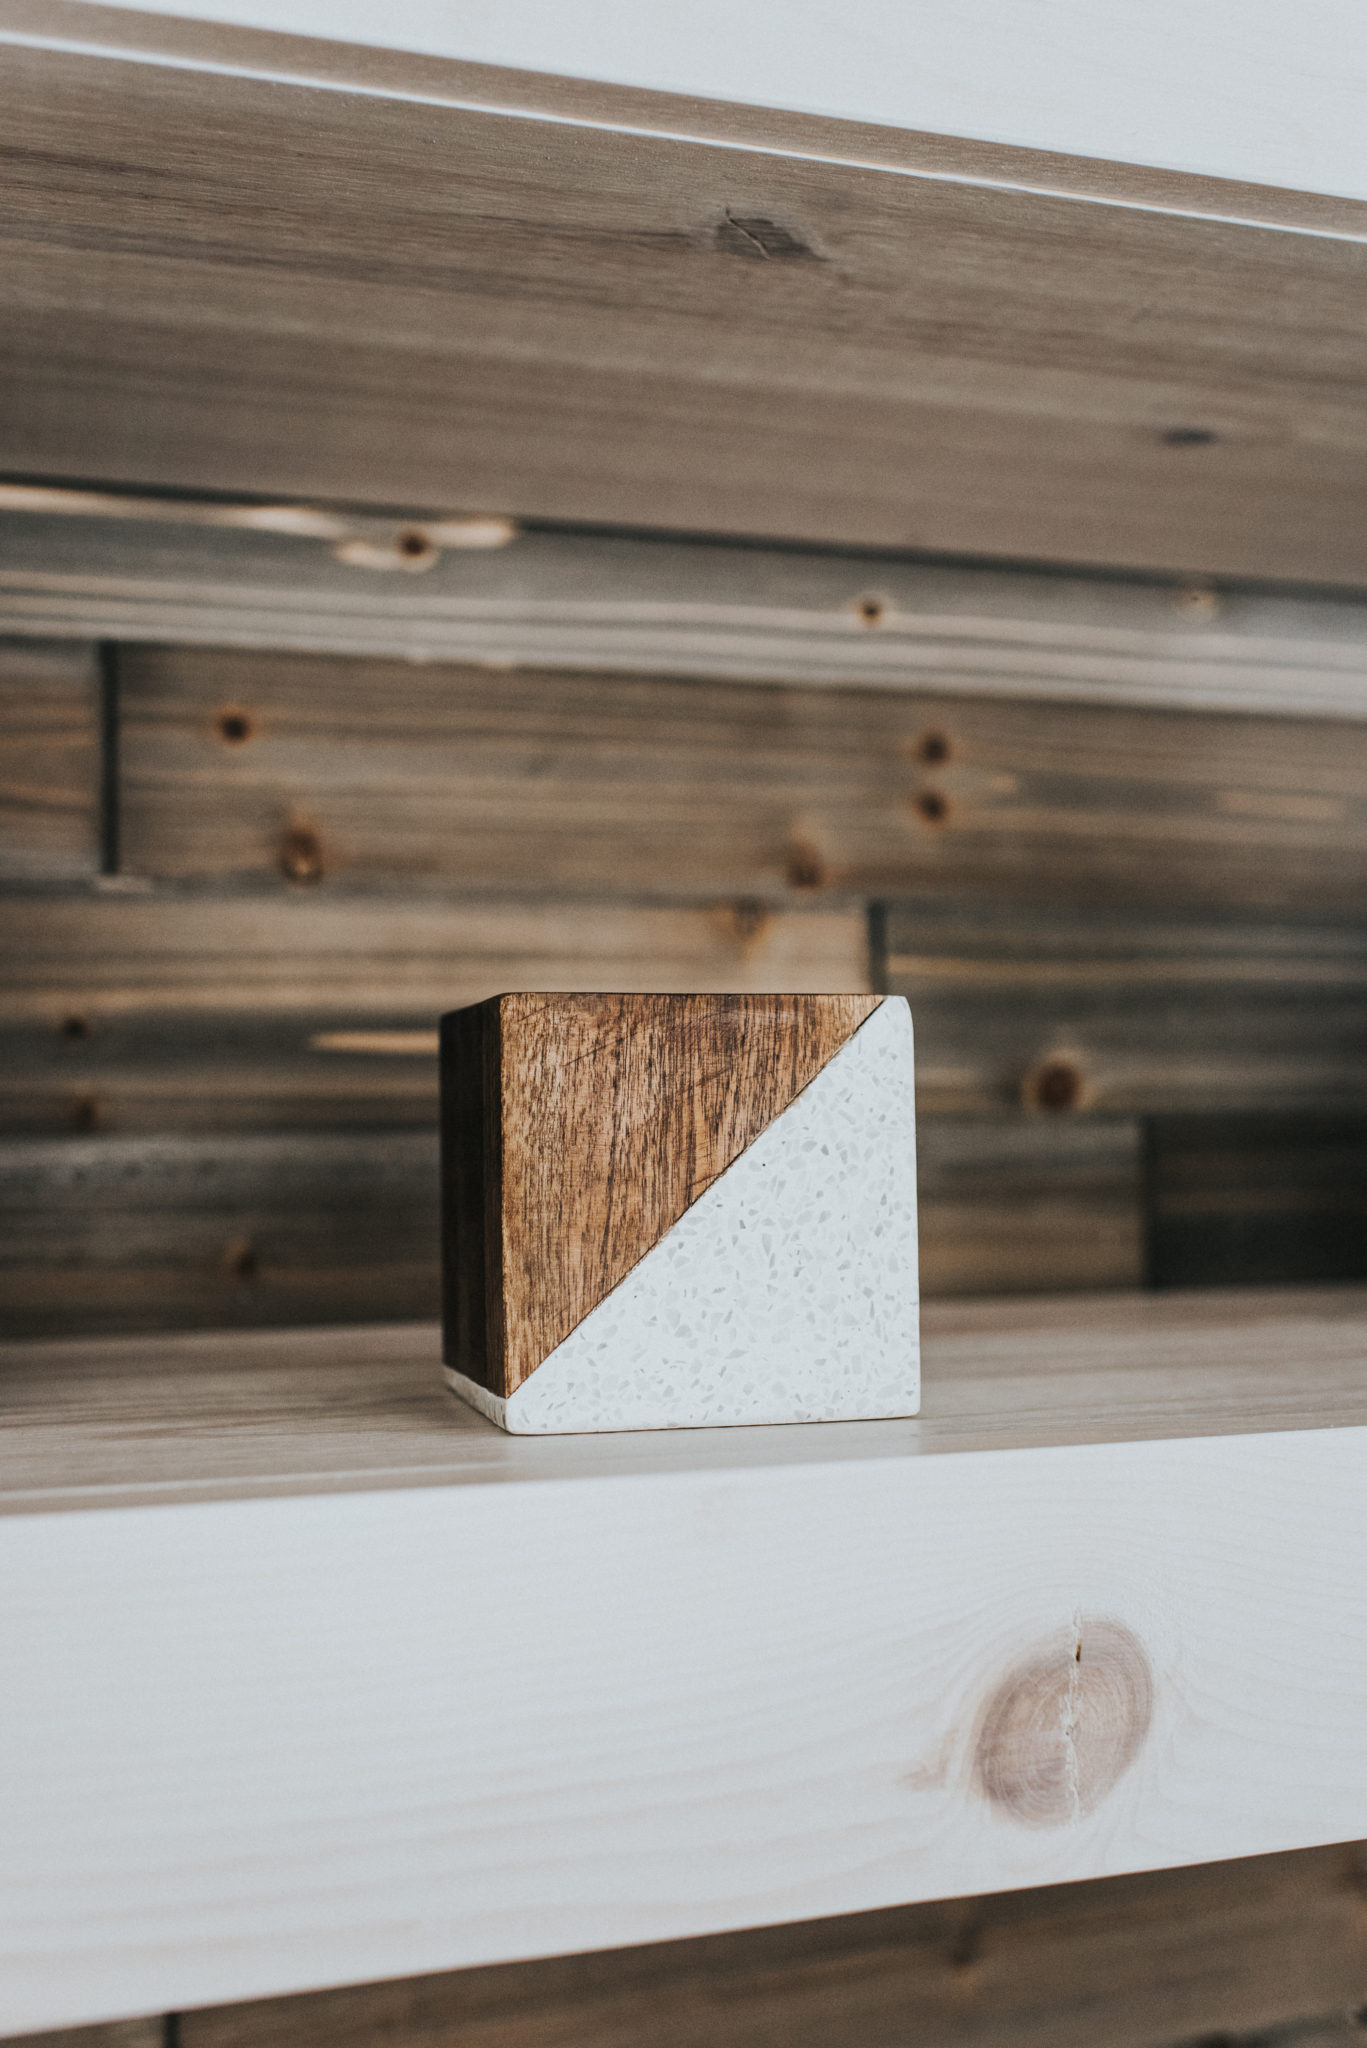
My only job was to style the shelves and find the perfect chair! Many of the items on the shelves are from Target! They have so many pieces that fit the styles of the contemporary office ideas we had fallen in love with.


Progress Pictures + Notes from Brett
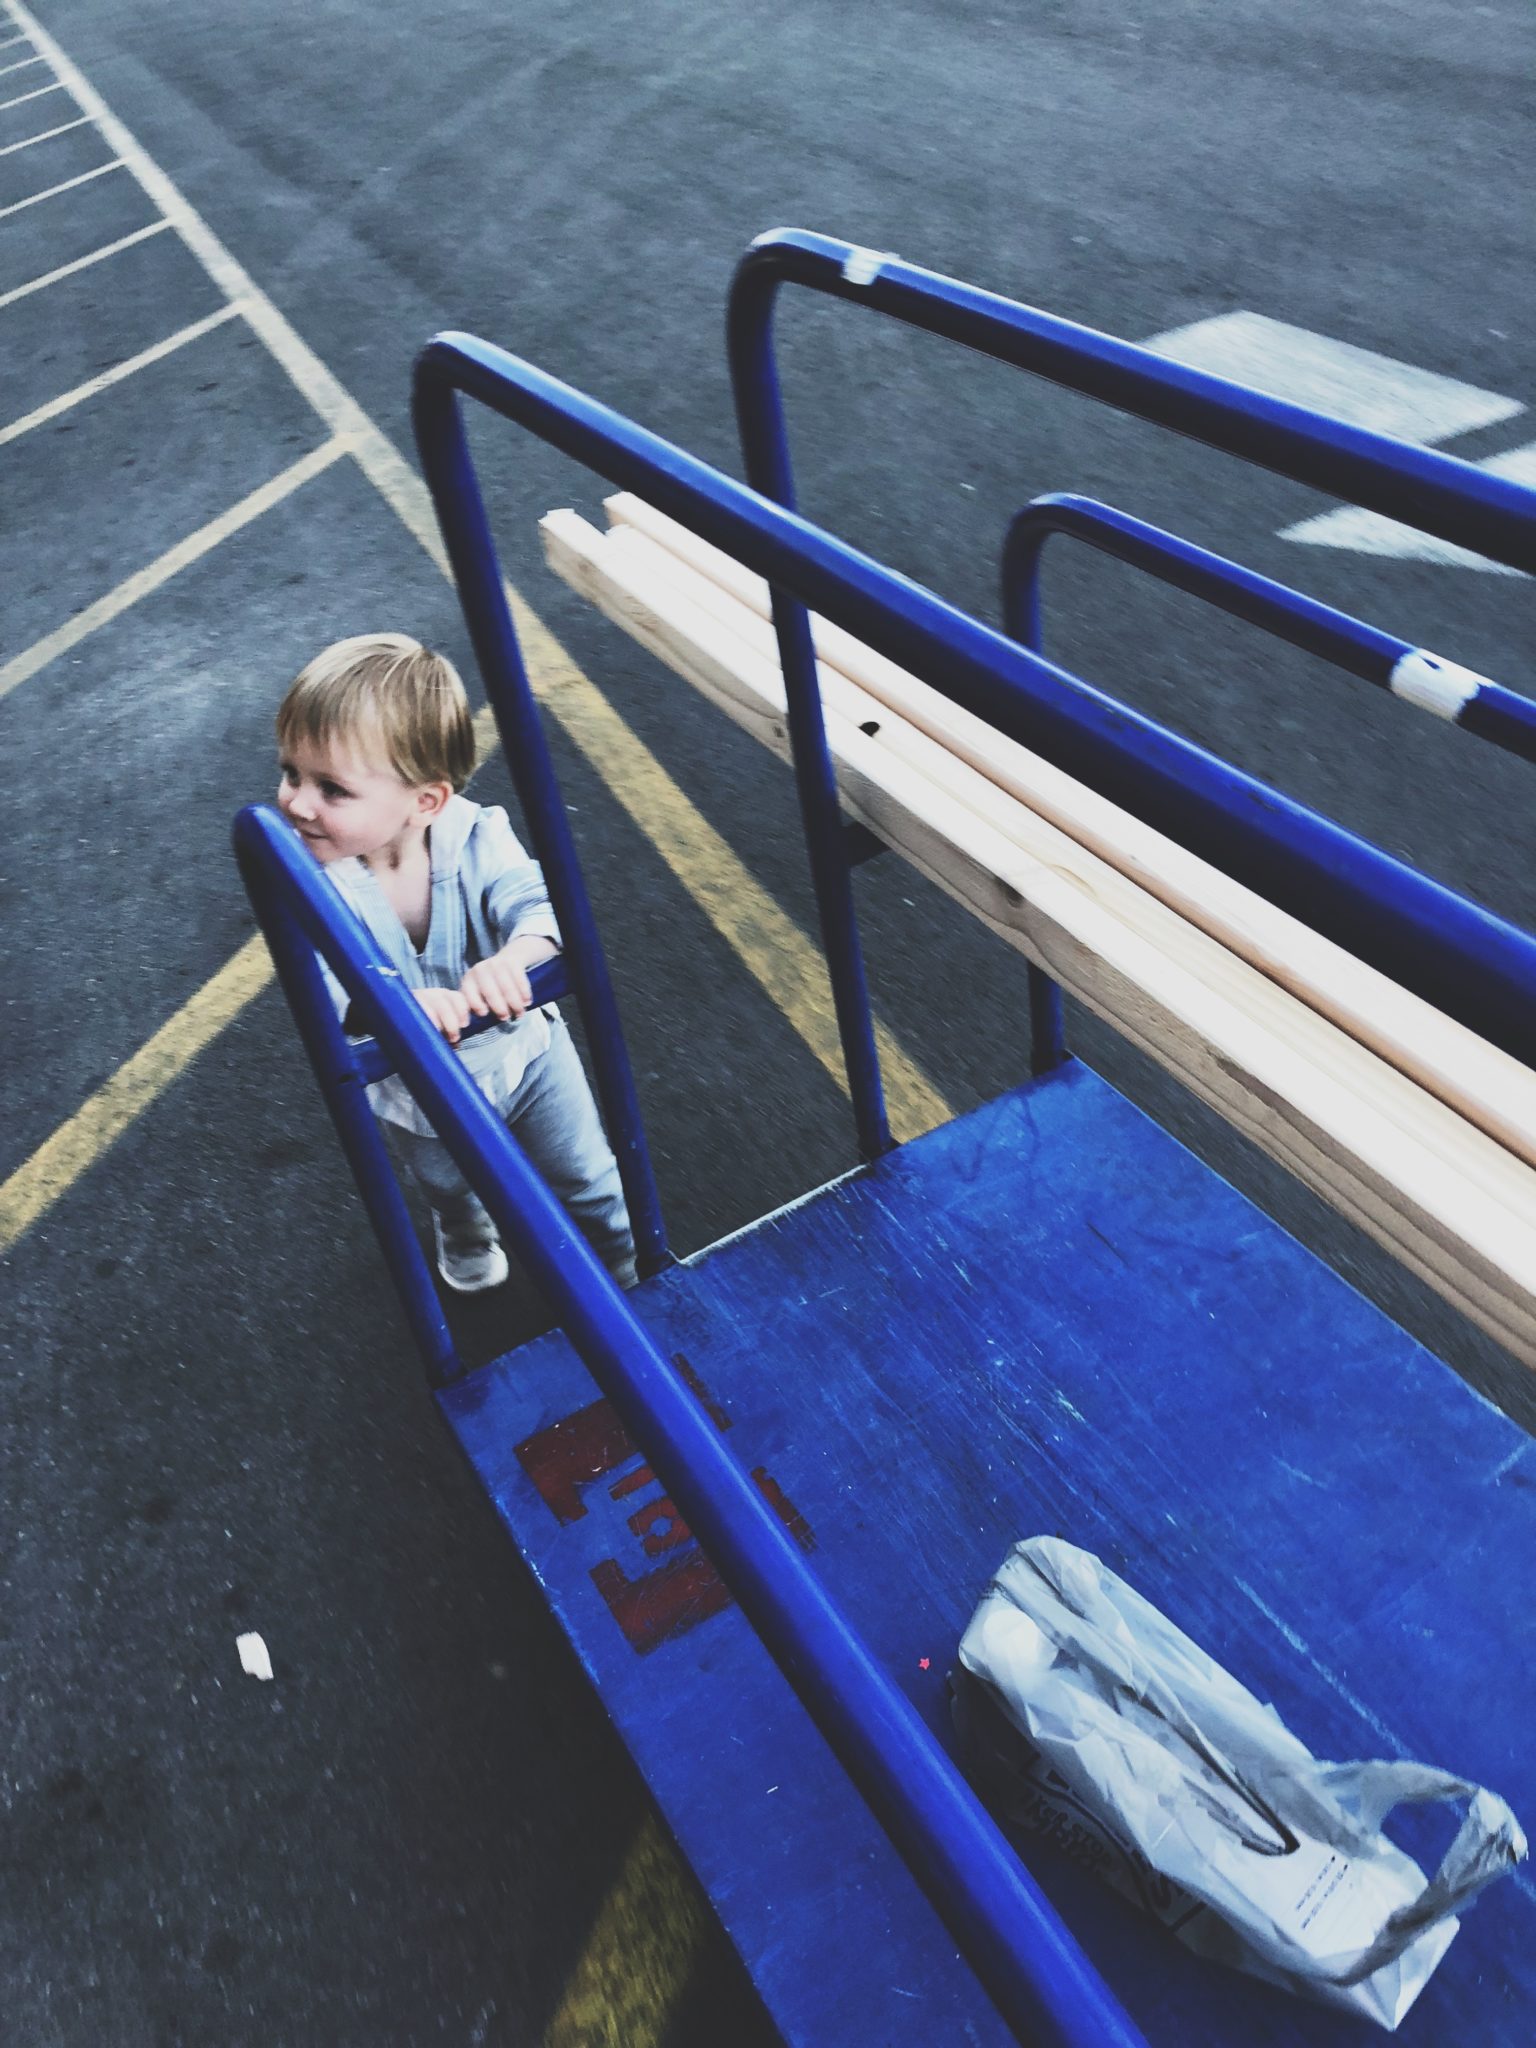
Michael was anxious to help every little bit he could!
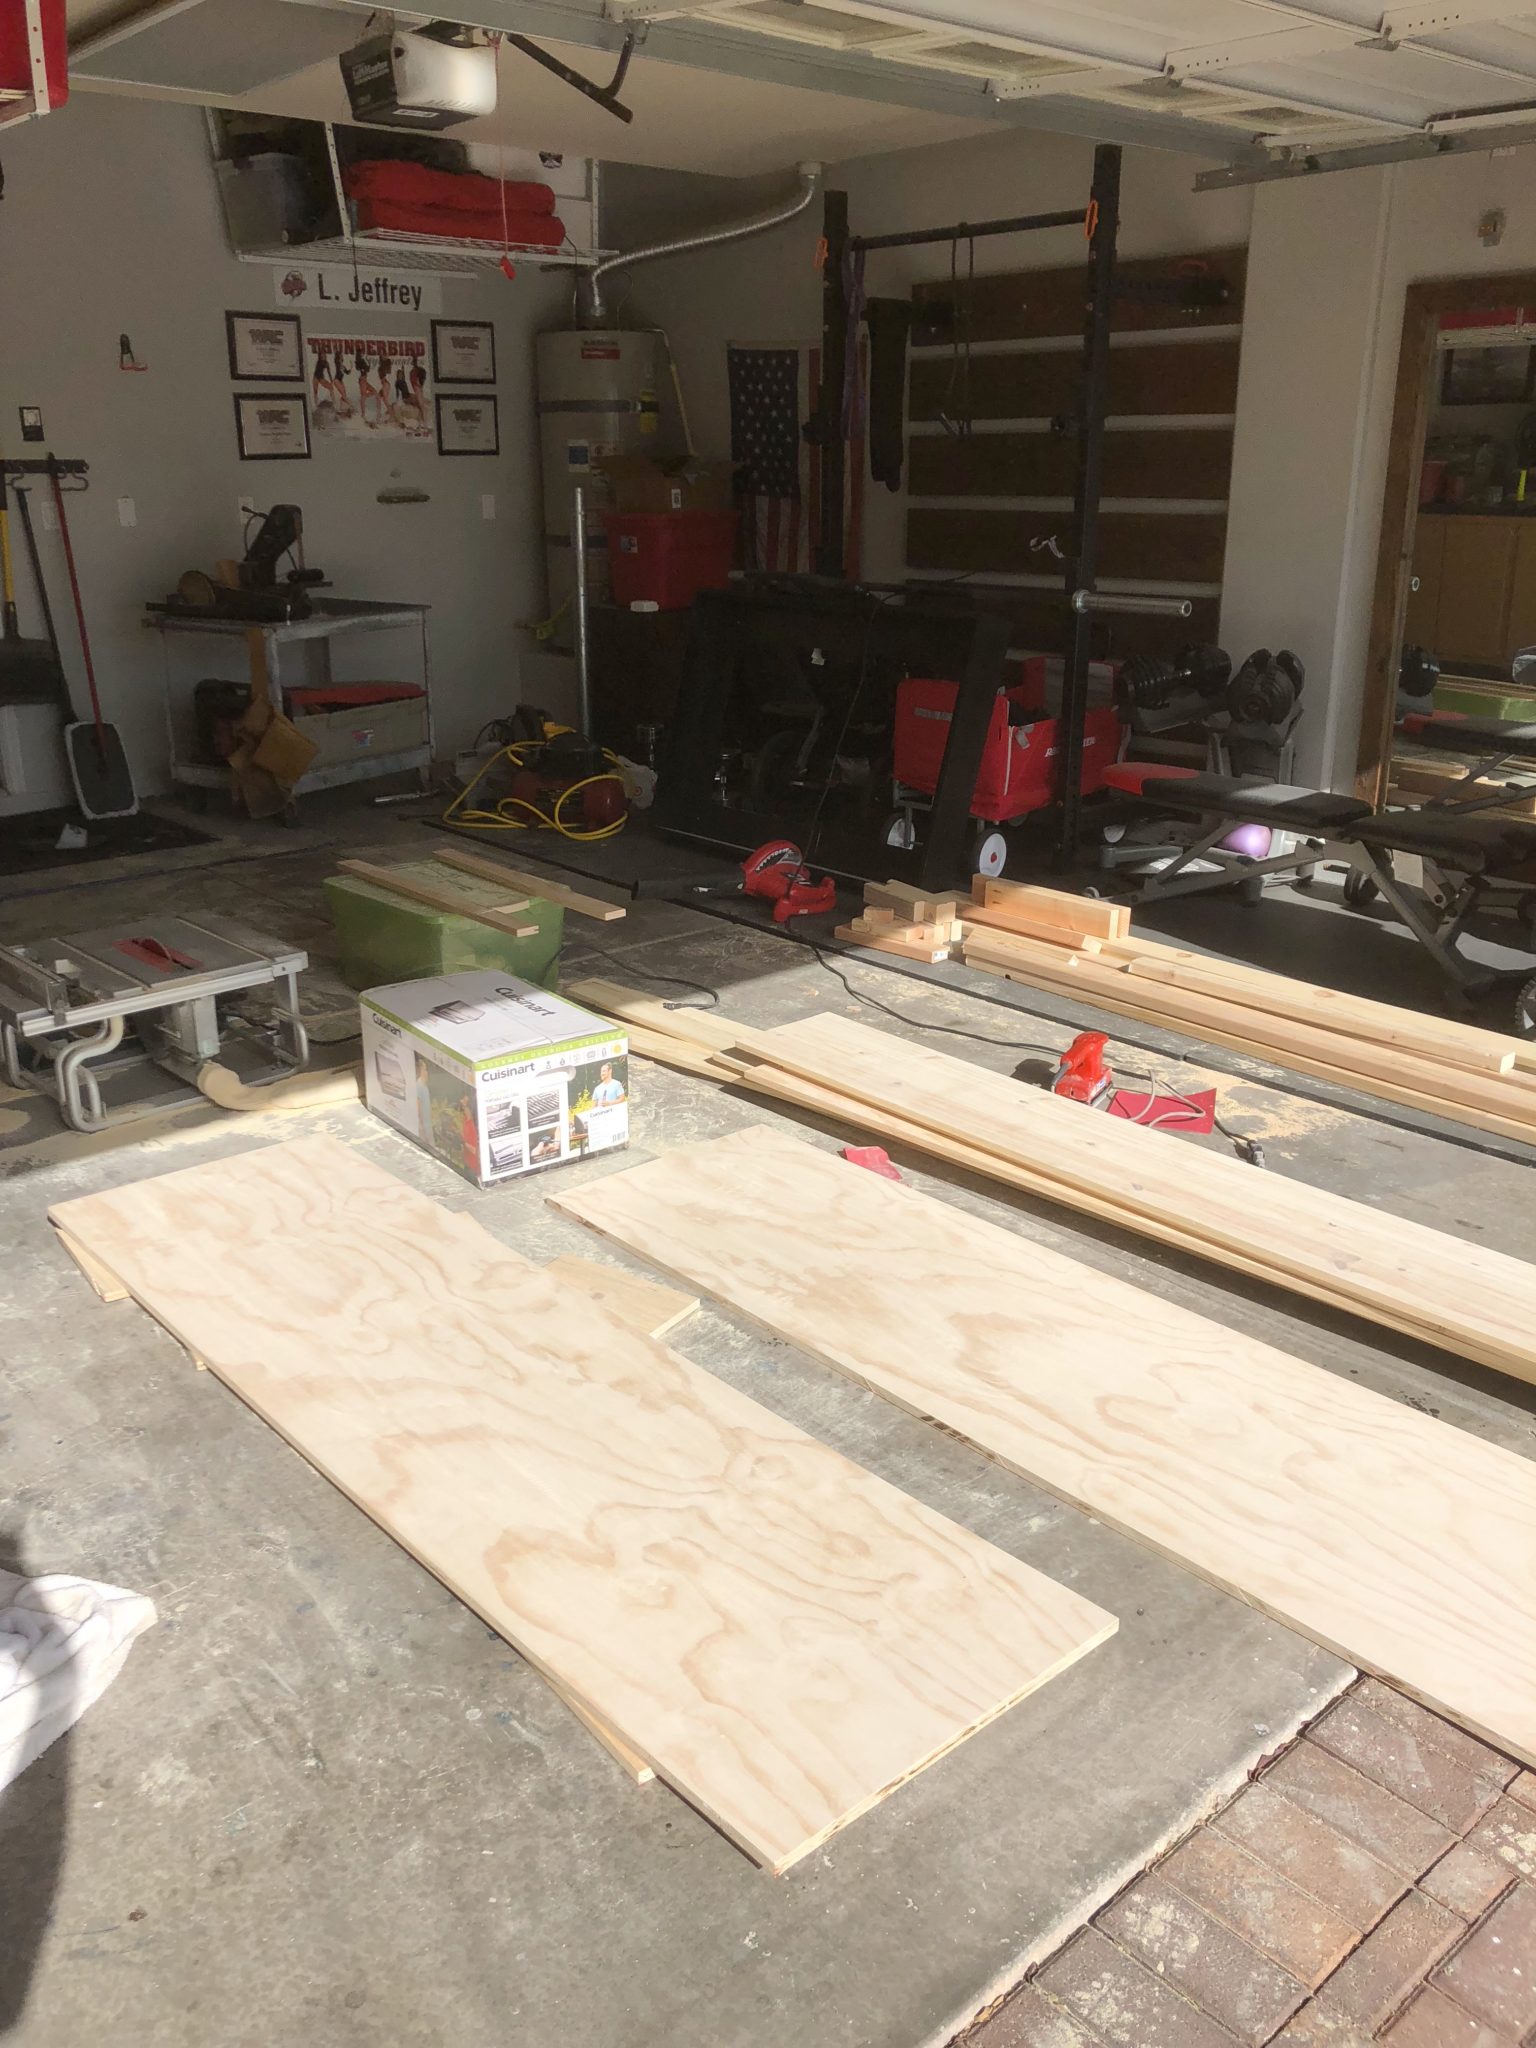
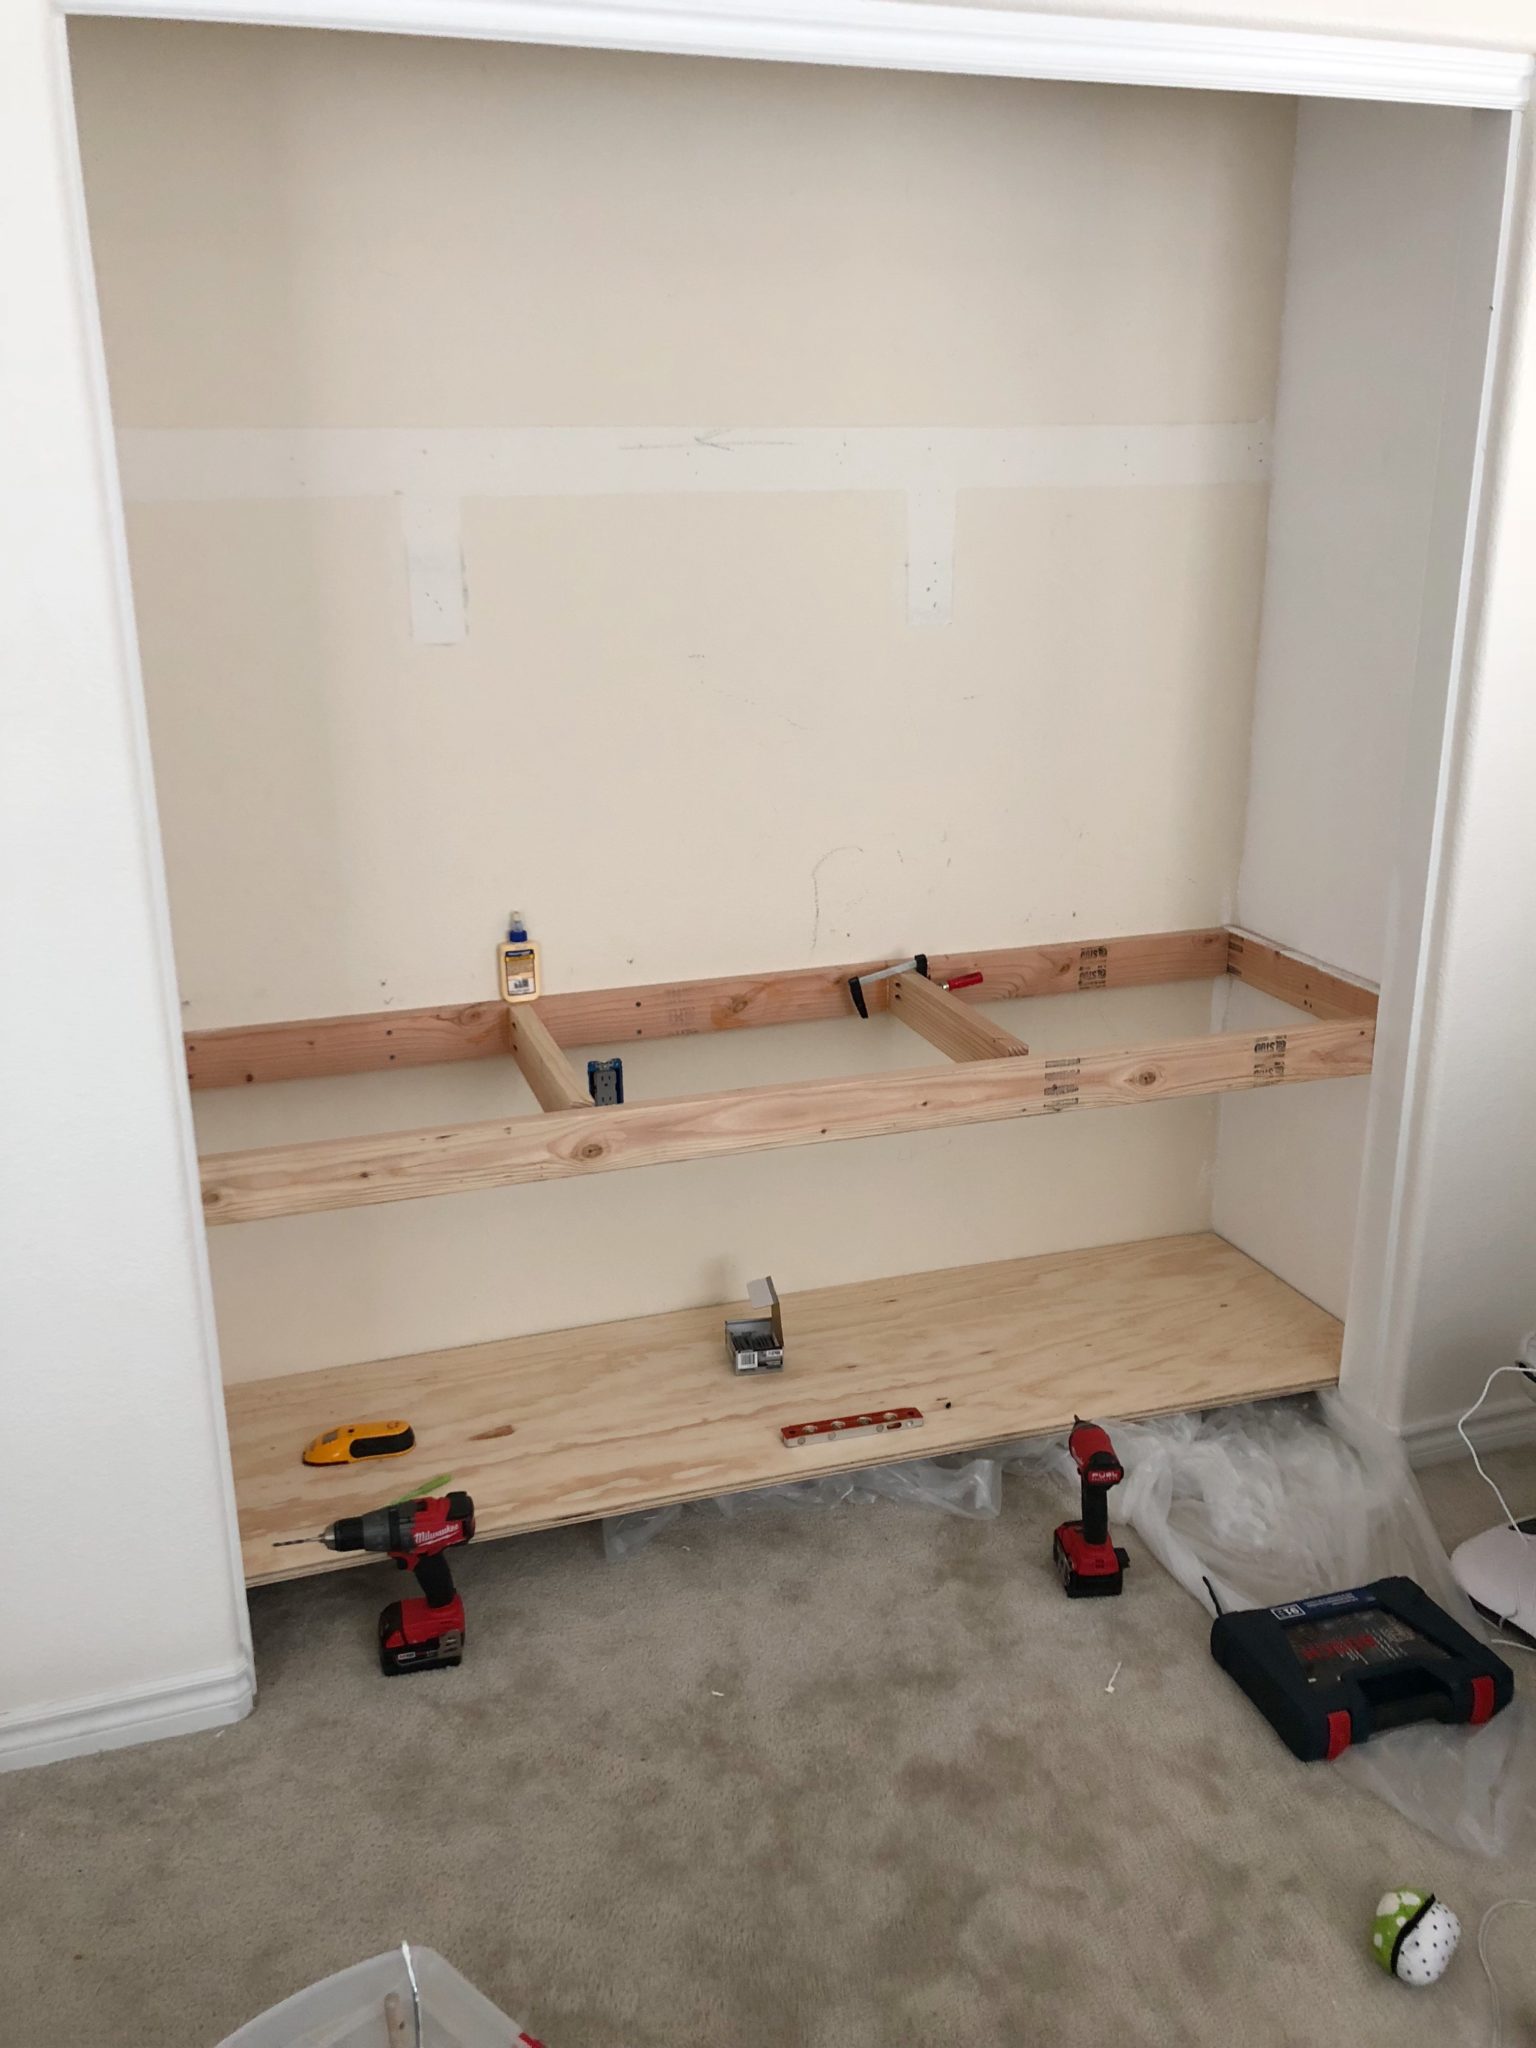
With this type of desk, planning is important. For example don’t forget to have the bottom plank of plywood placed in before you build your frame. The tight space in the closet will not allow you place it in later. I used standard 2×4’s to build the frame and attached it to every stud I could for added support. This is very similar to building floating shelves, as we will get to later on. Be sure to use your level often during this process to ensure an even surface.
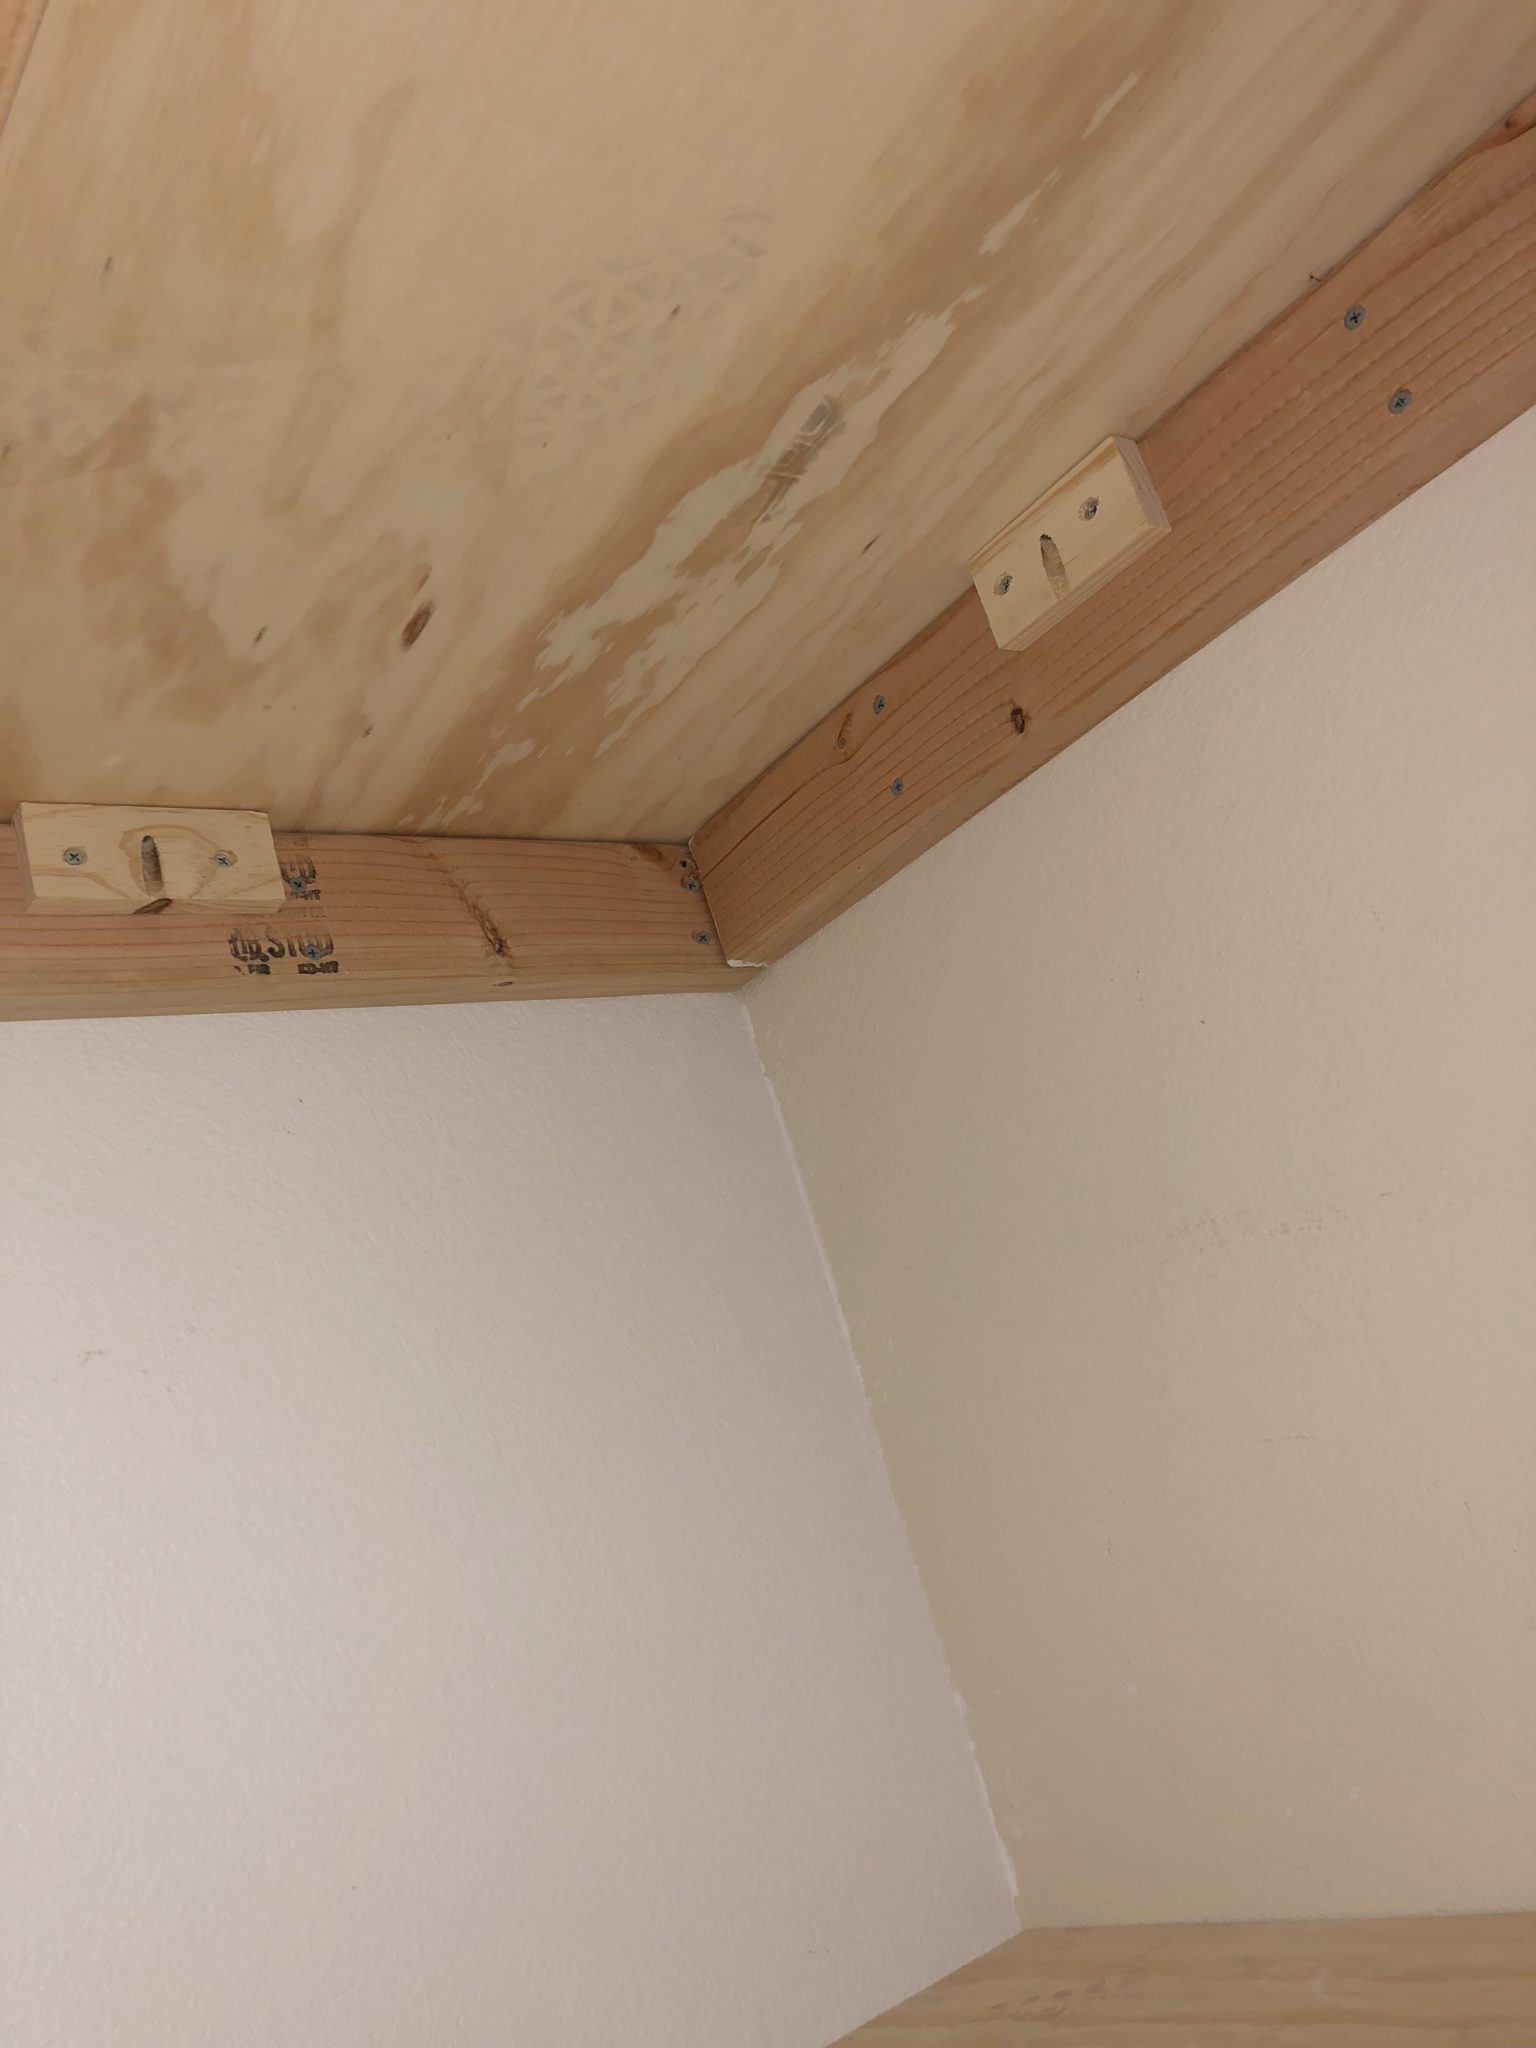
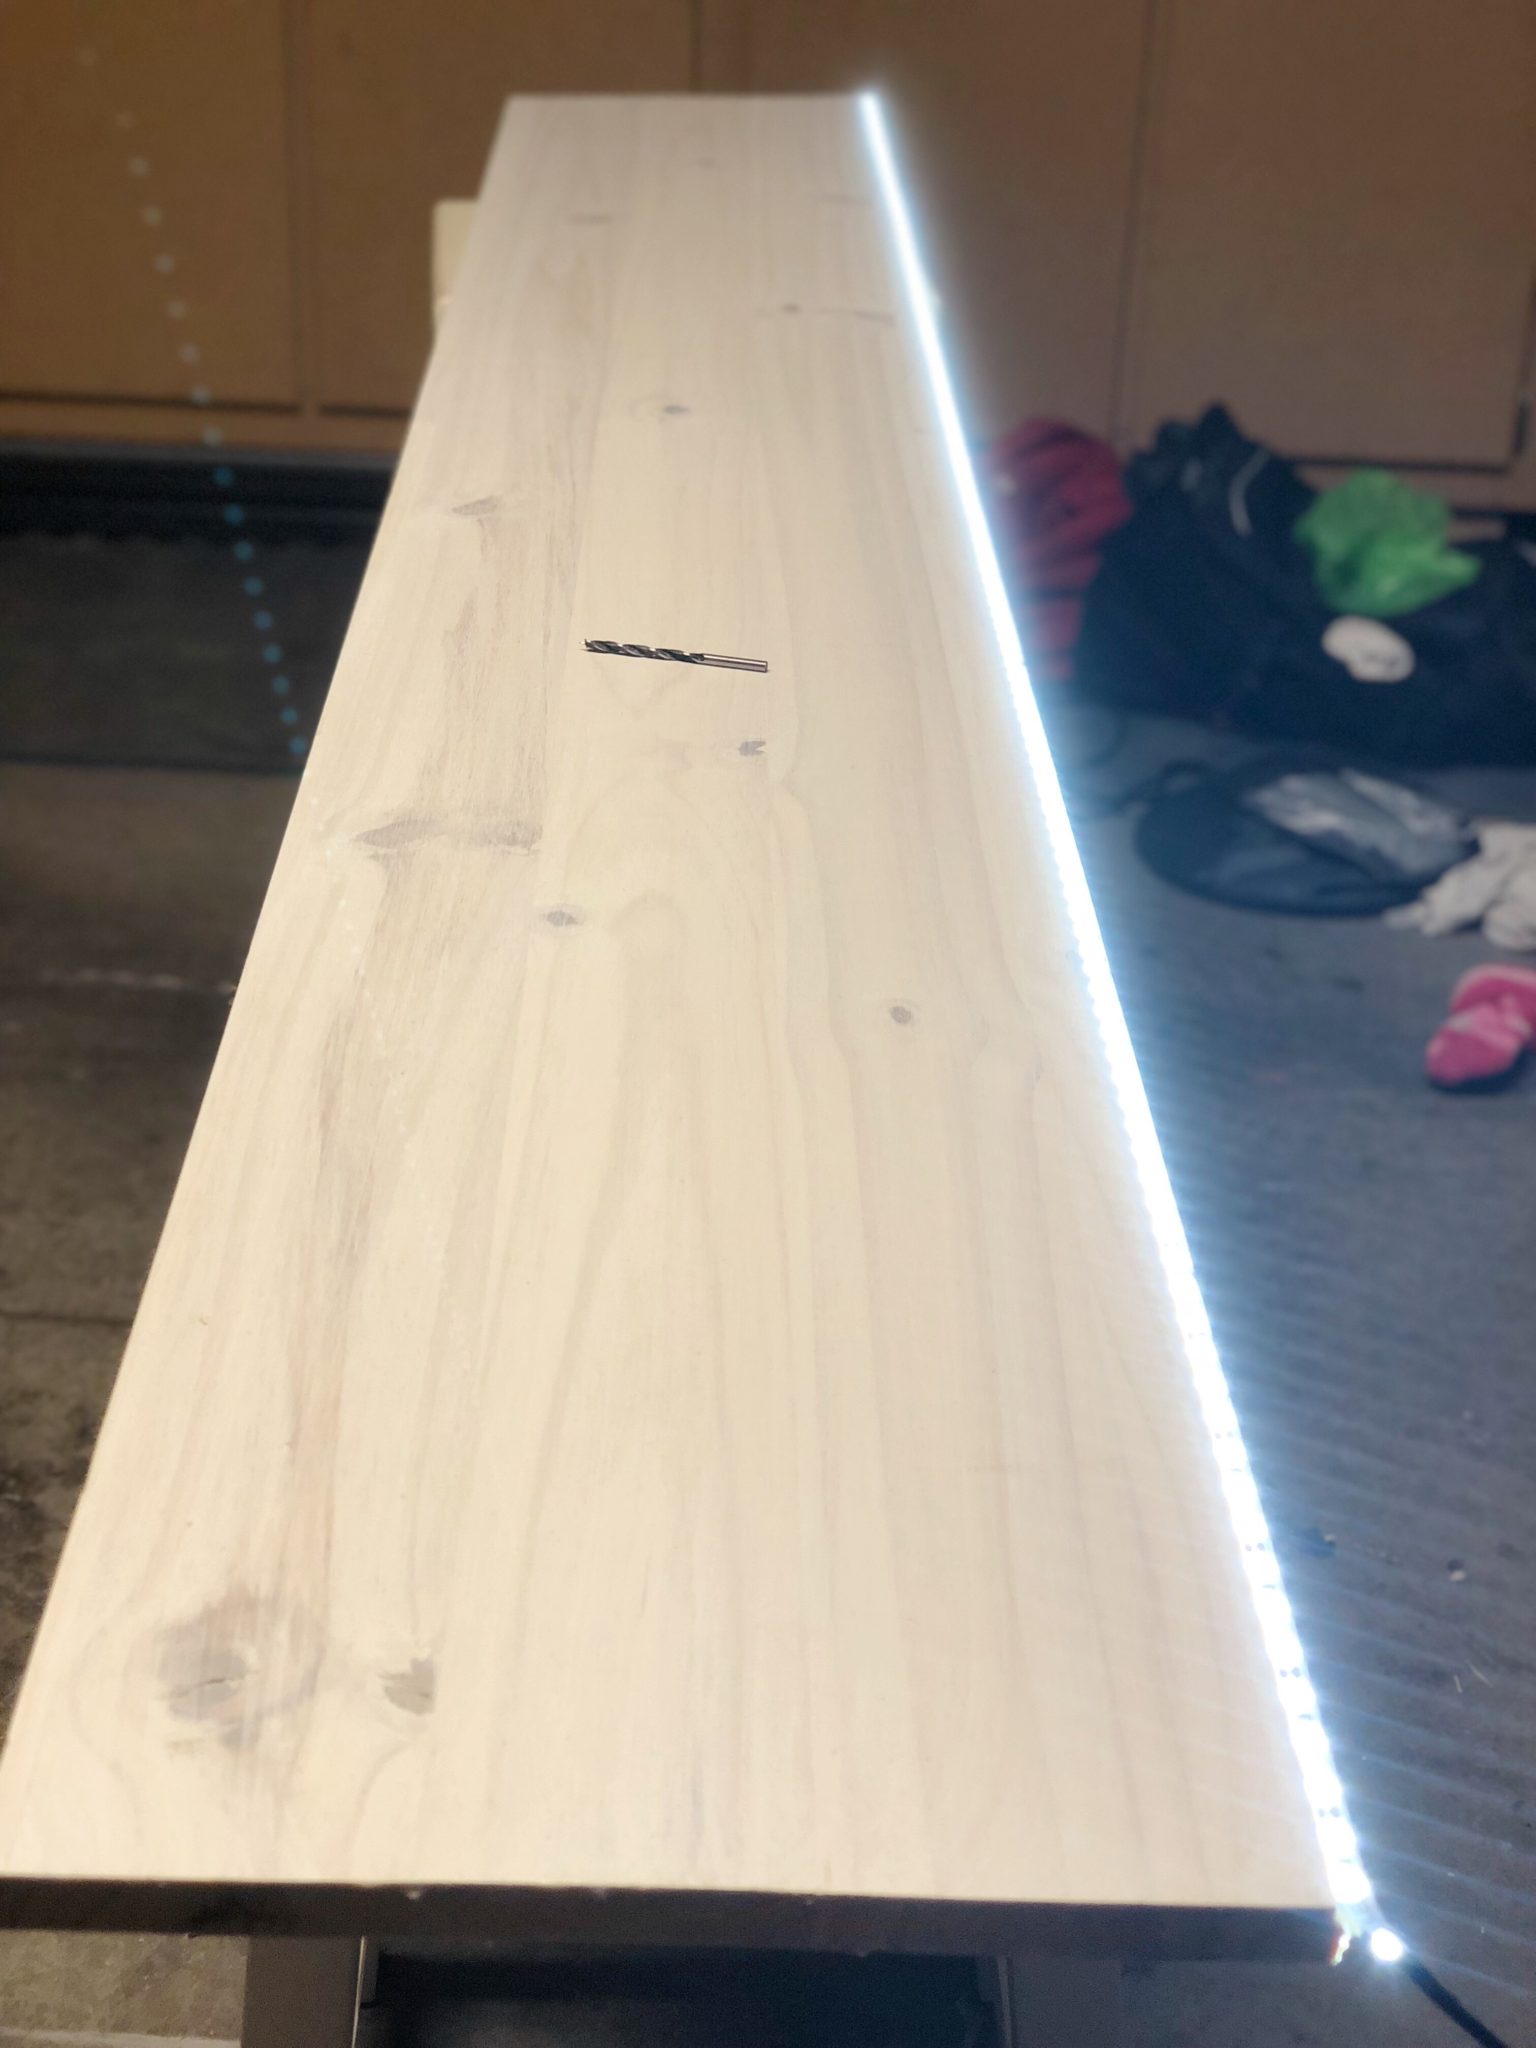
To connect your plywood to the frame, I chose to use scrap pieces of wood. Make a pocket hole in the middle (I used a Kreg Jig) to attach to the plywood and drilling two more holes on both sides to attach to the frame. This will also be more appealing to the eye as your screws are hidden. I attached the bottom plywood first to make it easier on myself. I would advise doing that too.
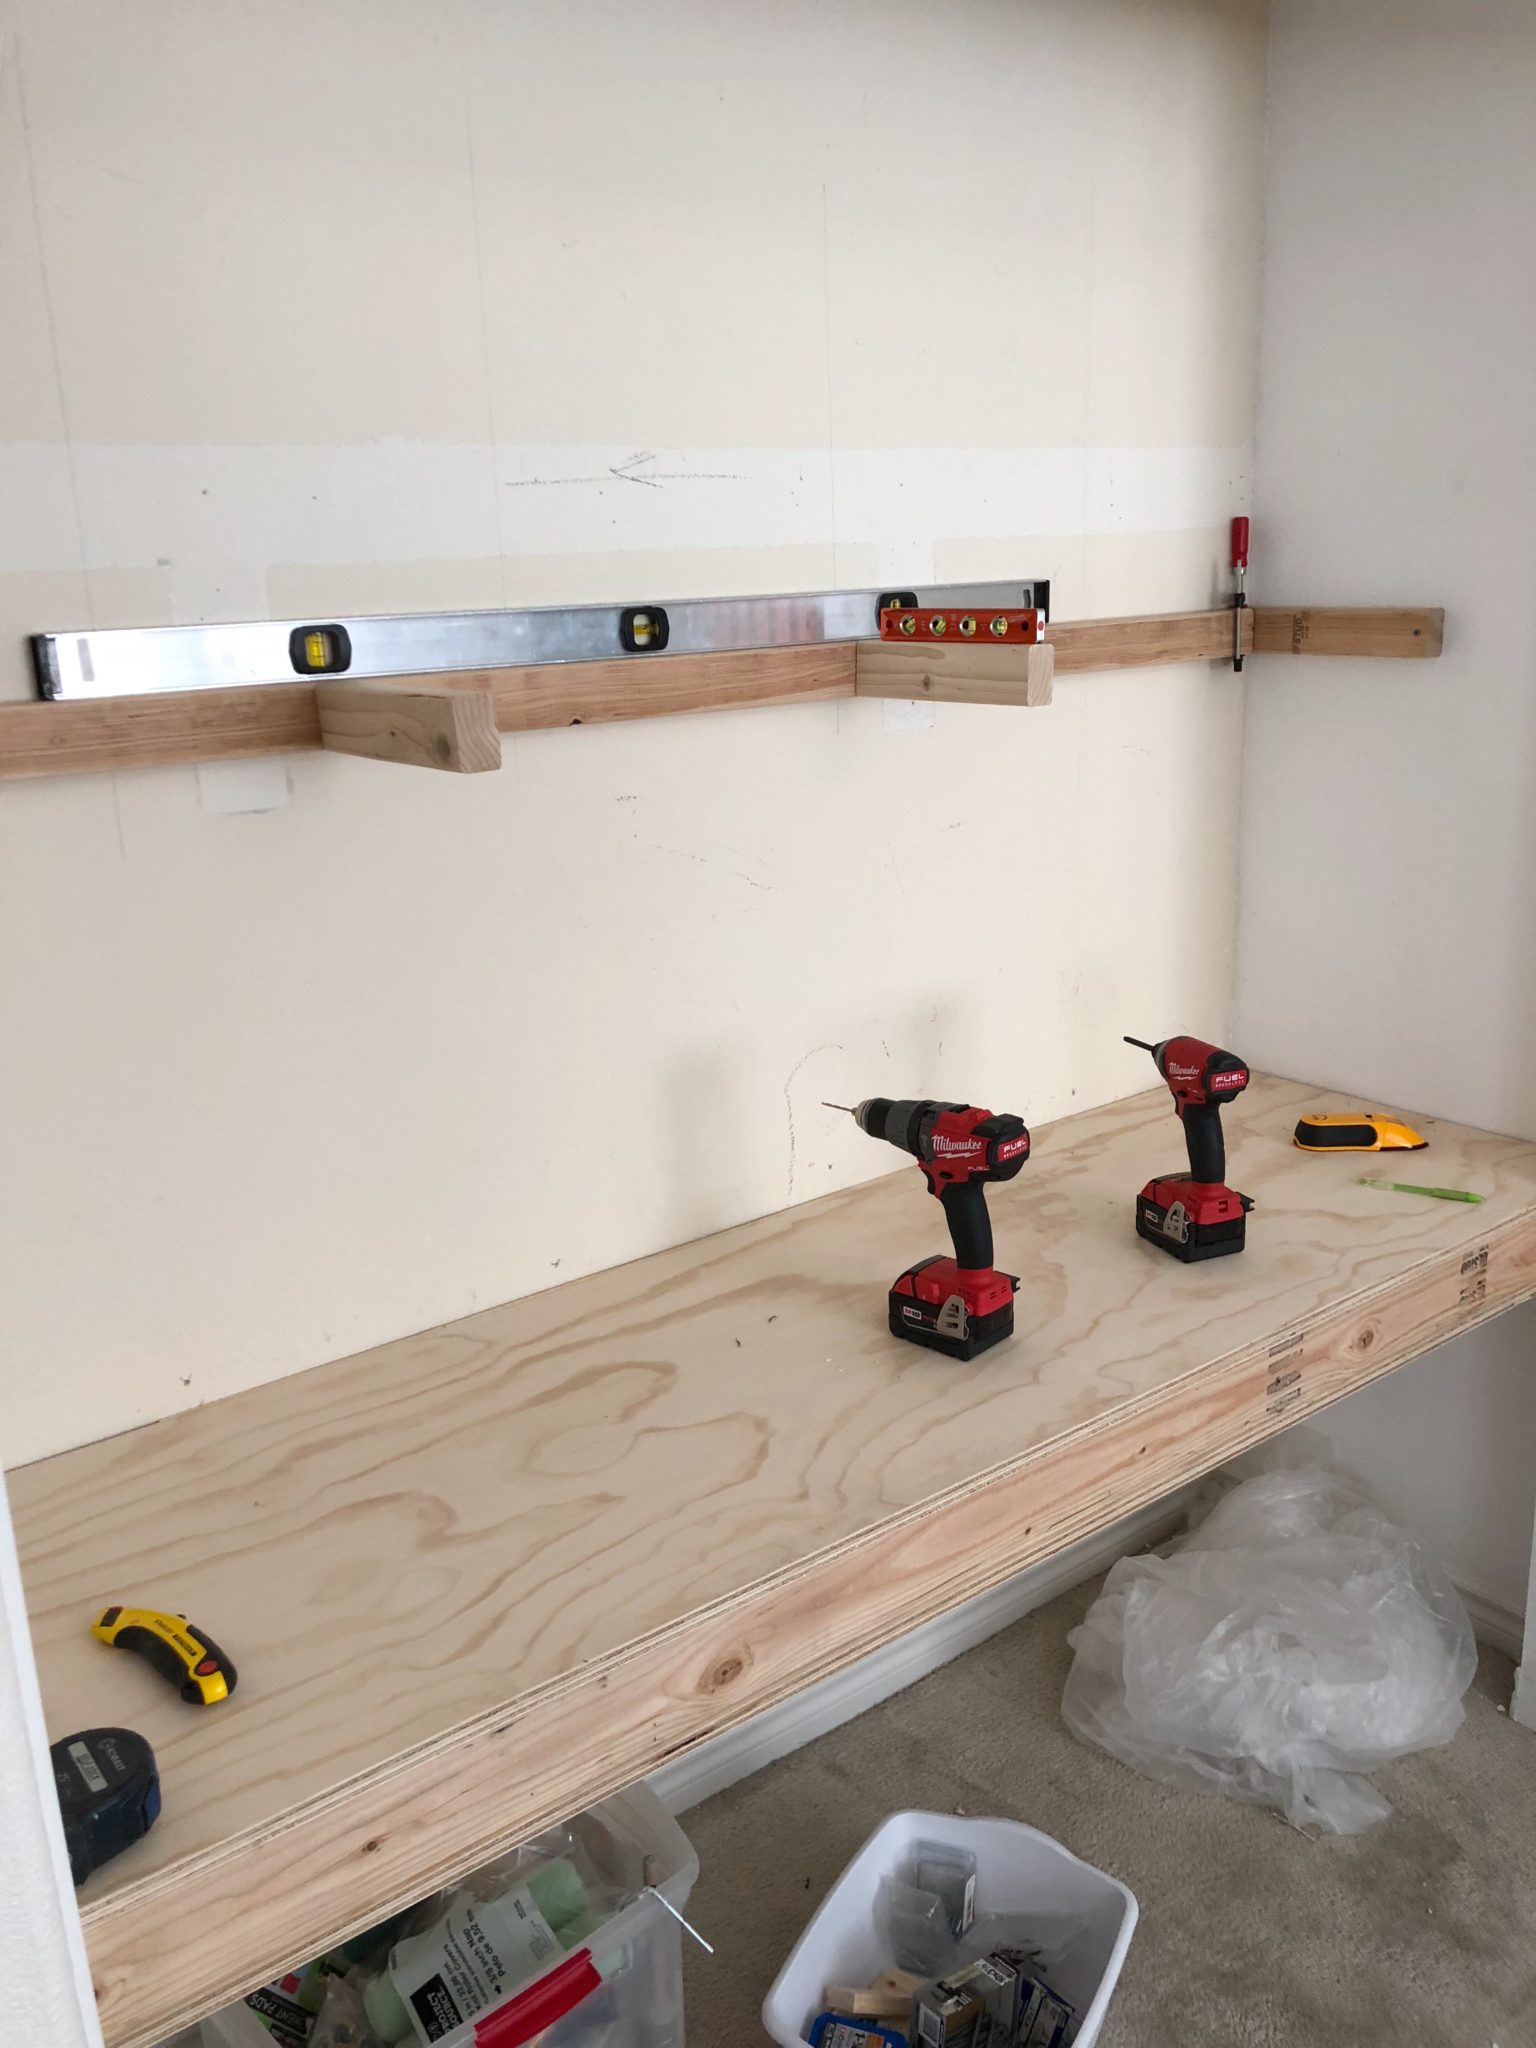
The desk is up, now it’s time to start on the shelving. This is the same principle for floating shelves, only difference being is that I was able to attach my frame to both side walls for extra support. I used 2×3 wood studs for the shelving to give it smaller thickness from the actual desk.
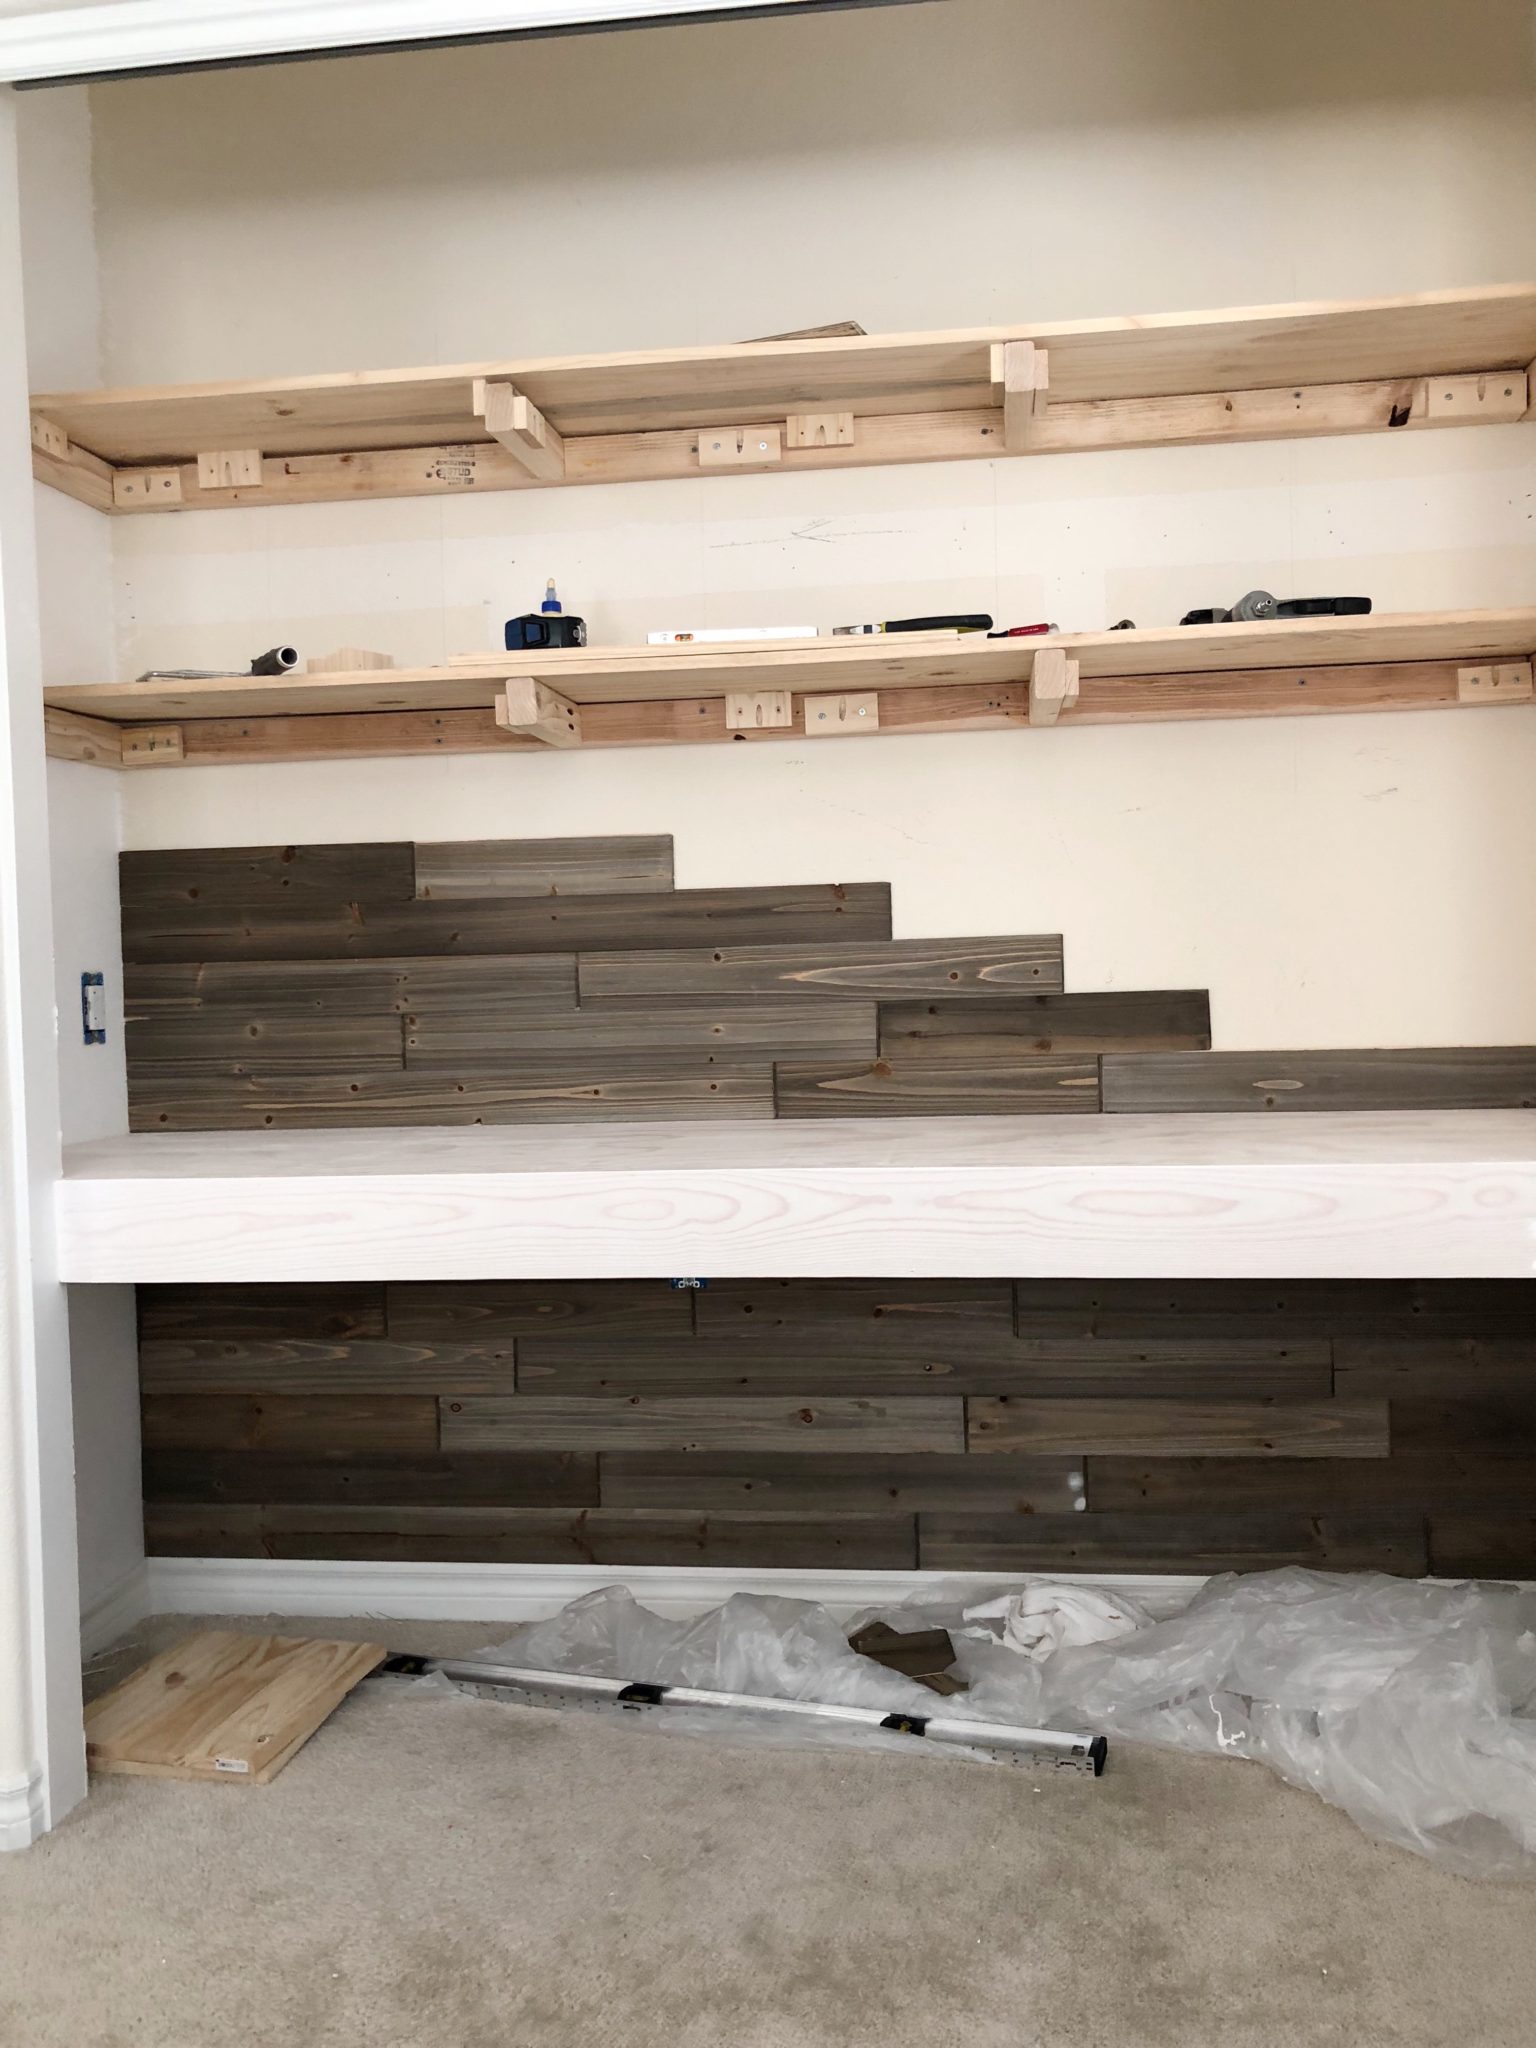
With the shelving frames in place, I started on the tongue and groove wood wall planks. Really liked the color option, and it is extremely lightweight and thin. I used a brad nail gun to attach them to the wall straight to the drywall. there are other options out there, however this package is fairly inexpensive and is real wood. You can pick these ones up at Lowe’s. Notice I placed the the top planks on already (this was for planning and they are not attached yet).
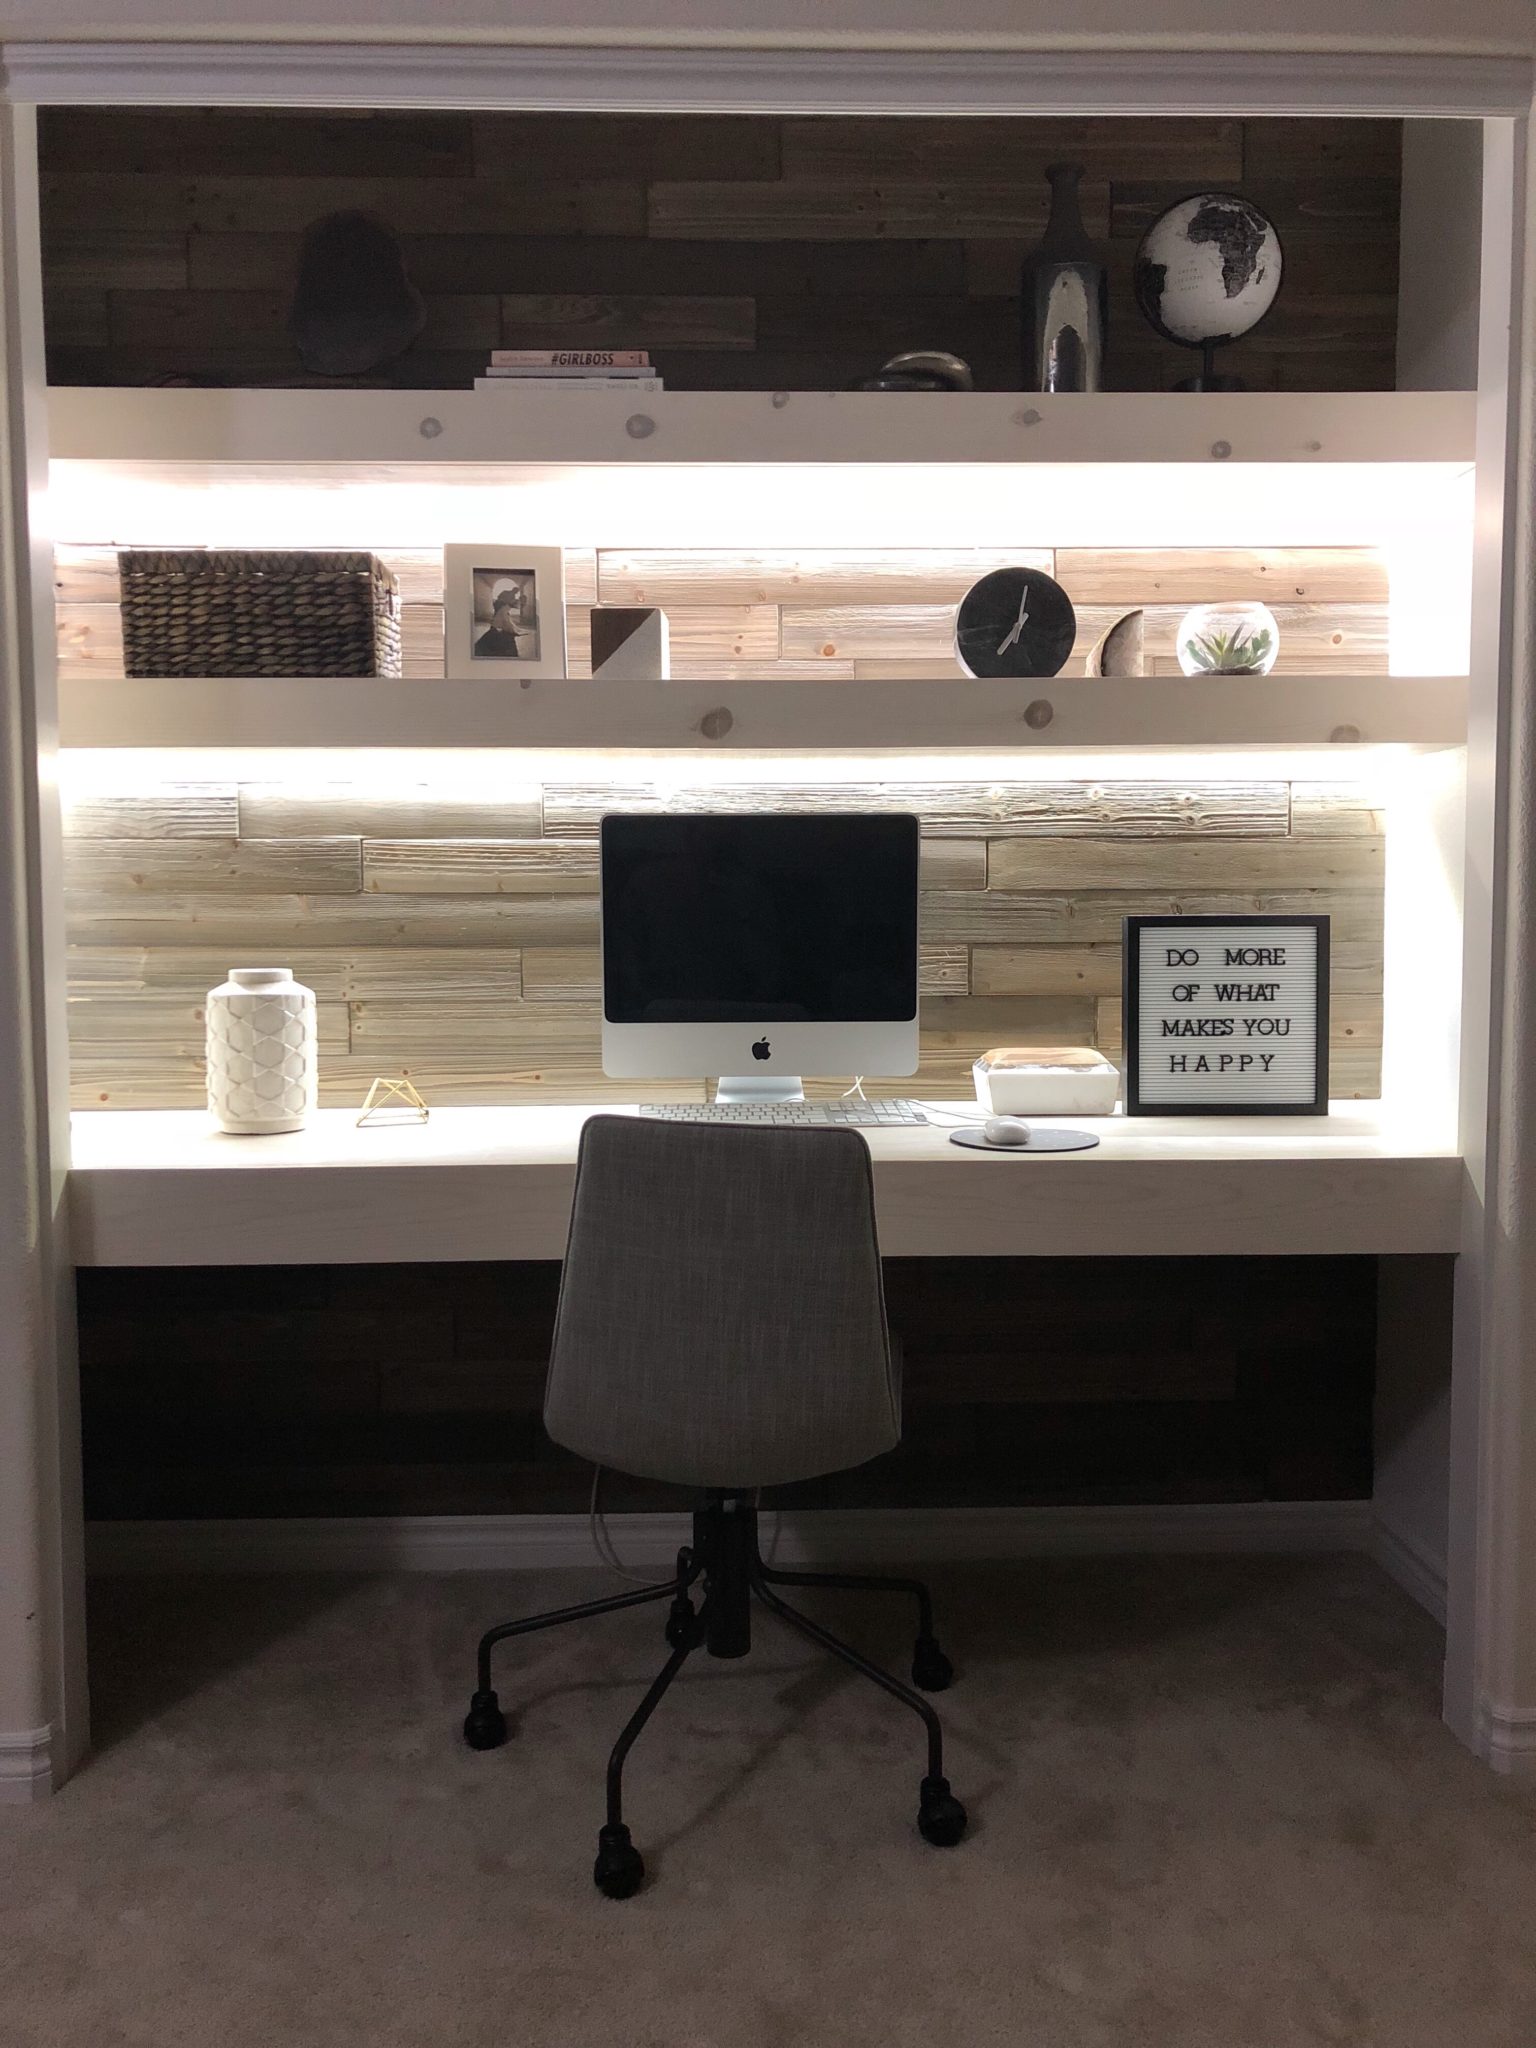
Every desk needs lighting! I found these cool LED lighting strips to give it a clean modern look. This was probably the more complicated part of the project. I want the lights to be hidden from view, so I used my router to cut an even strip on the back end of the plank. I then used the adhesive lighting strip and placed it in the groove.
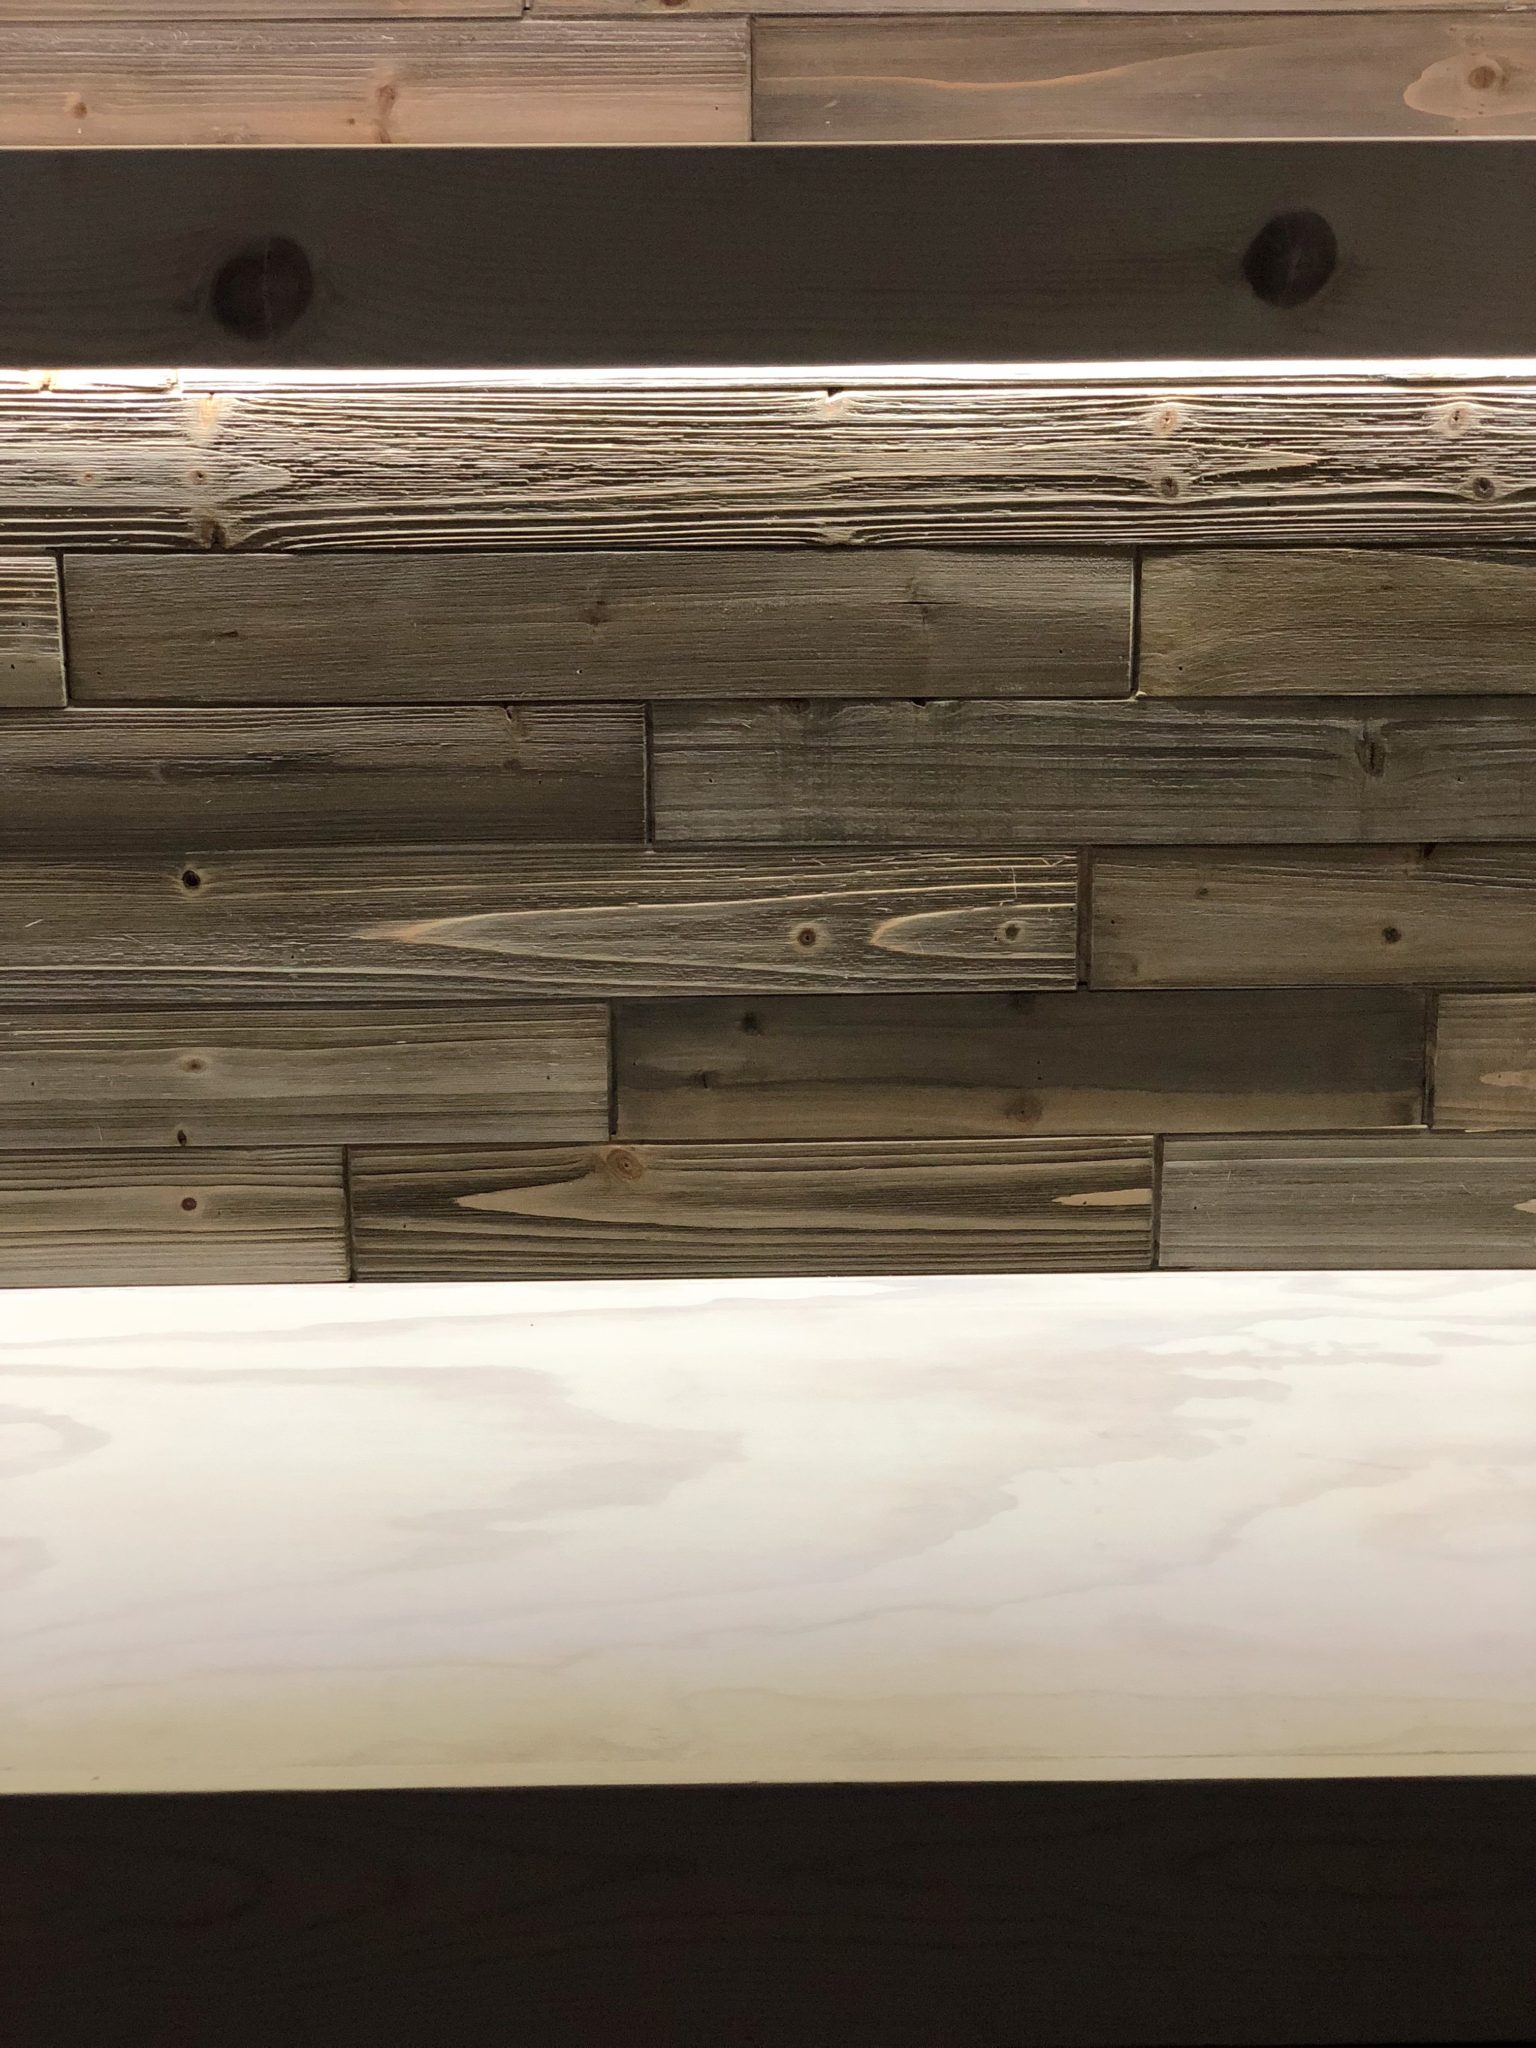

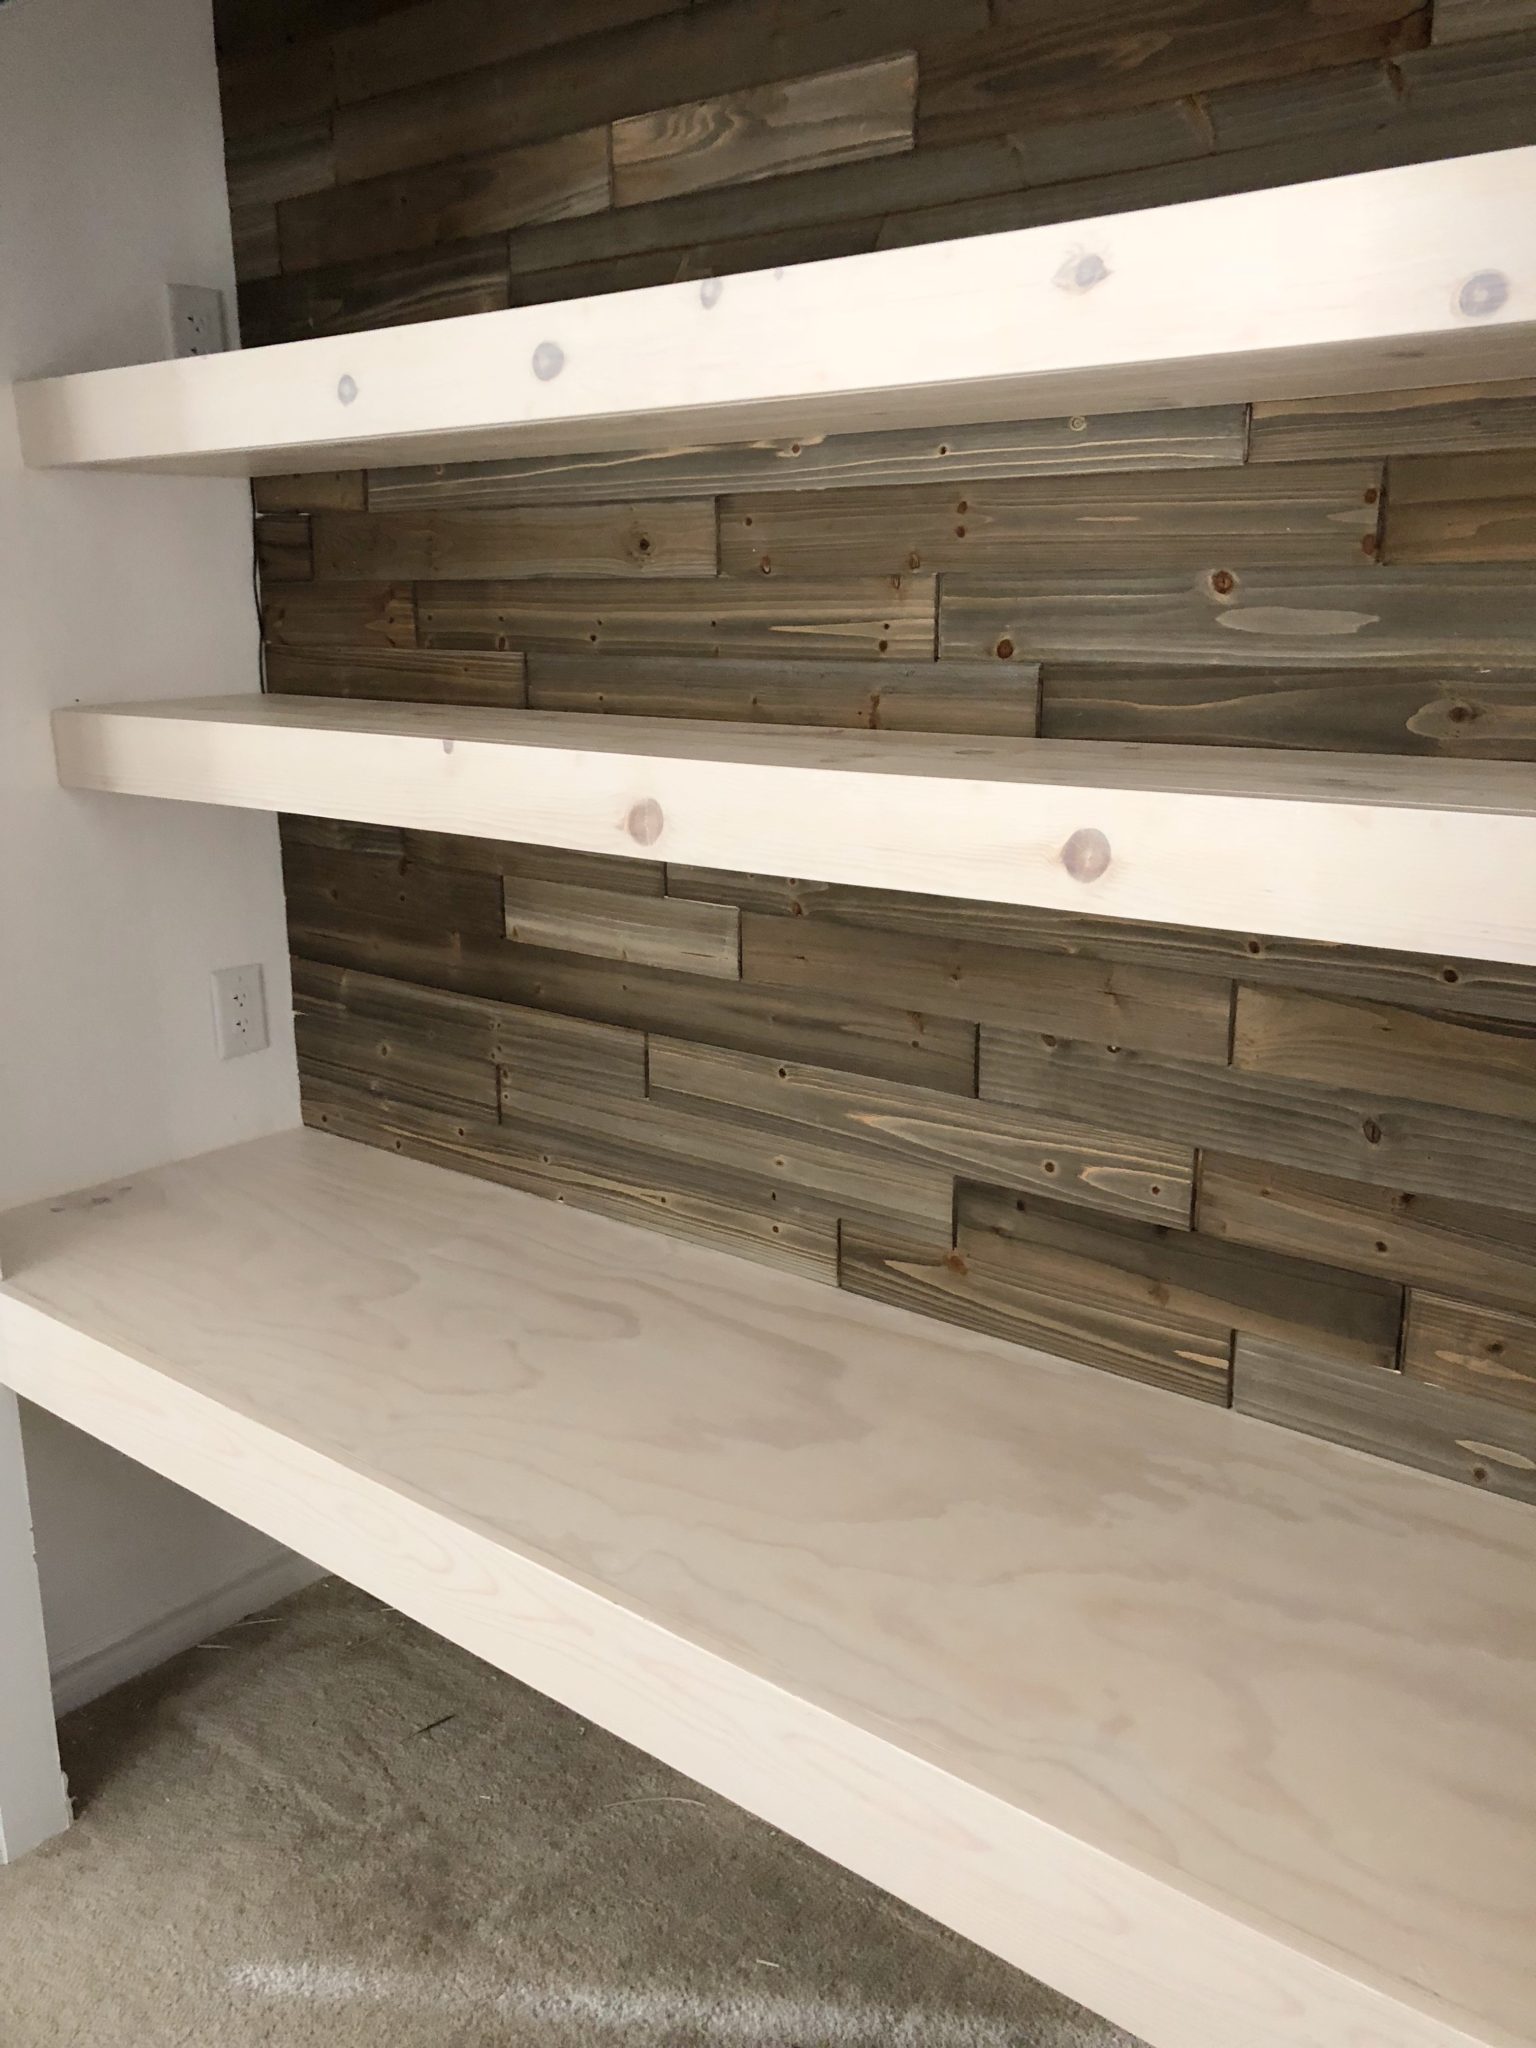
With the lights recessed into the planks, it gives a nice modern touch to the desk along with adding plenty of light to the work area.
We added a few more outlets (one under the desk) for the computer, lighting, and charging your smart devices. I would either ask a friend in construction for help during this process or hire an electrician if you aren’t comfortable with electrical work.

We hope you enjoyed this glimpse into our home! Thank you Brett for contributing to the Contemporary Office Ideas post! Don’t forget to checkout my closet makeover post! I don’t know how he is so handy, but I love it! I have a few other home posts coming soon including our nursery reveal and our new downstairs playroom that I’ve been working on!
XOXO

this looks AMAZING!!
b
I can’t for the life of me figure out how you attached the second face of your shelves or desk using the pocket hole screws after attaching the first face. Especially since the pictures for the desk show that you have the whole frame built before you attach either the top or bottom face. Also, what was the advantage of using the scrap wood for the pocket holes rather than just drilling throug the frame 2x4s?
Thanks!
Hi! I just forwarded to my husband and he will be responding asap!
Hi,
I am wondering if you could punish the entire project plan? The 2nd face shelving and also the lamination of the desk ( the finishing)
How often have you had to replace the led lighting and how complicated was it.? I’m absolutely in love with. Thank you.
This looks awesome!! I’m wondering what you did to the plywood/2x4s between the beginning of the project and the end to make them look not so rough? They look drastically different from the beginning to the end. was it just lots of sanding or did you cover the wood with something? Can’t wait to try! Thanks!
I’m wondering the same thing. What did you use to finish the wood? It’s so much lighter and kind of misty looking? Sanding and a varnish? It looks fantastic!
I was wondering if you know the name and color of the tongue and groove wall planks?
You have a beautiful home; family and blog.
Thank you for your time,
Sherry
CAN YOU PLEASE LET US KNOW THE SPECIFIC TYPE/COLOR OF WOOD PLANKS YOU USED FOR YOUR WALL? I LOVE THIS LOOK!
Looks amazing! Did you stain or paint the desk/shelving?
thank you we stained it!
This is beautiful. I love the color of wood groove planks used and would like to recreate similar look. Maybe I am missing it, the link takes me to Amazon but not directly to the planks you used. Would it be possible for you to provide the actual brand name and/or color of wood groove planks used to purchase at my local Lowes store. Thank you for the details of your project. Great job!!!
Beautiful. Few questions: 1) how deep were the shelving frames 12″ or 15″?; 2) would you mind providing brand, color scheme, or name of wood plank style used from Lowes?
Hello,
I thought I saw a “shopping list” posted for this project on one of your blogs. I was wondering if you could share that and also clarify the spacing (height) between the desk and shelves? I absolutely loved the way you’ve done it, it looks modern and so well made with the thick wood desk.
HEY!
IM GETTING READY TO START CONSTRUCTING THIS AWESOME DESK! THANK YOU FOR POSTING IT! HOWEVER,I AM CONFUSED ABOUT HOW YOU screwed THE POCKET SCREWS IN ONCE YOU HAVE EITHER THE TOP OR BOTTOM SHELF ON. MY ONLY GUESS IS THAT YOU WOOD GLUED THE TOP SHELF ON TO KEEP FROM HAVING SCREWS EXPOSED.
IF YOU CAN EMAIL BACK THAT’D BE AWESOME!
BRIAN
This was sooo helpful! I literally already have planks in my closet just like this. I wish I could upload a picture, so you could see how perfect this will be after the upgrade. My parents were the shelves just to house books, but I’m upgrading the room for a beautiful, light, airy, well-lit room for me since I’ve moved back in due to COVID. Thanks so much for the details that you and Brett provided! God bless!
Hi! I am too wondering what the name and color of the tongue and groove wall planks are. Please let me know. Thanks!
Love this! I’m wondering how wide your desktop is? And also the width of the shelves?
What is the height of the desk? I’m hearing that 30” is the norm but the bottom of the desk will be around 25” and I’m trying to figure out if that is enough for the chair and a comfortable height.
I love this office!! Do you have a better picture of the lighting with the shelves up? Maybe with the lights off? I love the way this works but I am not sure I understand how you did it 🙂
My husband and I both work from home and wish I would have thought of this sooner. Great post! I love it. Thanks for sharing.
Angel & Cara Gonzalez
Las Vegas NV
Hello what stained did you use on your desk. The color is perfect. Thank you.